Free Shipping on Domestic Orders $75+

HTC Vive Cosmos LCD Frame Assembly Replacement

Prerequisite Only
This is a prerequisite-only guide! This guide is part of another procedure and isn’t meant to be used alone.

What you need

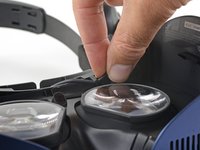
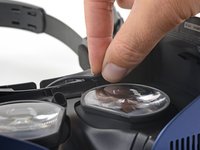
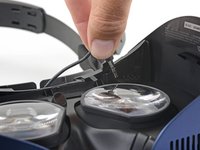
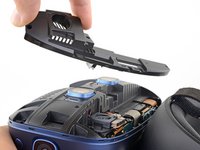
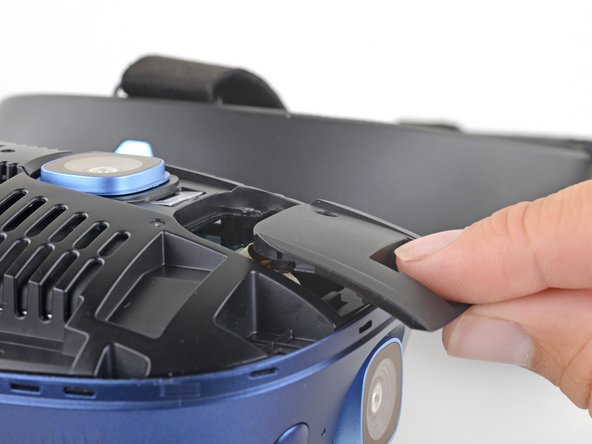
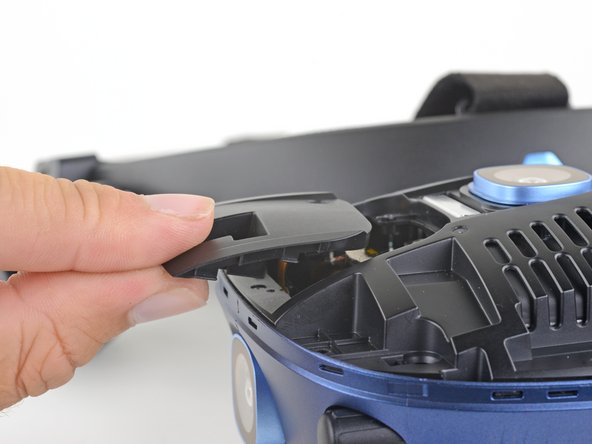
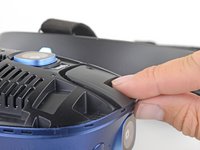
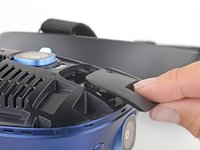
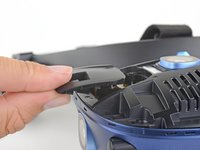
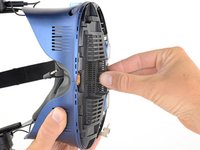
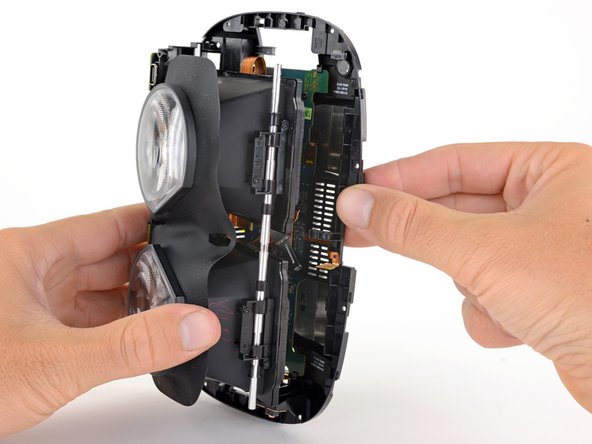
    1. HTC Vive Cosmos LCD Frame Assembly Replacement, Remove the facerest: step 1, image 1 of 3 HTC Vive Cosmos LCD Frame Assembly Replacement, Remove the facerest: step 1, image 2 of 3 HTC Vive Cosmos LCD Frame Assembly Replacement, Remove the facerest: step 1, image 3 of 3
      • Pull the bottom of the facerest straight away from the Vive Cosmos to unclip it from the Vive.

      • With the bottom unclipped, pull the top of the facerest away from the Vive to remove it.

      Ask FixBot

      Add Comment

    1. HTC Vive Cosmos LCD Frame Assembly Replacement, Release the faceplate switch: step 2, image 1 of 2 HTC Vive Cosmos LCD Frame Assembly Replacement, Release the faceplate switch: step 2, image 2 of 2
      • Use your finger to push the sliding faceplate release switch, sitting to the left of the lenses, toward the bottom of the Vive.

      Ask FixBot

      Add Comment

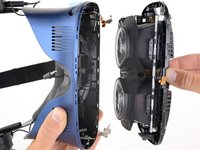
    2. HTC Vive Cosmos LCD Frame Assembly Replacement, Remove the faceplate: step 3, image 1 of 2 HTC Vive Cosmos LCD Frame Assembly Replacement, Remove the faceplate: step 3, image 2 of 2
      • While holding the switch in the bottom position, pull the faceplate straight up and away from the front of the Vive.

      • Remove the faceplate.

      Ask FixBot

      Add Comment

    1. HTC Vive Cosmos LCD Frame Assembly Replacement, Unscrew the focus knob: step 4, image 1 of 1
      • Use a T5 Torx driver to remove the 4.1 mm long screw securing the focus knob.

      Ask FixBot

      Add Comment

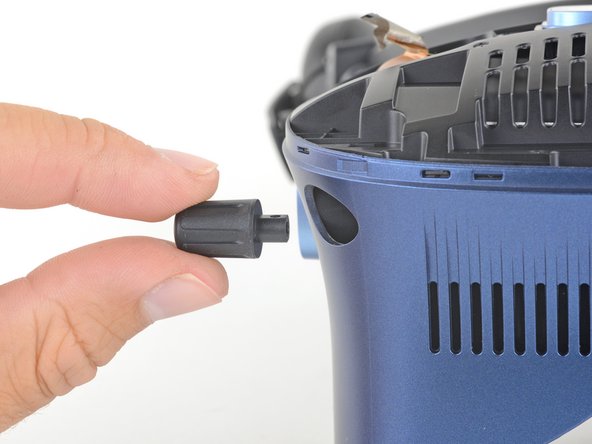
    2. HTC Vive Cosmos LCD Frame Assembly Replacement, Remove the focus knob: step 5, image 1 of 2 HTC Vive Cosmos LCD Frame Assembly Replacement, Remove the focus knob: step 5, image 2 of 2
      • Slide the focus knob out of the plastic housing, off of the focus rod, and remove it.

      Ask FixBot

      Add Comment

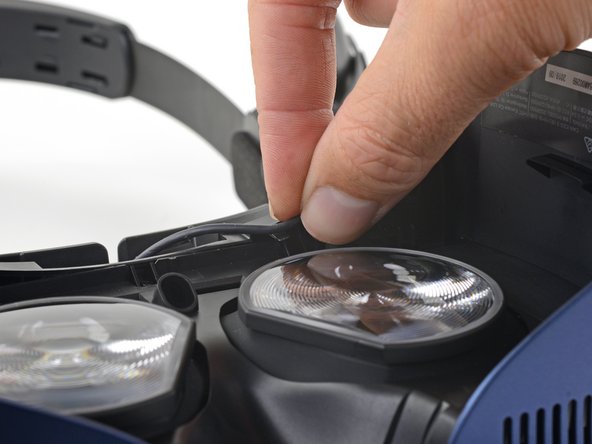
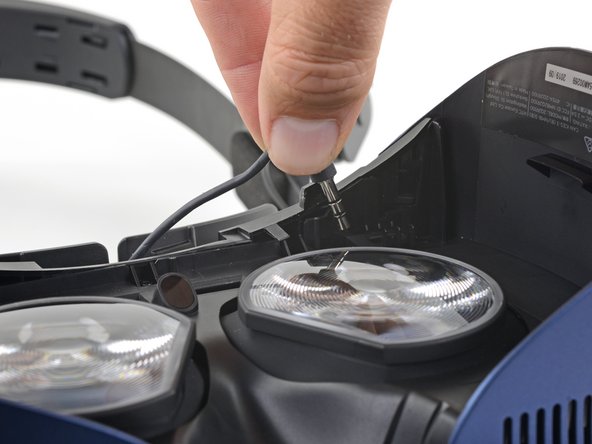
    1. HTC Vive Cosmos LCD Frame Assembly Replacement, Unplug the audio connector: step 6, image 1 of 3 HTC Vive Cosmos LCD Frame Assembly Replacement, Unplug the audio connector: step 6, image 2 of 3 HTC Vive Cosmos LCD Frame Assembly Replacement, Unplug the audio connector: step 6, image 3 of 3
      • Twist the 3.5 mm audio connector counter-clockwise slightly and slide its cable out from under the plastic retaining clip.

      • Lift the audio connector straight up to unplug it.

      Ask FixBot

      Add Comment

    2. HTC Vive Cosmos LCD Frame Assembly Replacement, Unscrew the LCD and motherboard assembly: step 7, image 1 of 1
      • Use a T5 Torx driver to remove the three 4.1 mm long screws securing the LCD and motherboard assembly.

      Ask FixBot

      Add Comment

    3. HTC Vive Cosmos LCD Frame Assembly Replacement: step 8, image 1 of 2 HTC Vive Cosmos LCD Frame Assembly Replacement: step 8, image 2 of 2
      • Gently peel up the stickers on either side of the front of the Vive. If possible, keep the stickers intact and reuse them.

      Ask FixBot

      Add Comment

    4. HTC Vive Cosmos LCD Frame Assembly Replacement: step 9, image 1 of 1
      • Use a T5 Torx driver to unscrew the screws securing the upper component cover and the LCD and motherboard assembly:

      • Sixteen 4.1 mm long screws

      • One captive screw

      • This screw is covered by a sticker. Poke your driver through the sticker to access the screw.

      • Two 4.1 mm long screws

      • These screws are covered by stickers. Poke your driver through the stickers to access the screws.

      Ask FixBot

      Add Comment

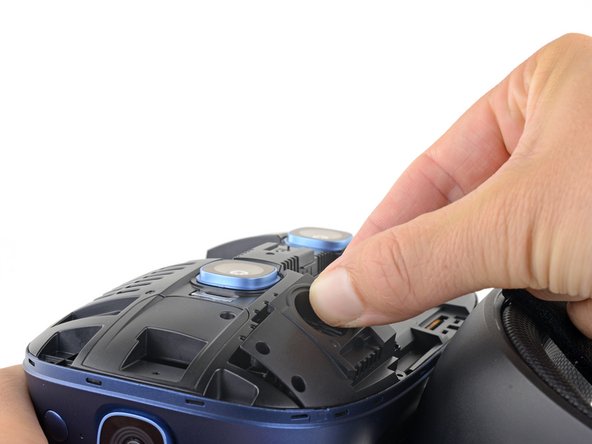
    5. HTC Vive Cosmos LCD Frame Assembly Replacement, Remove the microphone: step 10, image 1 of 1
      • Remove the microphone cover from the bottom edge of the headset.

      Ask FixBot

      Add Comment

    6. HTC Vive Cosmos LCD Frame Assembly Replacement, Separate the microphone adhesive: step 11, image 1 of 2 HTC Vive Cosmos LCD Frame Assembly Replacement, Separate the microphone adhesive: step 11, image 2 of 2
      • Slide an opening pick under the microphone to separate the adhesive securing it to the Vive.

      • If this is difficult, use a heated iOpener, hair dryer, or heat gun to apply heat to adhesive.

      Ask FixBot

      Add Comment

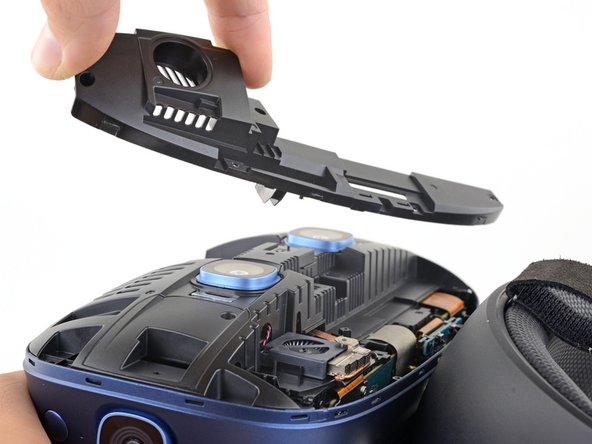
    7. HTC Vive Cosmos LCD Frame Assembly Replacement, Remove the upper component cover: step 12, image 1 of 3 HTC Vive Cosmos LCD Frame Assembly Replacement, Remove the upper component cover: step 12, image 2 of 3 HTC Vive Cosmos LCD Frame Assembly Replacement, Remove the upper component cover: step 12, image 3 of 3
      • Angle the bottom end of the upper component cover away from the front of the Vive.

      • Pull the upper component cover away from the front of the Vive and remove it.

      Ask FixBot

      Add Comment

    8. HTC Vive Cosmos LCD Frame Assembly Replacement, Remove the camera connector covers: step 13, image 1 of 3 HTC Vive Cosmos LCD Frame Assembly Replacement, Remove the camera connector covers: step 13, image 2 of 3 HTC Vive Cosmos LCD Frame Assembly Replacement, Remove the camera connector covers: step 13, image 3 of 3
      • Slide the camera connector covers on either side of the LCD and motherboard assembly away from the center off of the assembly and remove them.

      Ask FixBot

      Add Comment

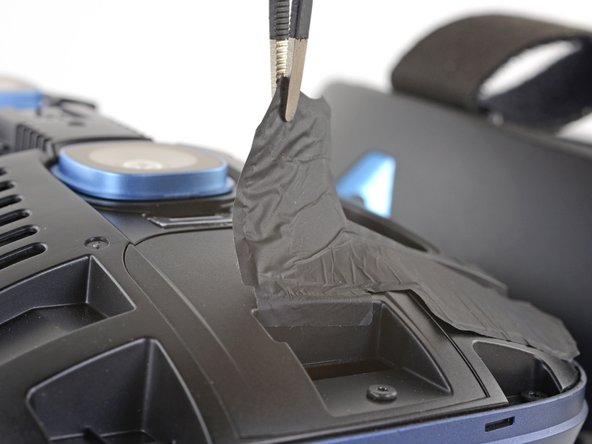
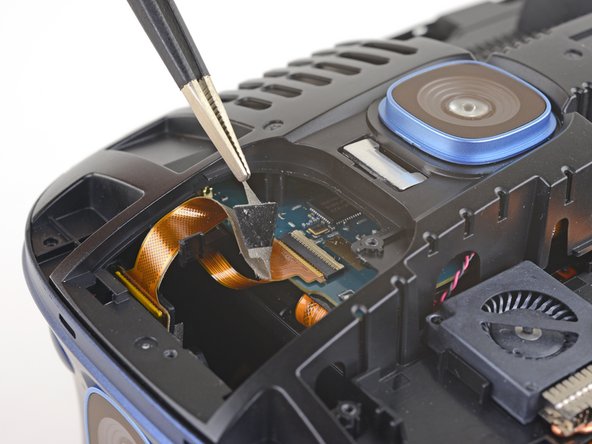
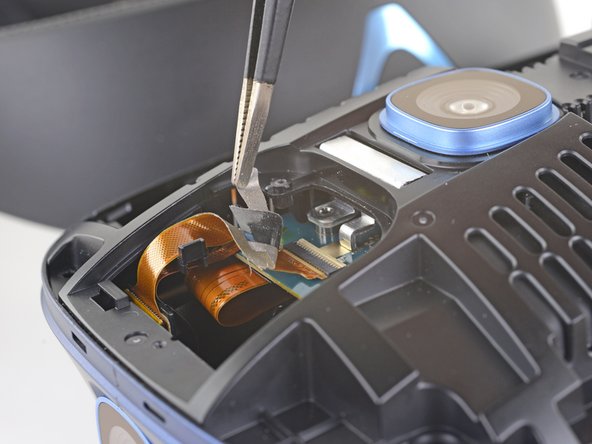
    9. HTC Vive Cosmos LCD Frame Assembly Replacement, Disconnect the cameras: step 14, image 1 of 3 HTC Vive Cosmos LCD Frame Assembly Replacement, Disconnect the cameras: step 14, image 2 of 3 HTC Vive Cosmos LCD Frame Assembly Replacement, Disconnect the cameras: step 14, image 3 of 3
      • Peel the tape over the right camera connector back enough to access the camera's ZIF connector underneath.

      • Repeat the same process to peel back the tape over the left camera ZIF connector.

      Ask FixBot

      Add Comment

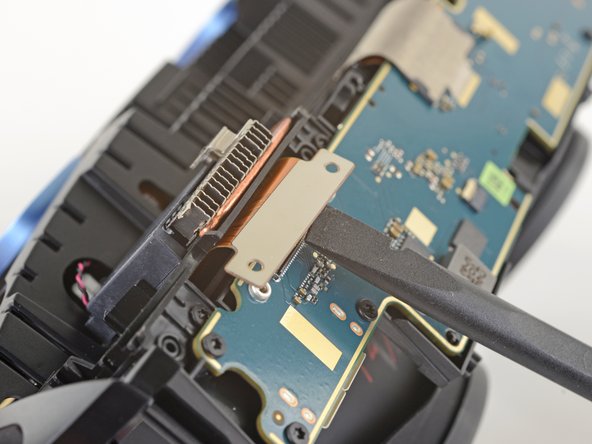
    10. HTC Vive Cosmos LCD Frame Assembly Replacement: step 15, image 1 of 3 HTC Vive Cosmos LCD Frame Assembly Replacement: step 15, image 2 of 3 HTC Vive Cosmos LCD Frame Assembly Replacement: step 15, image 3 of 3
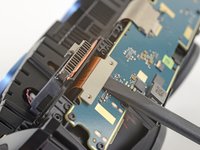
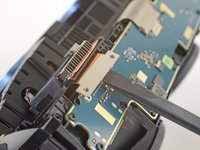
      • Use the point of a spudger to flip up the small locking flap securing the right camera cable ZIF connector.

      • Carefully slide the camera connector cable straight out of its socket on the motherboard.

      Ask FixBot

      Add Comment

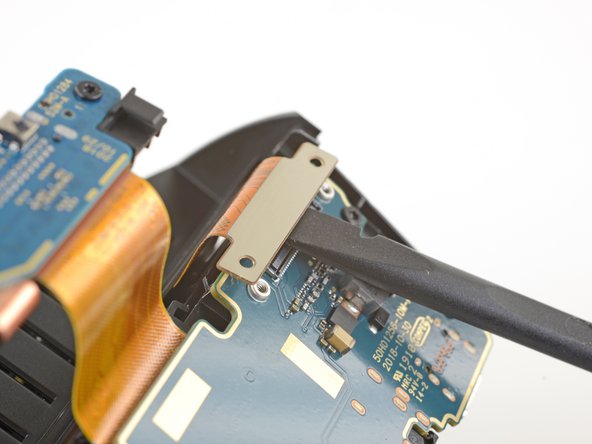
    11. HTC Vive Cosmos LCD Frame Assembly Replacement: step 16, image 1 of 2 HTC Vive Cosmos LCD Frame Assembly Replacement: step 16, image 2 of 2
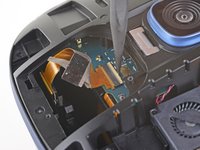
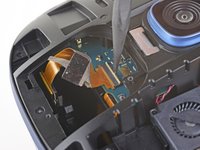
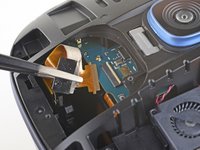
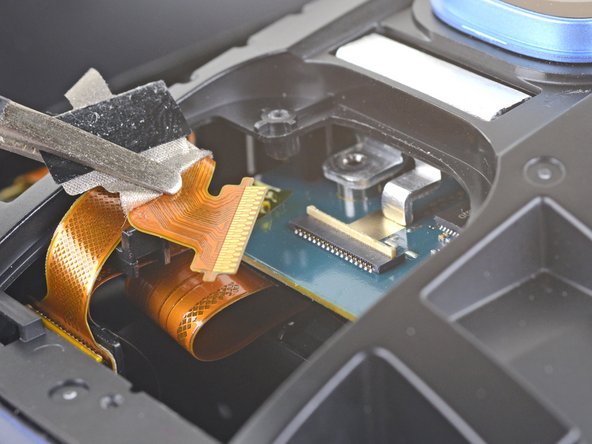
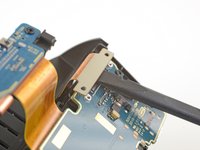
      • Use the point of a spudger to flip up the small locking flap securing the left camera cable ZIF connector.

      • Carefully slide the camera connector cable straight out of its socket on the motherboard.

      Ask FixBot

      Add Comment

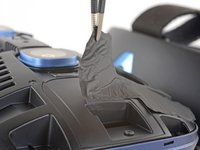
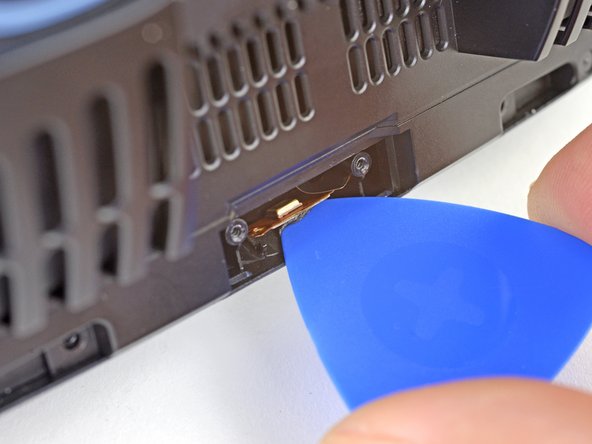
    12. HTC Vive Cosmos LCD Frame Assembly Replacement, Disconnect the microphone: step 17, image 1 of 1
      • Peel the yellow tape off of the microphone connector.

      Ask FixBot

      Add Comment

    13. HTC Vive Cosmos LCD Frame Assembly Replacement: step 18, image 1 of 2 HTC Vive Cosmos LCD Frame Assembly Replacement: step 18, image 2 of 2
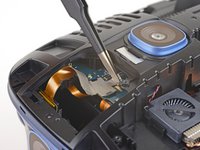
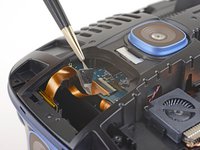
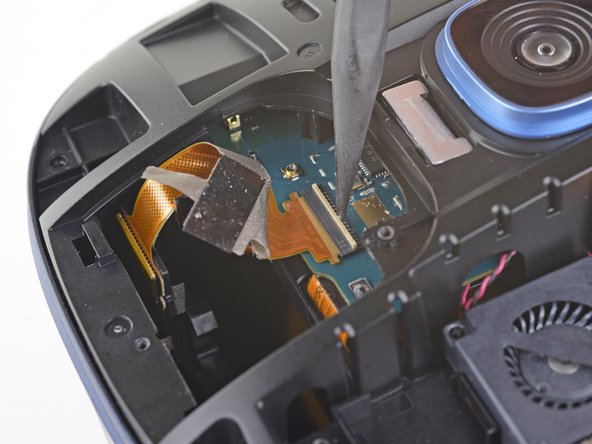
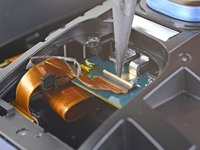
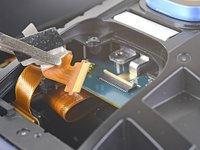
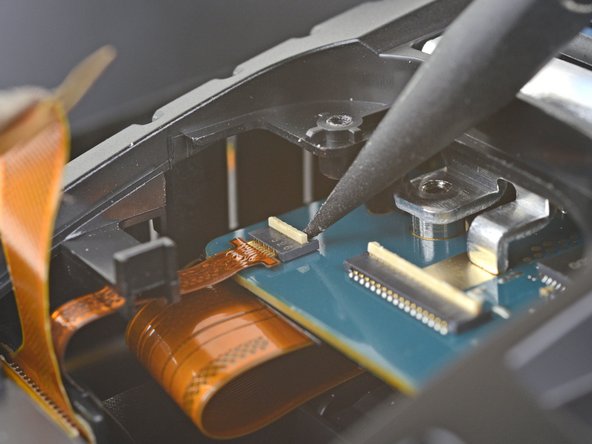
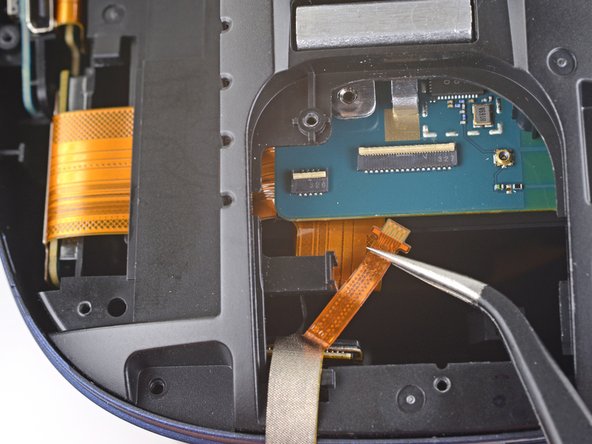
      • Use the point of a spudger to flip up the small locking flap securing the microphone cable ZIF connector.

      Ask FixBot

      Add Comment

    14. HTC Vive Cosmos LCD Frame Assembly Replacement: step 19, image 1 of 3 HTC Vive Cosmos LCD Frame Assembly Replacement: step 19, image 2 of 3 HTC Vive Cosmos LCD Frame Assembly Replacement: step 19, image 3 of 3
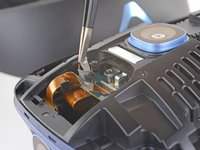
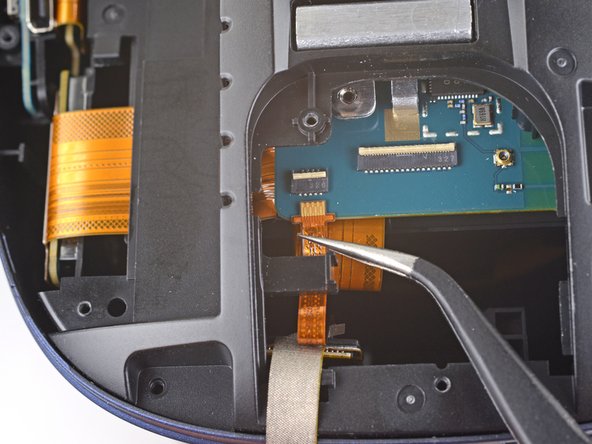
      • Carefully slide the microphone connector cable straight out of its socket on the motherboard.

      • With the cable out of its socket, slide the cable toward the bottom of the Vive and out of its clip on the LCD and motherboard assembly.

      • Take care not to crease or tear the cable while you're moving it.

      Ask FixBot

      Add Comment

    15. HTC Vive Cosmos LCD Frame Assembly Replacement, Remove the LCD and motherboard assembly: step 20, image 1 of 2 HTC Vive Cosmos LCD Frame Assembly Replacement, Remove the LCD and motherboard assembly: step 20, image 2 of 2
      • Lift the LCD and motherboard assembly out of the headset.

      • The assembly is secured by clips around the edges. It may help to release the clips using a thin plastic tool, like an opening tool or a spudger.

      Ask FixBot

      Add Comment

    1. HTC Vive Cosmos LCD Frame Assembly Replacement, Disconnect the LCD panels: step 21, image 1 of 1
      • Use a T5 Torx driver to remove the four 2.9 mm long screws securing the LCD connectors.

      Ask FixBot

      Add Comment

    2. HTC Vive Cosmos LCD Frame Assembly Replacement: step 22, image 1 of 3 HTC Vive Cosmos LCD Frame Assembly Replacement: step 22, image 2 of 3 HTC Vive Cosmos LCD Frame Assembly Replacement: step 22, image 3 of 3
      • Use the flat end of a spudger to pry the LCD connectors straight up and out of their sockets on the daughterboard.

      Ask FixBot

      Add Comment

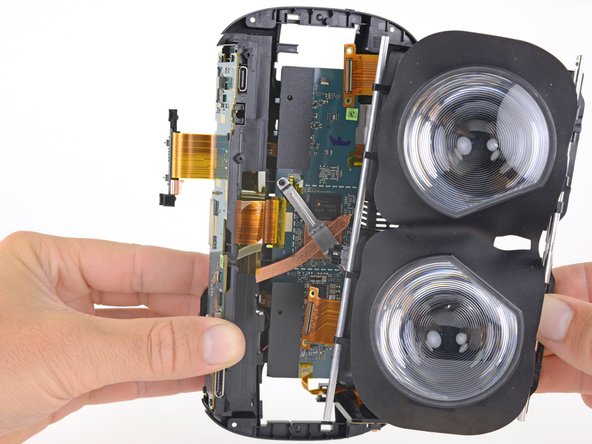
    3. HTC Vive Cosmos LCD Frame Assembly Replacement, Remove the LCD frame assembly: step 23, image 1 of 3 HTC Vive Cosmos LCD Frame Assembly Replacement, Remove the LCD frame assembly: step 23, image 2 of 3 HTC Vive Cosmos LCD Frame Assembly Replacement, Remove the LCD frame assembly: step 23, image 3 of 3
      • Gently pull the bottom edge of the midframe away from the bottom edges of the LCD frames to unclip the LCD frames from the midframe.

      Ask FixBot

      Add Comment

    4. HTC Vive Cosmos LCD Frame Assembly Replacement: step 24, image 1 of 2 HTC Vive Cosmos LCD Frame Assembly Replacement: step 24, image 2 of 2
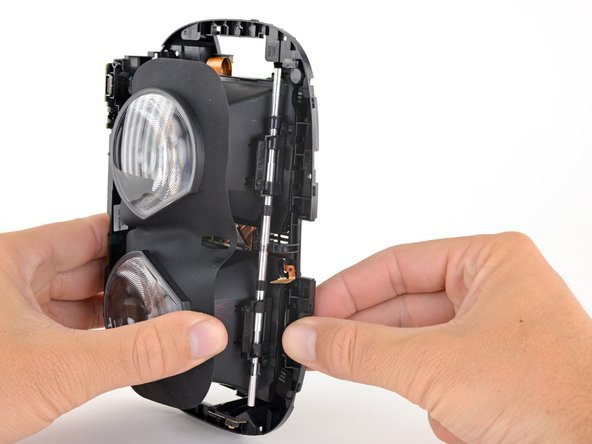
      • Remove the LCD frame assembly from the midframe.

      • During reassembly, first seat the support rod in its slots in the midframe. Then gently press the rest of the LCD frame assembly into the midframe so that the bottom edges of the LCD frames clip into the midframe.

      Ask FixBot

      Add Comment

Conclusion

Compare your new replacement part to the original part—you may need to transfer remaining components or remove adhesive backings from the new part before installing.

To reassemble your device, follow the above steps in reverse order.

Take your e-waste to an R2 or e-Stewards certified recycler.

Repair didn’t go as planned? Check out our Answers community for troubleshooting help.

Cancel: I did not complete this guide.

Adam O'Camb

Member since: 04/11/15

225,515 Reputation

415 Guides authored

0 Guide Comments

Add Comment

View Statistics:

Past 24 Hours: 1

Past 7 Days: 4

Past 30 Days: 11

All Time: 175