Introduction
Follow this guide to remove and replace a defective fingerprint sensor for the Pixel 3.
Note: Replacement fingerprint sensors are not available for sale on iFixit or from Google.
This repair guide was authored by the iFixit staff and hasn’t been endorsed by Google. Learn more about our repair guides here.
What you need
-
-
Heat an iOpener and apply it to the bottom of the phone for one minute.
-
-
-
Apply a suction cup to the heated bottom edge of the back cover.
-
Lift on the suction cup with strong, steady force to create a gap.
-
Insert an opening pick into the gap.
-
-
-
Slice the adhesive along the bottom edge of the phone and around the right corner.
-
Leave a pick in the bottom edge to prevent the adhesive from re-sealing.
-
-
-
-
Continue heating and slicing through the rest of the phone perimeter. Leave a pick in each edge to prevent the adhesive from resealing.
-
-
-
Once you have sliced around the perimeter of the phone, carefully lift the left edge of the back cover.
-
Flip the back cover along its long axis and rest it so that the fingerprint sensor cable is not strained.
-
-
-
Remove the two 4.1 mm-long Phillips screws securing the fingerprint connector bracket.
-
-
-
Use the point of a spudger to slide the fingerprint connector bracket out from under the NFC coil.
-
Remove the fingerprint connector bracket.
-
-
-
Use the point of a spudger to pry up and disconnect the fingerprint connector from its socket.
-
-
-
Heat an iOpener and apply it to the back side of the fingerprint sensor for a minute, to loosen the adhesive holding it in place.
-
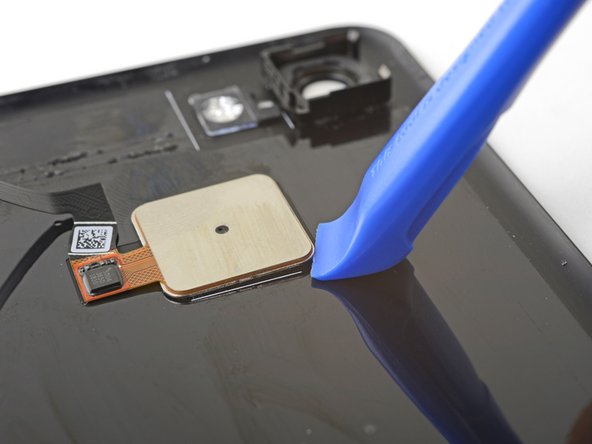
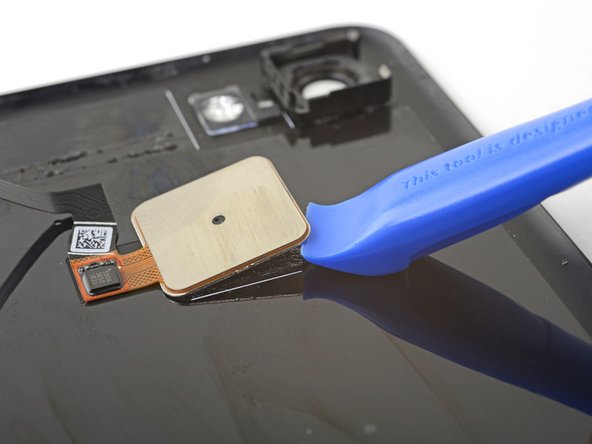
Insert the edge of an opening tool underneath the fingerprint sensor's lip, and pry up to loosen the sensor from the back cover.
-