Free Shipping on Domestic Orders $75+

DualShock 4 (CUH-ZCT1U) Analog Stick Covers Replacement

What you need

    1. DualShock 4 (CUH-ZCT1U) Analog Stick Covers Replacement, Check your controller model: step 1, image 1 of 1
      • Check the model number on the back of your controller. This guide was written using model CUH-ZCT1U. If you have another model, the guide procedure and replacement parts may differ slightly.

      • If you have the second generation DualShock 4, model CUH-ZCT2U, use these guides.

      Ask FixBot

      Add Comment

    2. DualShock 4 (CUH-ZCT1U) Analog Stick Covers Replacement, Unfasten the rear case: step 2, image 1 of 2 DualShock 4 (CUH-ZCT1U) Analog Stick Covers Replacement, Unfasten the rear case: step 2, image 2 of 2
      Tool used on this step:
      Microfiber Cleaning Cloths
      $3.99
      Buy
      • If you need to stabilize your controller during this repair, lay it on a soft surface such as a microfiber cloth.

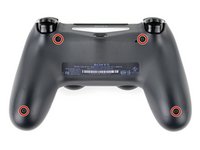
      • Use a Phillips screwdriver to remove the four 6.4 mm-long screws securing the rear case.

      Ask FixBot

      Add Comment

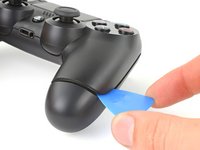
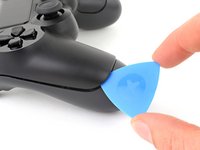
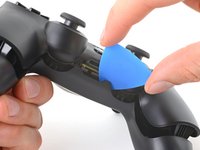
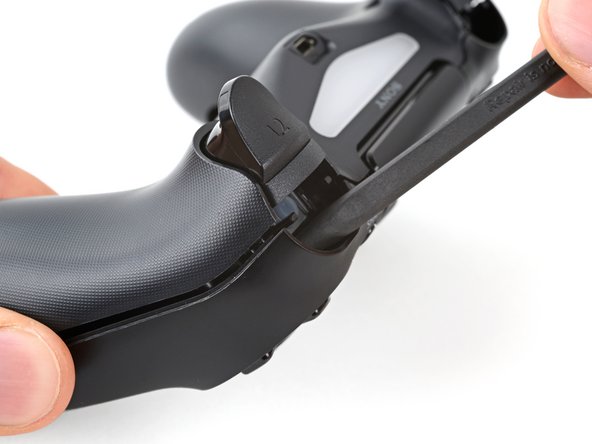
    3. DualShock 4 (CUH-ZCT1U) Analog Stick Covers Replacement, Remove the L1 button: step 3, image 1 of 3 DualShock 4 (CUH-ZCT1U) Analog Stick Covers Replacement, Remove the L1 button: step 3, image 2 of 3 DualShock 4 (CUH-ZCT1U) Analog Stick Covers Replacement, Remove the L1 button: step 3, image 3 of 3
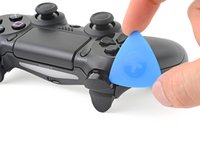
      • Use an opening pick to pry each corner of the L1 button from the front case.

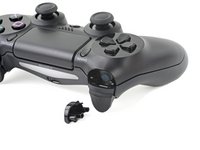
      • Cover the button to prevent it from ejecting out of your workspace.

      • Remove the button.

      Ask FixBot

      Add Comment

    4. DualShock 4 (CUH-ZCT1U) Analog Stick Covers Replacement, Remove the R1 button: step 4, image 1 of 1
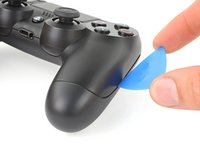
      • Use your opening pick to pry and remove the R1 button, just as you did for the L1 button.

      Ask FixBot

      Add Comment

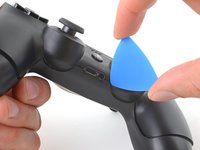
    5. DualShock 4 (CUH-ZCT1U) Analog Stick Covers Replacement, Unclip the rear case: step 5, image 1 of 3 DualShock 4 (CUH-ZCT1U) Analog Stick Covers Replacement, Unclip the rear case: step 5, image 2 of 3 DualShock 4 (CUH-ZCT1U) Analog Stick Covers Replacement, Unclip the rear case: step 5, image 3 of 3
      • Six plastic clips secure the rear case to the front case. The next four steps demonstrate how to release these clips before you can open the controller.

      • Insert your opening pick at a downward angle between the front case and rear case, halfway between the handle and the action buttons.

      • Slide your pick toward the handle and pry up to release the first clip.

      • Repeat this procedure on the other side of the controller to release the second clip.

      Ask FixBot

      Add Comment

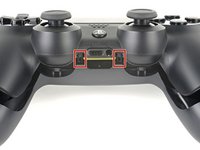
    6. DualShock 4 (CUH-ZCT1U) Analog Stick Covers Replacement: step 6, image 1 of 3 DualShock 4 (CUH-ZCT1U) Analog Stick Covers Replacement: step 6, image 2 of 3 DualShock 4 (CUH-ZCT1U) Analog Stick Covers Replacement: step 6, image 3 of 3
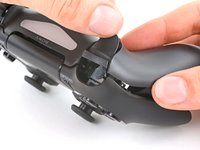
      • Two more clips secure the rear case near the extension port and the headphone jack.

      • Insert your opening pick between the front case and rear case at either side of the ports.

      • Twist your pick to unclip this section of the rear case from the front case.

      • If the rear case feels stuck, insert and twist your pick from different angles.

      • Don't open the controller yet, as it's still held together by two very delicate clips near the triggers.

      Ask FixBot

      Add Comment

    7. DualShock 4 (CUH-ZCT1U) Analog Stick Covers Replacement: step 7, image 1 of 1
      • The final two clips are very delicate, and must be disengaged from inside the controller. If you break them, don't worry—it won't affect this repair or your controllers functionality.

      • Locate the clips by looking through the gap above the R2 or L2 buttons.

      Ask FixBot

      Add Comment

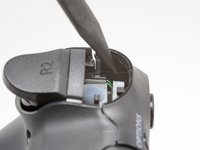
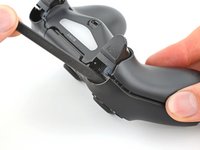
    8. DualShock 4 (CUH-ZCT1U) Analog Stick Covers Replacement: step 8, image 1 of 3 DualShock 4 (CUH-ZCT1U) Analog Stick Covers Replacement: step 8, image 2 of 3 DualShock 4 (CUH-ZCT1U) Analog Stick Covers Replacement: step 8, image 3 of 3
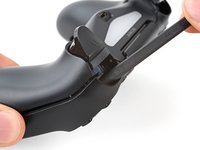
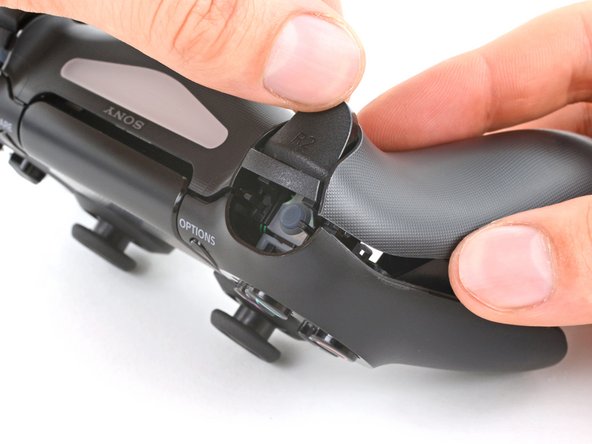
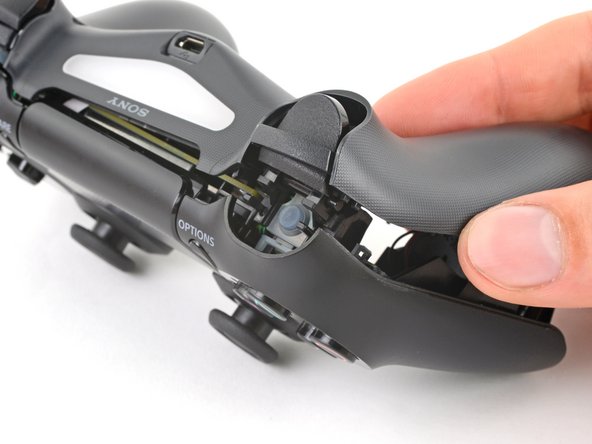
      • Insert the point of a spudger through the gap above the R2 button and push the retaining clip outward.

      • While pushing the clip outward, slowly pull the rear case away from the front case until you feel them separate.

      • Don't fully open the controller until each of the R2 and L2 clips have been disengaged.

      • Repeat this procedure for the clip near the L2 button.

      Ask FixBot

      Add Comment

    9. DualShock 4 (CUH-ZCT1U) Analog Stick Covers Replacement, Remove the rear case: step 9, image 1 of 3 DualShock 4 (CUH-ZCT1U) Analog Stick Covers Replacement, Remove the rear case: step 9, image 2 of 3 DualShock 4 (CUH-ZCT1U) Analog Stick Covers Replacement, Remove the rear case: step 9, image 3 of 3
      • Press the R2 button and slide the rear case over it.

      Ask FixBot

      Add Comment

    10. DualShock 4 (CUH-ZCT1U) Analog Stick Covers Replacement: step 10, image 1 of 1
      • Press the L2 button and slide the rear case over it.

      Ask FixBot

      Add Comment

    11. DualShock 4 (CUH-ZCT1U) Analog Stick Covers Replacement: step 11, image 1 of 3 DualShock 4 (CUH-ZCT1U) Analog Stick Covers Replacement: step 11, image 2 of 3 DualShock 4 (CUH-ZCT1U) Analog Stick Covers Replacement: step 11, image 3 of 3
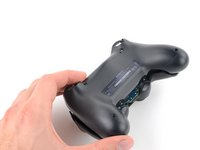
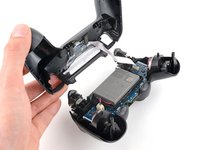
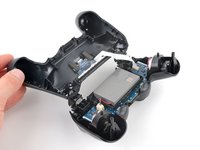
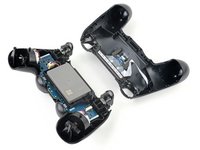
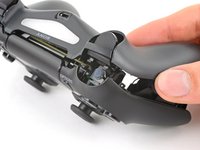
      • Flip the rear case over the top of the controller and lay it down, being careful not to strain the interconnect cable.

      Ask FixBot

      Add Comment

    12. DualShock 4 (CUH-ZCT1U) Analog Stick Covers Replacement, Disconnect the interconnect cable: step 12, image 1 of 3 DualShock 4 (CUH-ZCT1U) Analog Stick Covers Replacement, Disconnect the interconnect cable: step 12, image 2 of 3 DualShock 4 (CUH-ZCT1U) Analog Stick Covers Replacement, Disconnect the interconnect cable: step 12, image 3 of 3
      Tool used on this step:
      Tweezers
      $4.99
      Buy
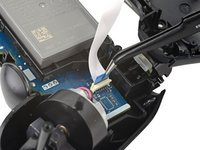
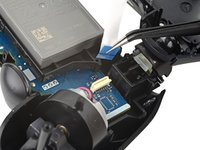
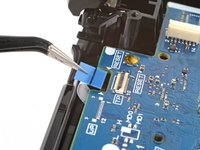
      • Use tweezers or your fingers to remove the interconnect cable by pulling its blue pull tab straight out of the socket.

      • During reassembly, reconnect the cable with its blue pull tab facing the outside of the controller.

      Ask FixBot

      Add Comment

    1. DualShock 4 (CUH-ZCT1U) Analog Stick Covers Replacement, Disconnect the battery: step 13, image 1 of 2 DualShock 4 (CUH-ZCT1U) Analog Stick Covers Replacement, Disconnect the battery: step 13, image 2 of 2
      Tool used on this step:
      Tweezers
      $4.99
      Buy
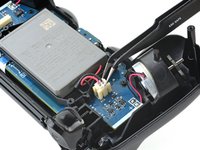
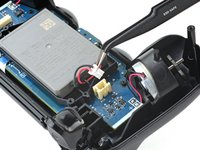
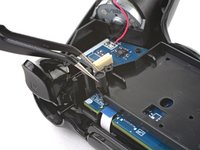
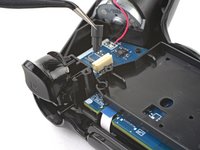
      • Use tweezers or your fingers to grab and disconnect the head of the battery cable from the motherboard.

      • Only pull on the head of the connector—don't pull on the cable itself.

      Ask FixBot

      Add Comment

    2. DualShock 4 (CUH-ZCT1U) Analog Stick Covers Replacement, Remove the battery: step 14, image 1 of 1
      • Remove the battery.

      Ask FixBot

      Add Comment

    1. DualShock 4 (CUH-ZCT1U) Analog Stick Covers Replacement, Remove the reset button extension: step 15, image 1 of 2 DualShock 4 (CUH-ZCT1U) Analog Stick Covers Replacement, Remove the reset button extension: step 15, image 2 of 2
      • Grab and remove the reset button extension from its recess in the battery bracket.

      Ask FixBot

      Add Comment

    2. DualShock 4 (CUH-ZCT1U) Analog Stick Covers Replacement, Remove the battery bracket: step 16, image 1 of 3 DualShock 4 (CUH-ZCT1U) Analog Stick Covers Replacement, Remove the battery bracket: step 16, image 2 of 3 DualShock 4 (CUH-ZCT1U) Analog Stick Covers Replacement, Remove the battery bracket: step 16, image 3 of 3
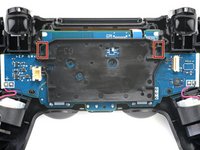
      • Locate the two clips securing the battery bracket to the motherboard.

      • Insert the point of your spudger into the opening behind the right bracket clip.

      • Depress the clip to disengage it from the motherboard.

      • Lift up the right edge of the battery bracket.

      Ask FixBot

      Add Comment

    3. DualShock 4 (CUH-ZCT1U) Analog Stick Covers Replacement: step 17, image 1 of 2 DualShock 4 (CUH-ZCT1U) Analog Stick Covers Replacement: step 17, image 2 of 2
      • Insert the point of your spudger in the opening behind the left bracket clip.

      • Depress the clip to disengage it from the motherboard.

      • Remove the battery bracket.

      Ask FixBot

      Add Comment

    4. DualShock 4 (CUH-ZCT1U) Analog Stick Covers Replacement, Disconnect the touch pad: step 18, image 1 of 3 DualShock 4 (CUH-ZCT1U) Analog Stick Covers Replacement, Disconnect the touch pad: step 18, image 2 of 3 DualShock 4 (CUH-ZCT1U) Analog Stick Covers Replacement, Disconnect the touch pad: step 18, image 3 of 3
      Tool used on this step:
      Tweezers
      $4.99
      Buy
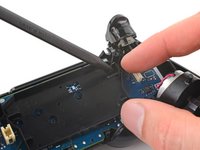
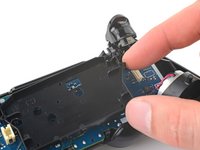
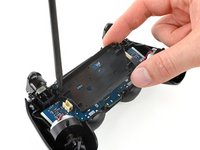
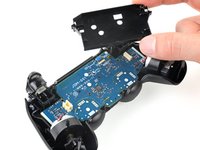
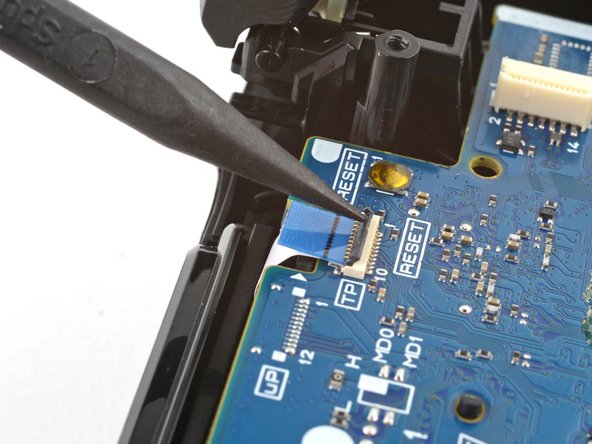
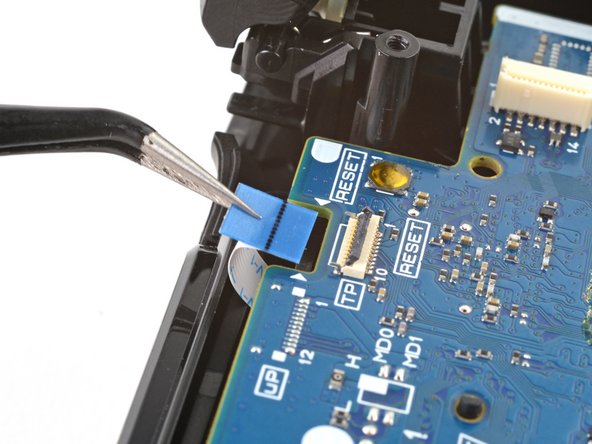
      • Use the point of your spudger to flip up the locking flap securing the touch pad cable ZIF connector.

      • Use tweezers or your fingers to disconnect the cable using its blue pull tab.

      Ask FixBot

      Add Comment

    1. DualShock 4 (CUH-ZCT1U) Analog Stick Covers Replacement, Unfasten the motherboard: step 19, image 1 of 1
      • Use your Phillips screwdriver to remove the 6.4 mm screw securing the motherboard.

      Ask FixBot

      Add Comment

    2. DualShock 4 (CUH-ZCT1U) Analog Stick Covers Replacement, Remove the motherboard: step 20, image 1 of 3 DualShock 4 (CUH-ZCT1U) Analog Stick Covers Replacement, Remove the motherboard: step 20, image 2 of 3 DualShock 4 (CUH-ZCT1U) Analog Stick Covers Replacement, Remove the motherboard: step 20, image 3 of 3
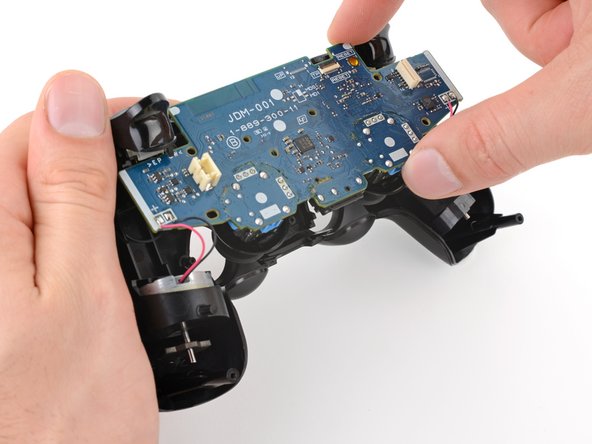
      • Be careful not to strain the vibration motor cables. Follow this guide to re-solder the vibration motors if they break off the motherboard.

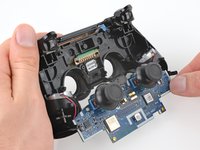
      • Lift the motherboard from the midframe.

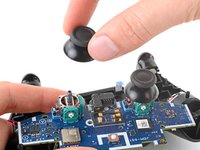
      • Guide the analog stick covers through their cutouts in the front case.

      • Flip the motherboard over the bottom of the controller, leaving the vibration motor cables attached.

      Ask FixBot

      Add Comment

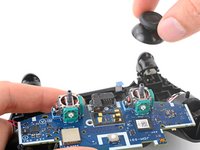
    1. DualShock 4 (CUH-ZCT1U) Analog Stick Covers Replacement, Remove the analog stick covers: step 21, image 1 of 3 DualShock 4 (CUH-ZCT1U) Analog Stick Covers Replacement, Remove the analog stick covers: step 21, image 2 of 3 DualShock 4 (CUH-ZCT1U) Analog Stick Covers Replacement, Remove the analog stick covers: step 21, image 3 of 3
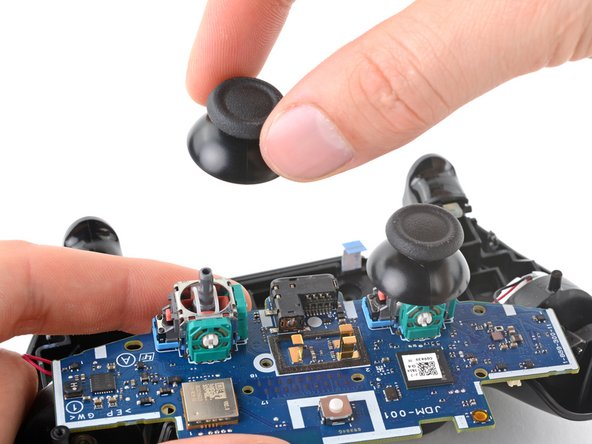
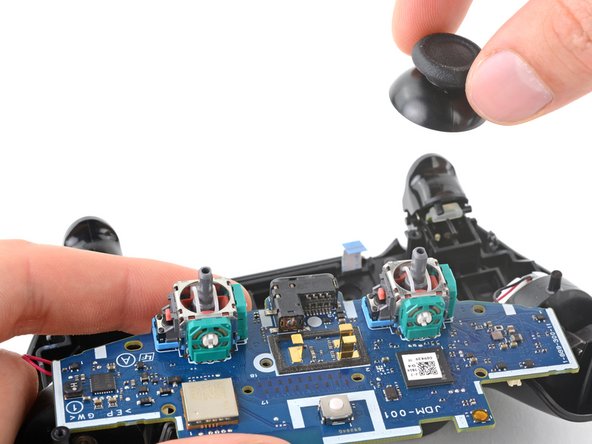
      • Grab and pull the analog stick covers straight off their modules.

      • During reassembly, rotate and press the covers until they slide onto the modules.

      Ask FixBot

      Add Comment

Conclusion

To reassemble your device, follow these instructions in reverse order.

Take your e-waste to an R2 or e-Stewards certified recycler.

Repair didn’t go as planned? Try some basic troubleshooting, or ask our Answers community for help.

Cancel: I did not complete this guide.

144 other people completed this guide.

Clay Eickemeyer

Member since: 09/19/22

106,001 Reputation

472 Guides authored

14 Guide Comments

So I followed all the steps, got the sticks in. But when I put the controller back together it Wouldent turn on. Do you guys have any clue as to what it could be?

blscott2270 - Reply Share
Same exact thing happened to me, just wouldn't turn back on

Andrew Purcell - Reply Share

Me too and all the reconnected cables are connected correctly, but it just won’t work.

Andy Hui - Reply Share

Hope you guys still keep the parts, since the problem can be resolved by following the post below successfully. :)

https://www.google.com.hk/amp/s/amp.redd...

Andy Hui - Reply Share

i think you didn't put a wire in

Gabrys Holcman - Reply Share

Add Comment

View Statistics:

Past 24 Hours: 30

Past 7 Days: 198

Past 30 Days: 935

All Time: 162,185