Introduction
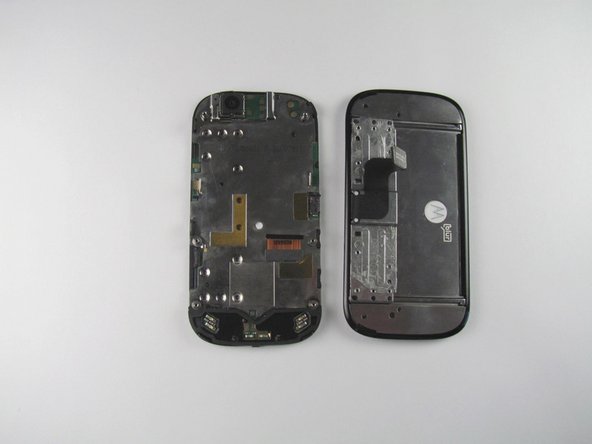
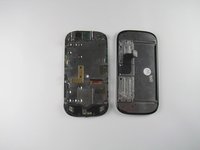
This guide will demonstrate how to disassemble the Motorola Cliq Mb 200 (US release) or the Motorola Dext MB220 (World Release) LCD Shield plate.
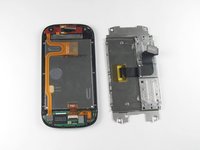
The LCD (Liquid Crystal Display) shield plate acts as a protective barrier and provides structural support for display, which helps prevent it from either being bent or overheating.
If you have any problems with audio, the device turning on, keyboard/camera not working, refer to Motorola Cliq Troubleshooting before starting. For safe keepings, be sure to back up data to ensure that no data is loss during this process.
Prior to starting, power off the device completely, so you can remove the battery. When removing the battery, make sure it is not swelling/ballooning. If it does, check out, Swollen Battery, for how to handle and dispose.
What you need
-
-
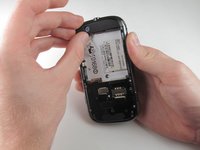
Turning over your phone, place two fingers on the back cover and apply pressure away from the camera to slide the back cover off.
-
-
-
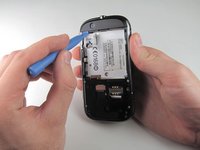
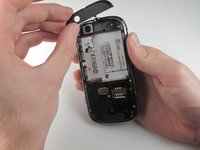
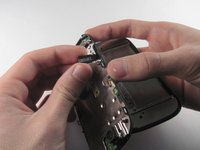
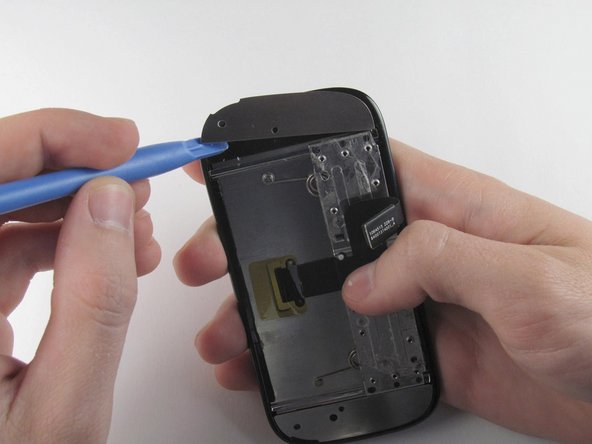
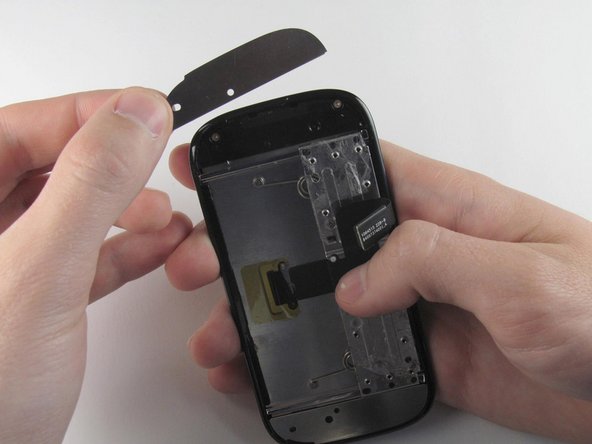
Wedge a plastic opening tool behind the panel covering the camera, pry it up, and remove it using your fingers.
-
-
-
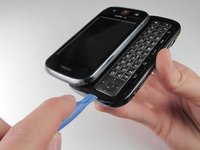
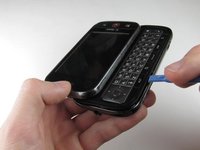
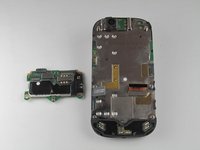
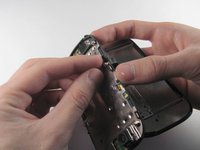
Turn the phone over and slide out the keyboard.
-
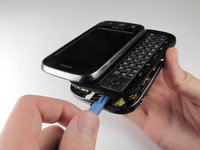
Wedge a plastic opening tool where the keyboard meets the back casing of the phone next to the headphone jack.
-
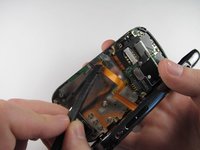
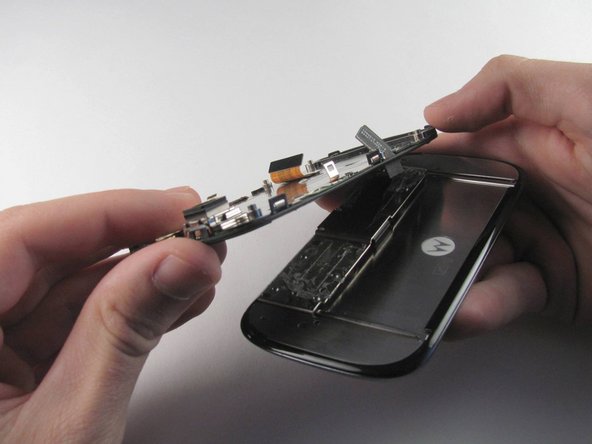
Carefully pry open the back casing along the keyboard's edge until at least two corners of the back casing are separated from the keyboard.
-
-
-
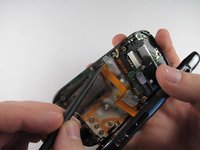
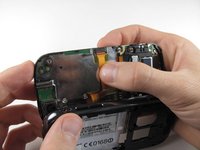
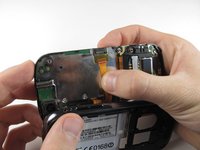
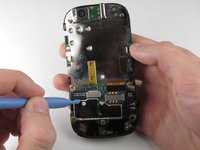
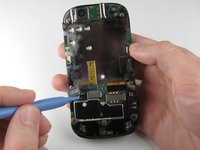
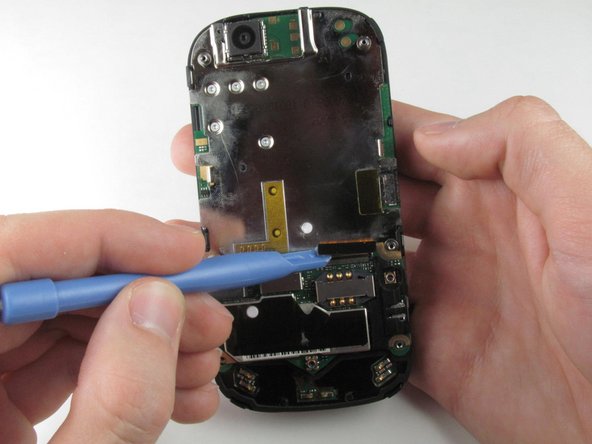
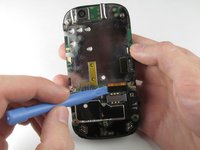
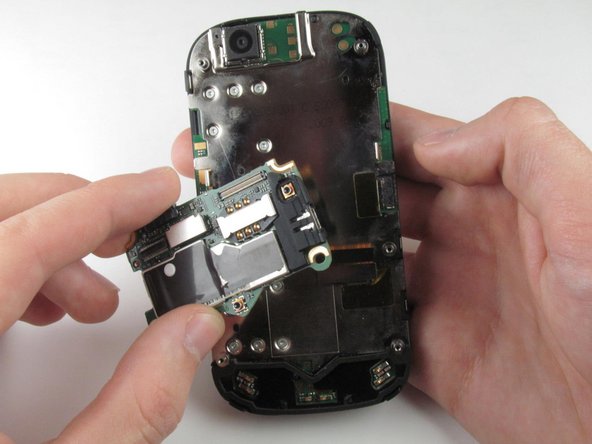
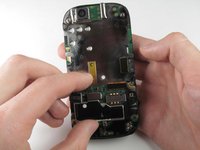
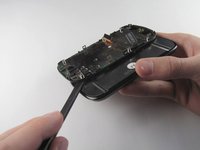
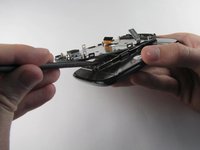
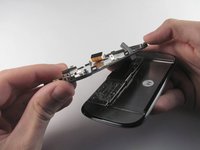
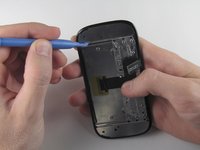
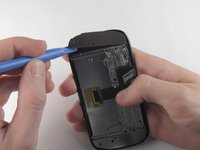
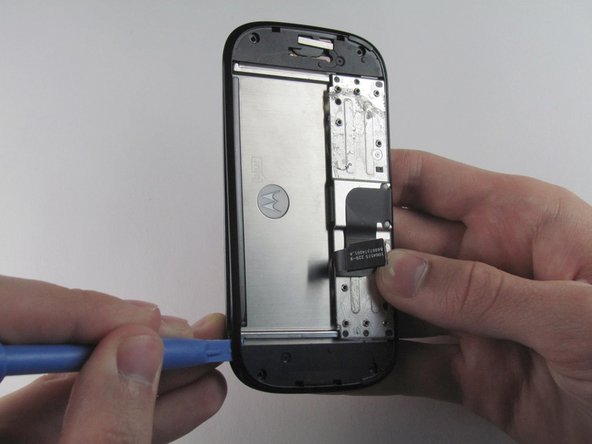
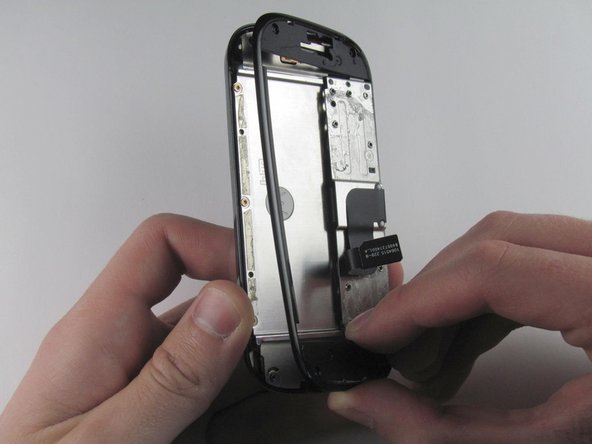
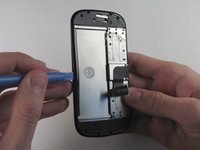
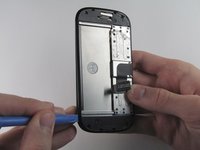
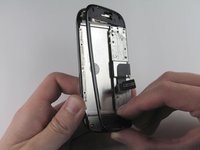
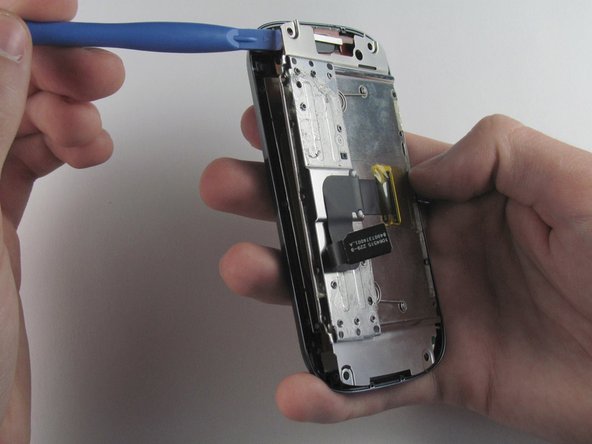
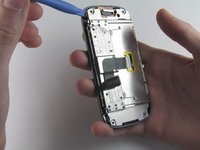
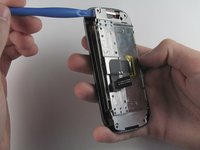
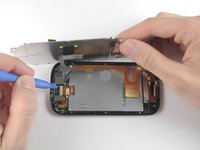
Wedge the plastic opening tool underneath the black display connector and pry it off its socket on the motherboard.
-


To reassemble your device, follow these instructions in reverse order.
Cancel: I did not complete this guide.
One other person completed this guide.

Team

Cal Poly, Team 10-42, Amido Spring 2013 Member of Cal Poly, Team 10-42, Amido Spring 2013
CPSU-AMIDO-S13S10G42
4 Members
16 Guides authored