Introduction
Use this guide to replace the battery in your Dell XPS 13 9305 Laptop.
For your safety, discharge the battery below 25% before disassembling your device. This reduces the risk of fire if the battery is accidentally damaged during the repair. If your battery is swollen, take appropriate precautions.
What you need
-
-
Use a Torx T5 screwdriver to remove the eight 3.2 mm-long screws.
-
-
-
At each corner, insert an opening pick between the back cover and the device body.
-
Pry upward to release the retaining clips. Listen for a loud click when each clip releases.
-
-
-
-
Lift the front edge of the cover away from you.
-
Remove the back cover from the laptop.
-
-
-
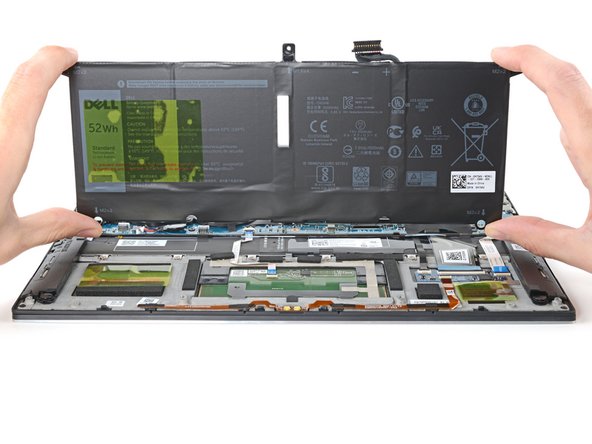
Push the battery connector out of its socket using the pointed end of a spudger.
-
-
-
Use a Phillips screwdriver to remove the five screws securing the battery:
-
Four 2.4 mm-long screws
-
One 4.4 mm-long screw
-


To reassemble your device, follow these instructions in reverse order.
For optimal performance, calibrate your newly installed battery after completing this guide.
Take your e-waste to an R2 or e-Stewards certified recycler.
Repair didn’t go as planned? Try some basic troubleshooting, or ask our Answers community for help.
Cancel: I did not complete this guide.
2 other people completed this guide.


One Comment
This replacement was extremely simple. I have some experience from years ago when I replaced laptop parts during an internship, but was worried things might have gotten a lot more complicated in the 15+ years since. But it was super easy. This guide + the toolkit made it an absolute breeze. I was actually surprised how easy this was. I'm convinced almost anyone can do this. Thanks for the tutorial!