Free Shipping on Domestic Orders $75+

Battery Disconnect

Prerequisite Only
This is a prerequisite-only guide! This guide is part of another procedure and isn’t meant to be used alone.

What you need

    1. Battery Disconnect, How to remove the SIM Tray: step 1, image 1 of 3 Battery Disconnect, How to remove the SIM Tray: step 1, image 2 of 3 Battery Disconnect, How to remove the SIM Tray: step 1, image 3 of 3
      • Insert a SIM eject tool into the small hole on the SIM card tray on the left edge of the phone.

      • Press firmly to eject the tray.

      • Remove the SIM card tray.

      • When reinserting the cards, make sure to properly orient them in the tray.

      Ask FixBot

      Add Comment

    1. Battery Disconnect, Heat an iOpener: step 2, image 1 of 1
      • Before beginning this procedure, completely power off your phone.

      • Prepare an iOpener and apply it to the back cover for at least two minutes.

      • A hair dryer, heat gun, or hot plate may also be used, but be careful not to overheat the phone—the display and internal battery are both susceptible to heat damage.

      Ask FixBot

      Add Comment

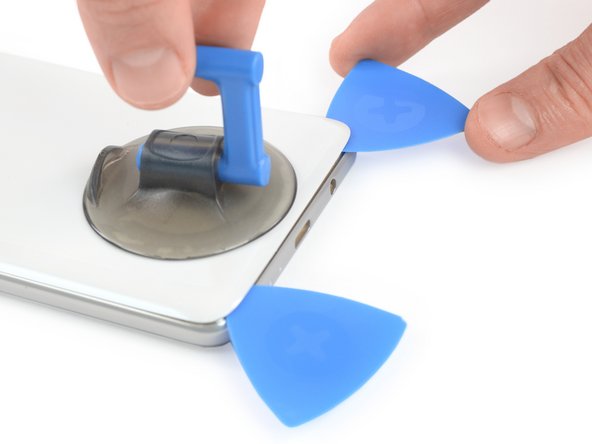
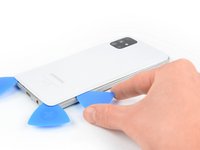
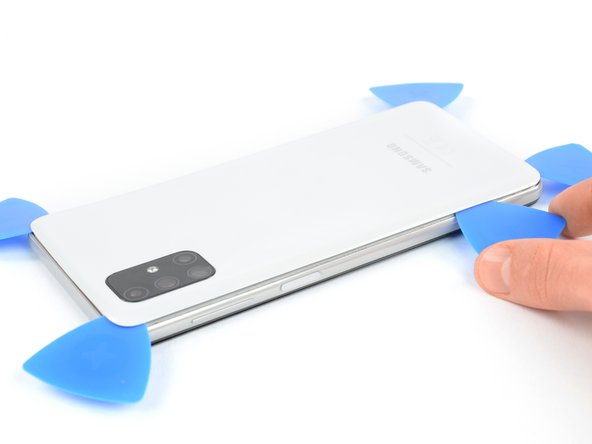
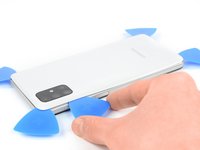
    2. Battery Disconnect, Create an opening gap: step 3, image 1 of 3 Battery Disconnect, Create an opening gap: step 3, image 2 of 3 Battery Disconnect, Create an opening gap: step 3, image 3 of 3
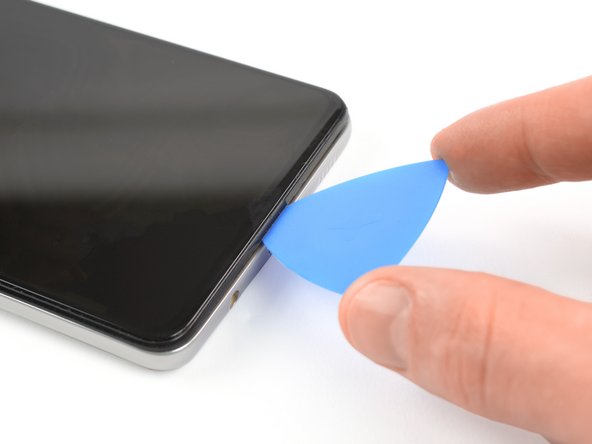
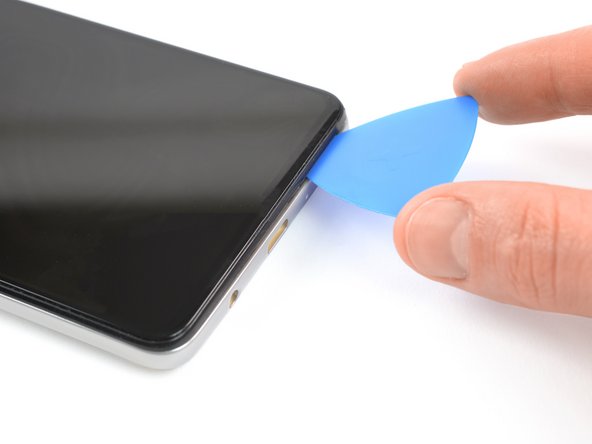
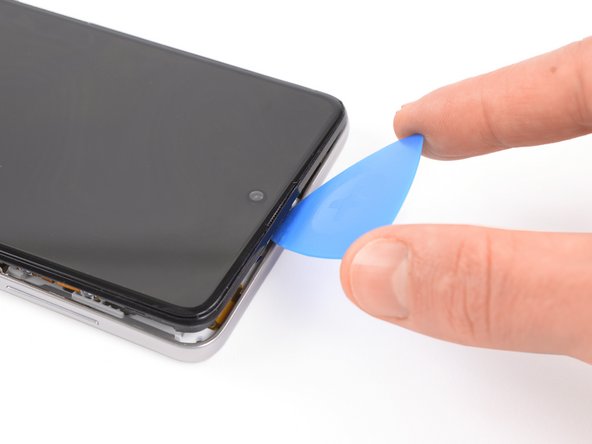
      • Apply a suction handle to the back cover, as close to the USB-C port as possible.

      • Lift the back cover's bottom edge with your suction handle, opening a slight gap between the back cover and the frame.

      • Insert the tip of an opening pick in the gap you created.

      • Slide the opening pick to the bottom left corner and leave it there.

      Ask FixBot

      Add Comment

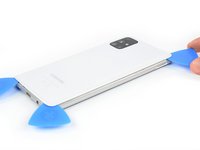
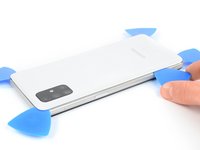
    3. Battery Disconnect, Slice through the adhesive: step 4, image 1 of 2 Battery Disconnect, Slice through the adhesive: step 4, image 2 of 2
      • Insert a second opening pick and slide it from the bottom left corner to the bottom right corner to cut the adhesive.

      • Leave the opening picks in place to prevent the adhesive from resealing.

      Ask FixBot

      Add Comment

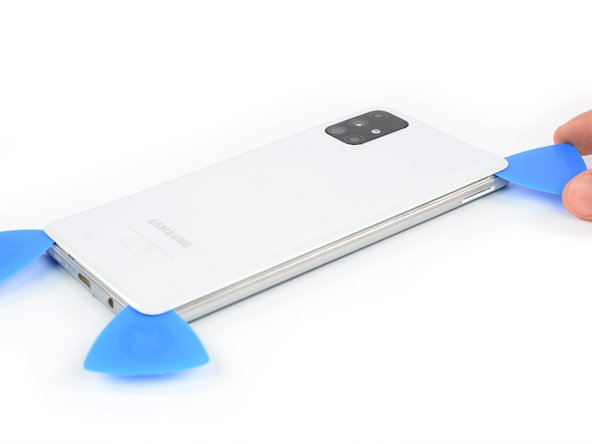
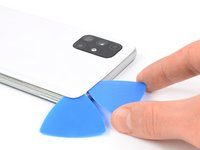
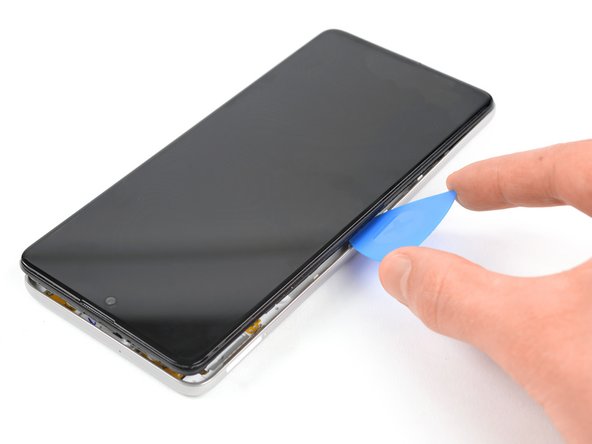
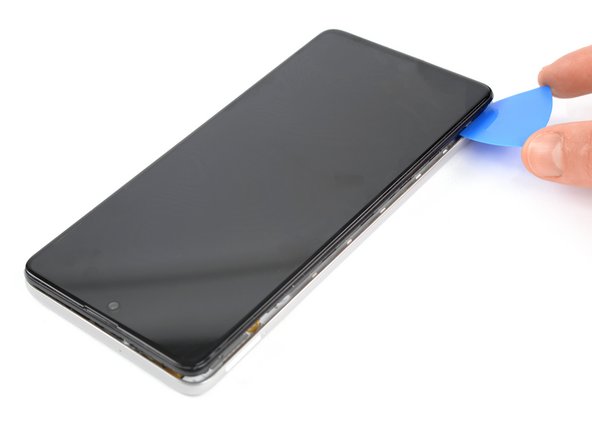
    4. Battery Disconnect: step 5, image 1 of 2 Battery Disconnect: step 5, image 2 of 2
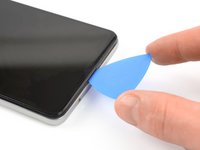
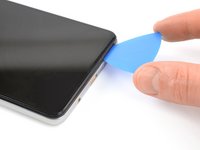
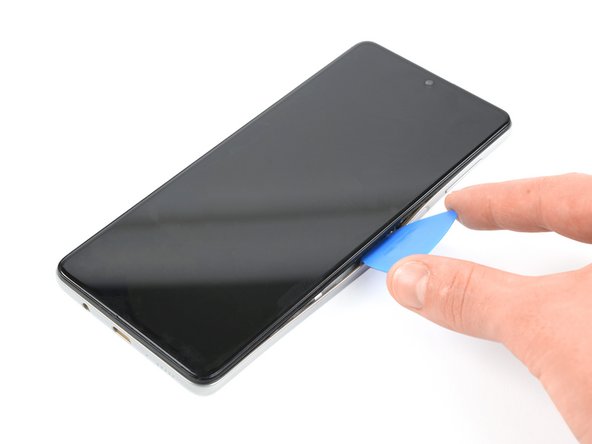
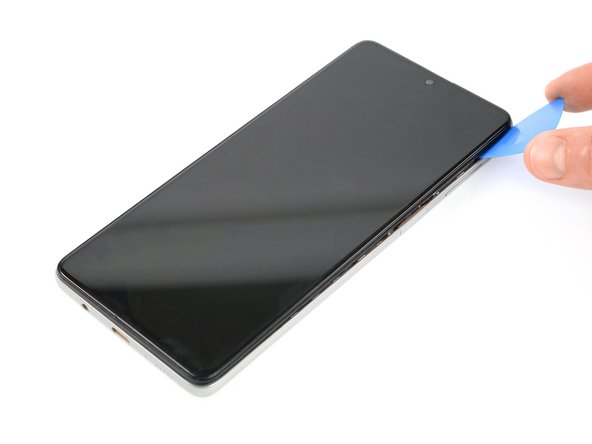
      • Insert a third opening pick under the bottom right corner of the back cover.

      • If you have any trouble, apply more heat to further soften the adhesive. Follow the iOpener instructions to avoid overheating.

      • Slide it along the right edge of the phone to the top right corner to cut the adhesive.

      • Leave the opening pick in the top right corner to prevent the adhesive from resealing.

      Ask FixBot

      Add Comment

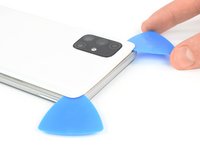
    5. Battery Disconnect: step 6, image 1 of 2 Battery Disconnect: step 6, image 2 of 2
      • Insert a fourth opening pick under the top right corner.

      • Slide it along the top edge to the left corner to cut the adhesive.

      • Leave the opening pick in its place to prevent the adhesive from resealing.

      Ask FixBot

      Add Comment

    6. Battery Disconnect: step 7, image 1 of 2 Battery Disconnect: step 7, image 2 of 2
      • Insert a fifth opening pick on the top left corner and slide it along the edge to cut the remaining adhesive.

      Ask FixBot

      Add Comment

    7. Battery Disconnect, Remove the back cover: step 8, image 1 of 1
      • Remove the back cover.

      Ask FixBot

      Add Comment

    1. Battery Disconnect, Disconnect the fingerprint sensor: step 9, image 1 of 2 Battery Disconnect, Disconnect the fingerprint sensor: step 9, image 2 of 2
      • Use the pointy end of a spudger to disconnect the fingerprint sensor from the motherboard.

      Ask FixBot

      Add Comment

    2. Battery Disconnect, Remove the screws: step 10, image 1 of 1
      • Remove the 15 4.0 mm-long Phillips #00 screws securing the midframe.

      Ask FixBot

      Add Comment

    3. Battery Disconnect, Release the plastic clips: step 11, image 1 of 3 Battery Disconnect, Release the plastic clips: step 11, image 2 of 3 Battery Disconnect, Release the plastic clips: step 11, image 3 of 3
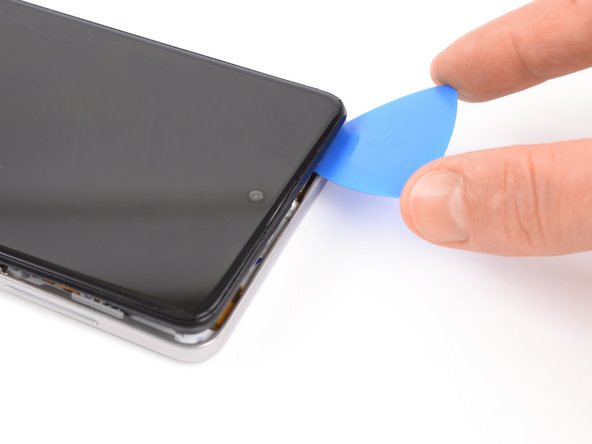
      • The midframe is held by plastic clips.

      • Insert an opening pick between midframe and display near the usb-c port.

      • Slide the opening pick to bottom right corner to release the plastic clips.

      Ask FixBot

      Add Comment

    4. Battery Disconnect: step 12, image 1 of 3 Battery Disconnect: step 12, image 2 of 3 Battery Disconnect: step 12, image 3 of 3
      • Slide the opening pick along the right edge to release the plastic clips.

      Ask FixBot

      Add Comment

    5. Battery Disconnect: step 13, image 1 of 3 Battery Disconnect: step 13, image 2 of 3 Battery Disconnect: step 13, image 3 of 3
      • Slide the opening pick along the top edge to release the midframe from the plastic clips.

      Ask FixBot

      Add Comment

    6. Battery Disconnect: step 14, image 1 of 3 Battery Disconnect: step 14, image 2 of 3 Battery Disconnect: step 14, image 3 of 3
      • Slide the opening pick along the left edge to release the plastic clips.

      Ask FixBot

      Add Comment

    7. Battery Disconnect, Remove the midframe: step 15, image 1 of 1
      • Remove the midframe.

      Ask FixBot

      Add Comment

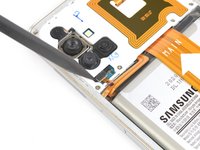
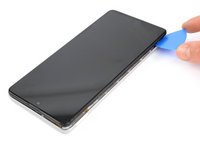
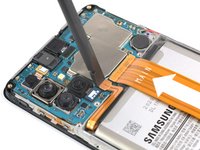
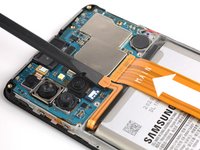
    1. Battery Disconnect, Battery Disconnect: step 16, image 1 of 2 Battery Disconnect, Battery Disconnect: step 16, image 2 of 2
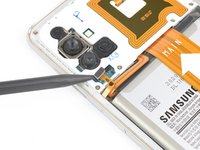
      • Use the flat end of a spudger to disconnect the battery.

      Ask FixBot

      Add Comment

Conclusion

To reassemble your device, follow these instructions in reverse order.

Cancel: I did not complete this guide.

Adriana Zwink

Member since: 12/18/19

69,026 Reputation

167 Guides authored

Team

iFixit Member of iFixit

Staff

122 Members

72,401 Guides authored

0 Guide Comments

Add Comment

View Statistics:

Past 24 Hours: 3

Past 7 Days: 7

Past 30 Days: 13

All Time: 143