Introduction
This guide shows how to replace the battery in an ASUS ROG Raikiri Pro controller. If your controller won't turn on or the battery is draining too quickly, follow this guide for replacement.
A working battery should provide power to the controller. Sadly, batteries don't last forever and might need to be replaced. If your battery does not hold a charge or won't charge at all, replacing the battery may be your best option.
If you realize you have a swollen battery, please handle it accordingly before moving forward.
Before you begin this repair, disconnect your ASUS ROG Raikiri Pro controller from the charger or console and let it power down.
What you need
-
-
-
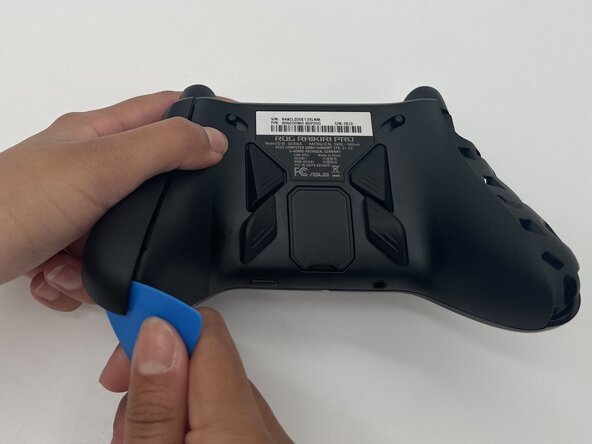
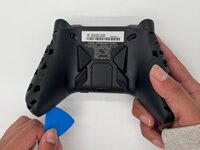
Insert the tip of an opening pick into the seam of the top left handle cover.
-
Slide it down to release the clips connecting the handle cover to the controller.
-
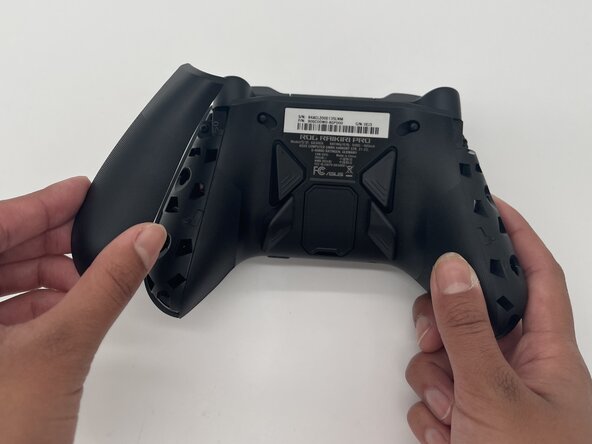
Remove the left handle-cover.
-
Repeat the steps to remove the right handle cover.
 Ask FixBot
-
-
-
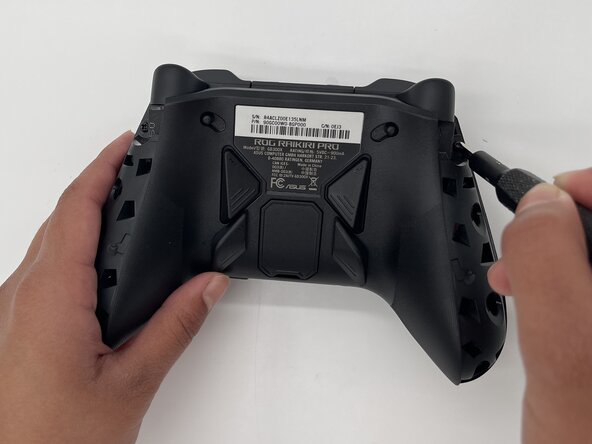
Use a Phillips #1 screwdriver to remove an 11 mm screw from the top of each handle.
-
-
-
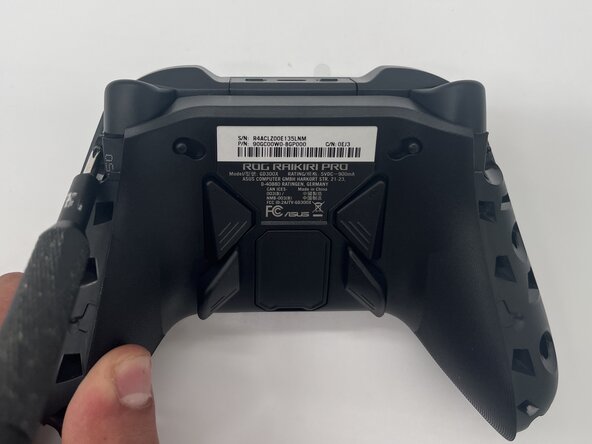
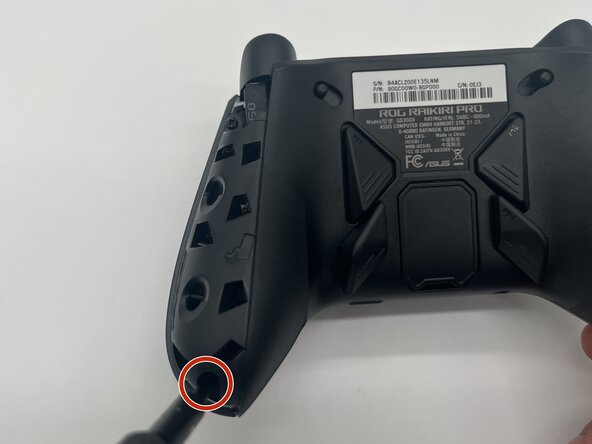
Use a Phillips #1 screwdriver to remove an 11 mm screw from the bottom corner of each handle.
-
-
-
-
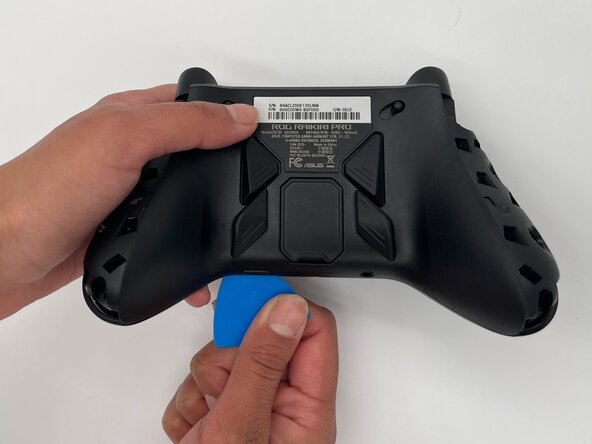
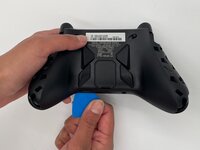
Place the tip of an opening pick or spudger in the seam of the back center panel.
-
Gently slide the pick from left to right along the seam to release the clips connecting the top and bottom of the controller.
-
Separate the top and bottom of the device.
-
-
-
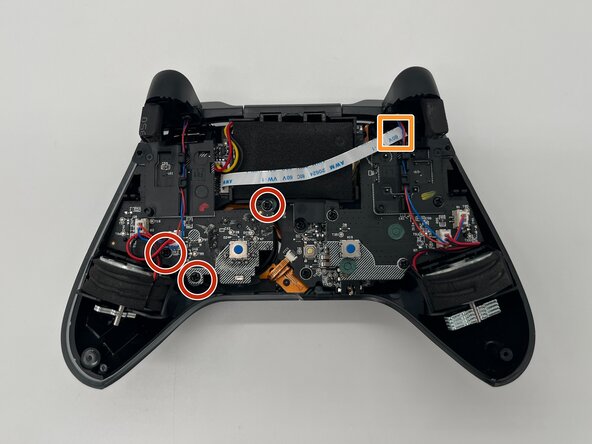
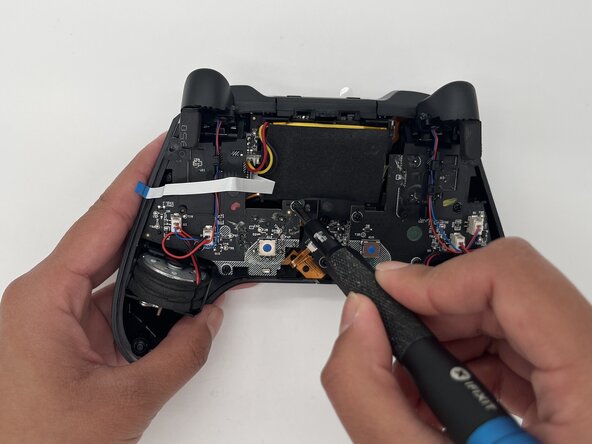
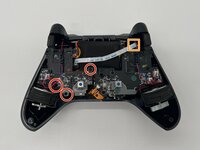
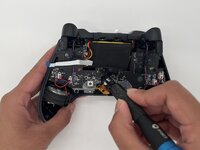
Use a Phillips #1 screwdriver to remove the three 8 mm screws securing the left board.
-
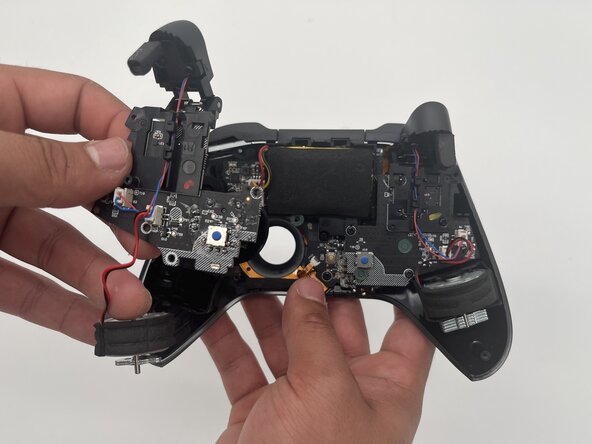
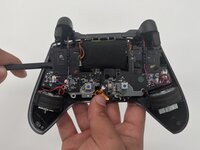
Disconnect the ribbon cable that crosses over the battery.
-
-







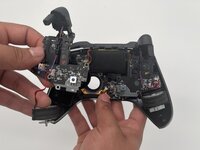

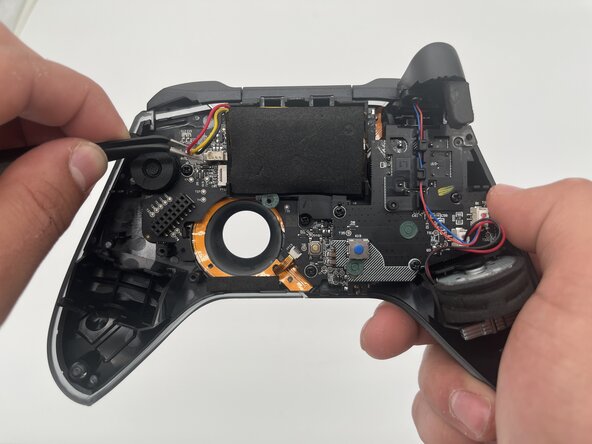
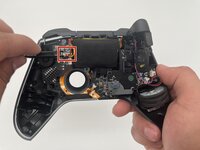
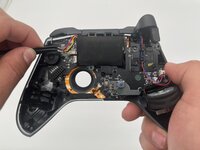

To reassemble your device, follow these instructions in reverse order. Take your e-waste to an R2 or e-Stewards certified recycler.
Cancel: I did not complete this guide.
One other person completed this guide.

Team

University of North Texas, Team 1-3, Kilpatrick Spring 2025 Member of University of North Texas, Team 1-3, Kilpatrick Spring 2025
UNT-KILPATRICK-S25S1G3
3 Members
60 Guides authored
