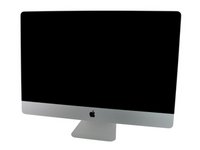
iMac Intel 27" EMC 2429
A1312 Mid 2011 iMac12,2 2.7 GHz
A1312 Mid 2011 iMac12,2 3.1 GHz
A1312 Mid 2011 iMac12,2 3.4 GHz
Free Shipping on Domestic Orders $75+

Condition: New
Style
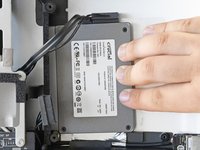
Install a second hard drive or SSD in your iMac with this custom iFixit installation kit. This kit is compatible with all processor speeds, regardless of whether or not Apple offers the additional SSD option for your machine. The kit does not require permanently removing your optical drive. We recommend installing a SATA interface SSD and using it as your boot drive or a 1 TB hard drive for more storage space.
| iFixit Part Number | IF174-002-3 |
|---|

Purchase with purpose
Repair with confidence
Fast shipping