Lifetime Guarantee

Holiday Deals, Built to Last - Shop Now
Plus Free Shipping on $75+ in the Contiguous USA

Condition: New
Style: Thin
Frequently Bought Together
Sale price $7.16
Regular price $7.95
Sale price $4.99
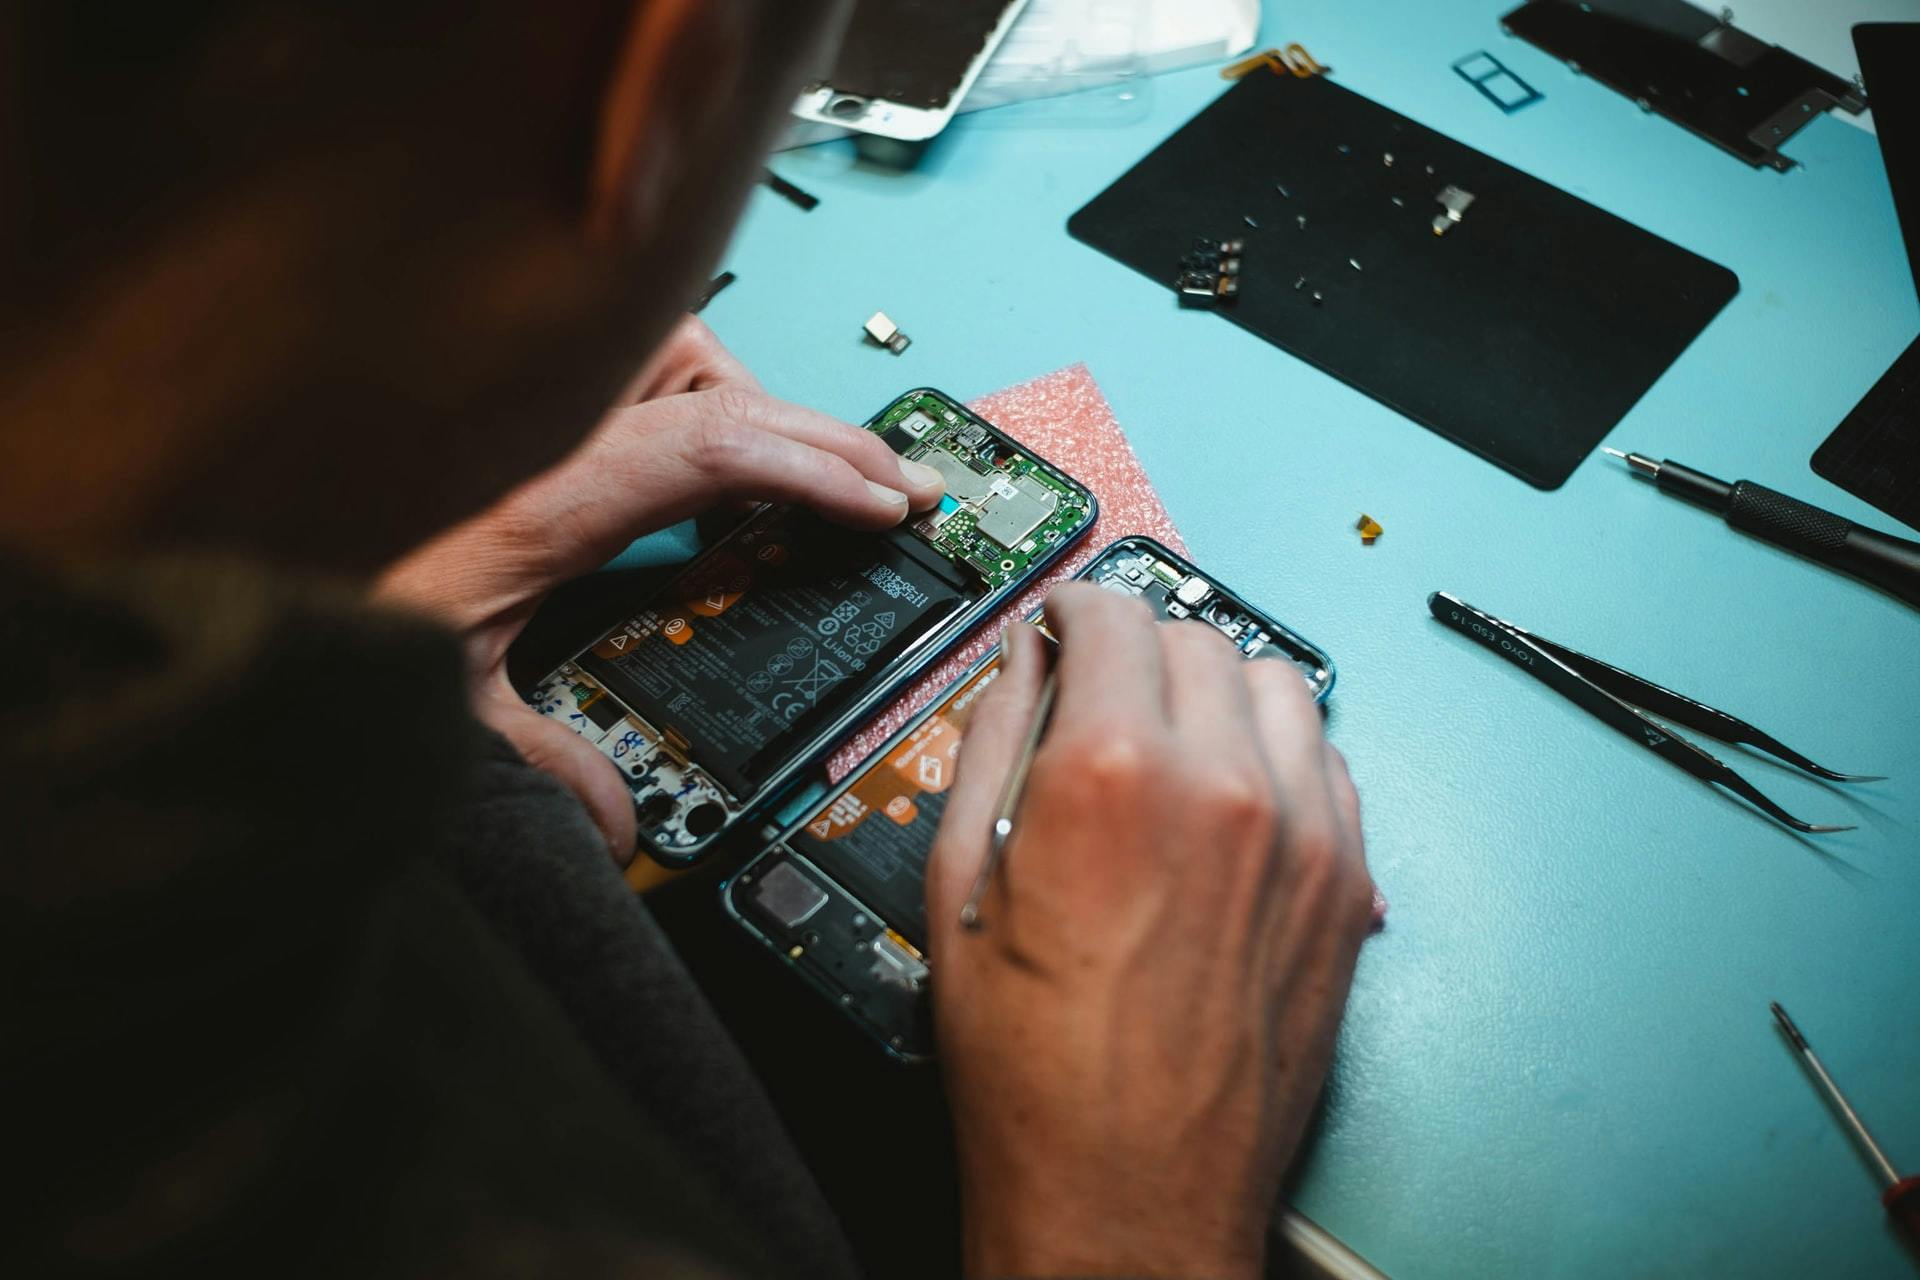
Be sure to exercise caution when using this tool. With its great strength comes the potential to scratch or otherwise damage components that might be better served with plastic tools such as a spudger or plastic opening tool.
| iFixit Part Number | IF145-012-5 |
|---|
Purchase with purpose
Repair with confidence
Fast shipping