Free Shipping on Domestic Orders $75+

Introduction
The compressor is the heart of your fridge. Diagnosing compressor issues starts with listening to your refrigerator — when and where does the sound appear? A stethoscope may help to answer these questions. Pull your fridge away from the wall and listen.
- If you can hear the compressor running but the fridge isn’t cooling, the problem is most likely either frost-clogged evaporator coils or a stuck or broken evaporator fan.
- If you hear constant and loud humming noise which doesn't shut off, your compressor may be broken or have a refrigerant leak.
The Basics
You may want to take a look at the component diagrams on our How a Refrigerator Works page, which will help you understand where all of the major components are so that you can more easily locate them.
It's also important to perform regular fridge maintenance. Keep it running well with these tips.
Before removing and replacing or continuity testing electrical components, power down the fridge. This will prevent damage to the components and prevent you from being electrocuted.
- If the fridge is pulled away from the wall, remove the plug.
- Otherwise, find the fridge’s circuit breaker in your breaker box and turn the circuit off.
- Check that the lights are off in in the fridge when you open the door
Incorrectly Loaded or Overloaded Fridge
The evaporator fan blows cold air around the freezer. Too much food or incorrectly placed food will block the vents and prevent proper temperature regulation. The refrigerator vents allow for airflow between the fridge and freezer compartments. The following tips may help your freezer maintain a safe temperature:
Locate your evaporator fan and move frozen items further away.
Unblock the vents. A rule of thumb for frost prevention is to stock enough food to fill the freezer while keeping an inch of space between the food and the walls.
Incorrect Thermostat Setting
If your refrigerator has a knob or dial that sets the temperature, check it out. Verify it is set on cold and hasn't been bumped or shifted positions. Use a thermometer if you don't have a digital thermostat display. The freezer should be around 0°F (-18°C); the fridge around 34°F(2°C)
Reset Power
You should try to reset the power to your fridge.
Unplug your refrigerator. If the plug is too hard to reach, switch the circuit breaker off.
Wait 5 minutes before returning power to the fridge.
This will reset your fridge but some modes need to be manually disabled. (see the next step)
Monitor temperature over the next 24 hours.
Causes
At the backside and bottom of your fridge are the condenser and its coils. Refrigerant passes through the coils which dissipates heat during the cooling cycle. As dust and debris pile onto the coils, the fridge becomes less efficient and the compressor must work harder to cool down. In some cases, the compressor may be running constantly in an attempt to cool the fridge.

- Pull your fridge out and inspect the coils.
- Your fridge may have an anti-tip bracket and can only be removed by pulling straight out from the wall.
- Clean dust off condenser coils and fan with a stiff brush and vacuum.
- Work carefully during this task and avoid bending or damaging the tubes.
The condenser fan draws air over the compressor and through the condenser coils. If the fan motor isn't working normally, then the fridge won't cool properly. It's normally located at the bottom of the fridge and blows air onto the condenser coils.

- Check the fan blade for physical obstructions
- Rotate the fan by hand. If it doesn't spin freely, replace the motor.
- If it spins freely, test the motor for continuity. Replace the condenser fan motor with a new one if the continuity test fails.
The evaporator fan draws air over the cooling coils and circulates this air within the fridge and freezer compartments. The evaporator fan should be running as long as the compressor motor is running. If your fridge only has one evaporator fan motor, it's located in the freezer compartment. When the fan fails, it won't circulate the cold air to the refrigerator. In this event, the freezer may still get cold while the refrigerator stays warm.

- Check the fan blade for physical obstructions.
- Note: The fan may not be running if it's iced up
- Rotate the fan by hand. If it doesn't spin freely, replace the motor.
- If it spins freely, test the motor for continuity. Replace the evaporator fan motor if the continuity test fails.
- An unusually noisy motor should be replaced as well.

- 5 minutesEasy
Find compatible replacement parts for your Refrigerator. All parts and fix kits are backed by the iFixit Quality Guarantee.
If the evaporator cover in your freezer is covered in ice crystals, or otherwise frozen over, there's an issue with your defrost system.
Defrost Type
Frost-free appliances regulate temperature to prevent ice build-up. Automatic and adaptive defrost systems prevent and remove ice build-up by circulating heat as needed; automatic systems typically run on a timer, while adaptive systems use sensors to determine when to circulate the heat.
Initial Troubleshooting
The most modern freezers have an auto-defrost system. This defrost system has four main parts: a defrost heater, a bi-metal thermostat, an electronic control board, and a thermistor. Let's begin troubleshooting the defrost heater system.
- Test to see if the defrost heater works. Put your freezer into forced defrost mode. On some models this mode is entered by pushing the door sensor 5 times in 2 seconds. The controller will beep and the defrost mode will start. This mode can be exited by unplugging the fridge.
- If this procedure doesn't work, check the tech sheet located under or behind your fridge for your specific procedures.
- Check to see if the heater heats up.
- If it heats up, jump to the thermistor section.
- If it doesn't heat up, begin troubleshooting the system starting with the defrost heater.
Like a breaker tripping under a power load, your thermal fuse may blow when your defrost system overheats. One sign that your fuse may have blown is your evaporator freezing over.
- Continuity test your fuse and replace it unit if the reading is more than 1Ω.
Find compatible replacement parts for your Refrigerator. All parts and fix kits are backed by the iFixit Quality Guarantee.
The defrost heater melts frost off the evaporator fins. If the defrost heater fails, the frost stays put, and the entire evaporator eventually becomes ice.

- Locate the defrost heater. If you notice any bumps or cracks, replace immediately.
- Continuity test the heater. A resistance value outside 50-120Ω will need to be replaced with a new unit.
- 5 minutesEasy

Find compatible replacement parts for your Refrigerator. All parts and fix kits are backed by the iFixit Quality Guarantee.
The defrost timer is in charge of initiating 30 minute heating cycles every 10 hours of fridge run time. If this unit fails, your fridge will be stuck in either the heating or cooling cycle. It's time to test the defrost timer.
- In units with an adaptive defrost control board, you'll have to manually enable the defrost cycle.
- For some models turn the thermostat off for 15 seconds, then on for 5 seconds. Repeat this two more times, then turn the thermostat off.
- Defrost cycle should be turned on. Test temperature with a thermometer to see if your fridge is heating up.
- With a manual timer, test between terminals 1 and 4 for continuity.
- Continuity here means that the cooling cycle is operating.
- Rotate the manual dial until hearing a click. Now test between pins 1 and 2 for continuity. This means that the heating cycle is working, and there should be no continuity between pins 1 and 4.
- Replace timer with a new one if continuity tests fail, or fridge doesn't enter defrost mode.
- 5 minutesEasy

Find compatible replacement parts for your Refrigerator. All parts and fix kits are backed by the iFixit Quality Guarantee.
If the refrigerator still does not get cold enough, the temperature control thermostat (also called bi-metal thermostat) might be faulty. The thermostat allows power to flow through to the compressor, evaporator fan, and condenser fan. If the cooling system fans and compressor are running, but the refrigerator or freezer is not cooling correctly, check for an airflow or defrost system problem.
- Continuity test the thermostat.
- Make sure it's cold from the fridge or sitting in ice water.
- Replace with a new one if its resistance value is outside of 0-1Ω.
- 5 minutesEasy

Find compatible replacement parts for your Refrigerator. All parts and fix kits are backed by the iFixit Quality Guarantee.
Another problem that prevents your fridge from getting cold enough is a faulty thermistor. The thermistor is a sensor that monitors temperature. It is connected to the control board. If a thermistor is defective, the refrigerator may not cool (or may cool continuously). This is not likely if the compressor is running but the unit is not cooling.
There may be up to four thermistors on your fridge:
- The fresh food compartment thermistor
- The fresh food defrost thermistor
- The freezer compartment thermistor
- The freezer defrost thermistor
The compartment thermistors sense the air temperature in the compartment they are placed in. The defrost thermistors sense the evaporator temperature during a defrost cycle and prevent the defrost heater from overheating the evaporator. Since many refrigerators have evaporators in both the freezer and fresh food sections you can end up with four (or even five if the unit has an ambient air thermistor)
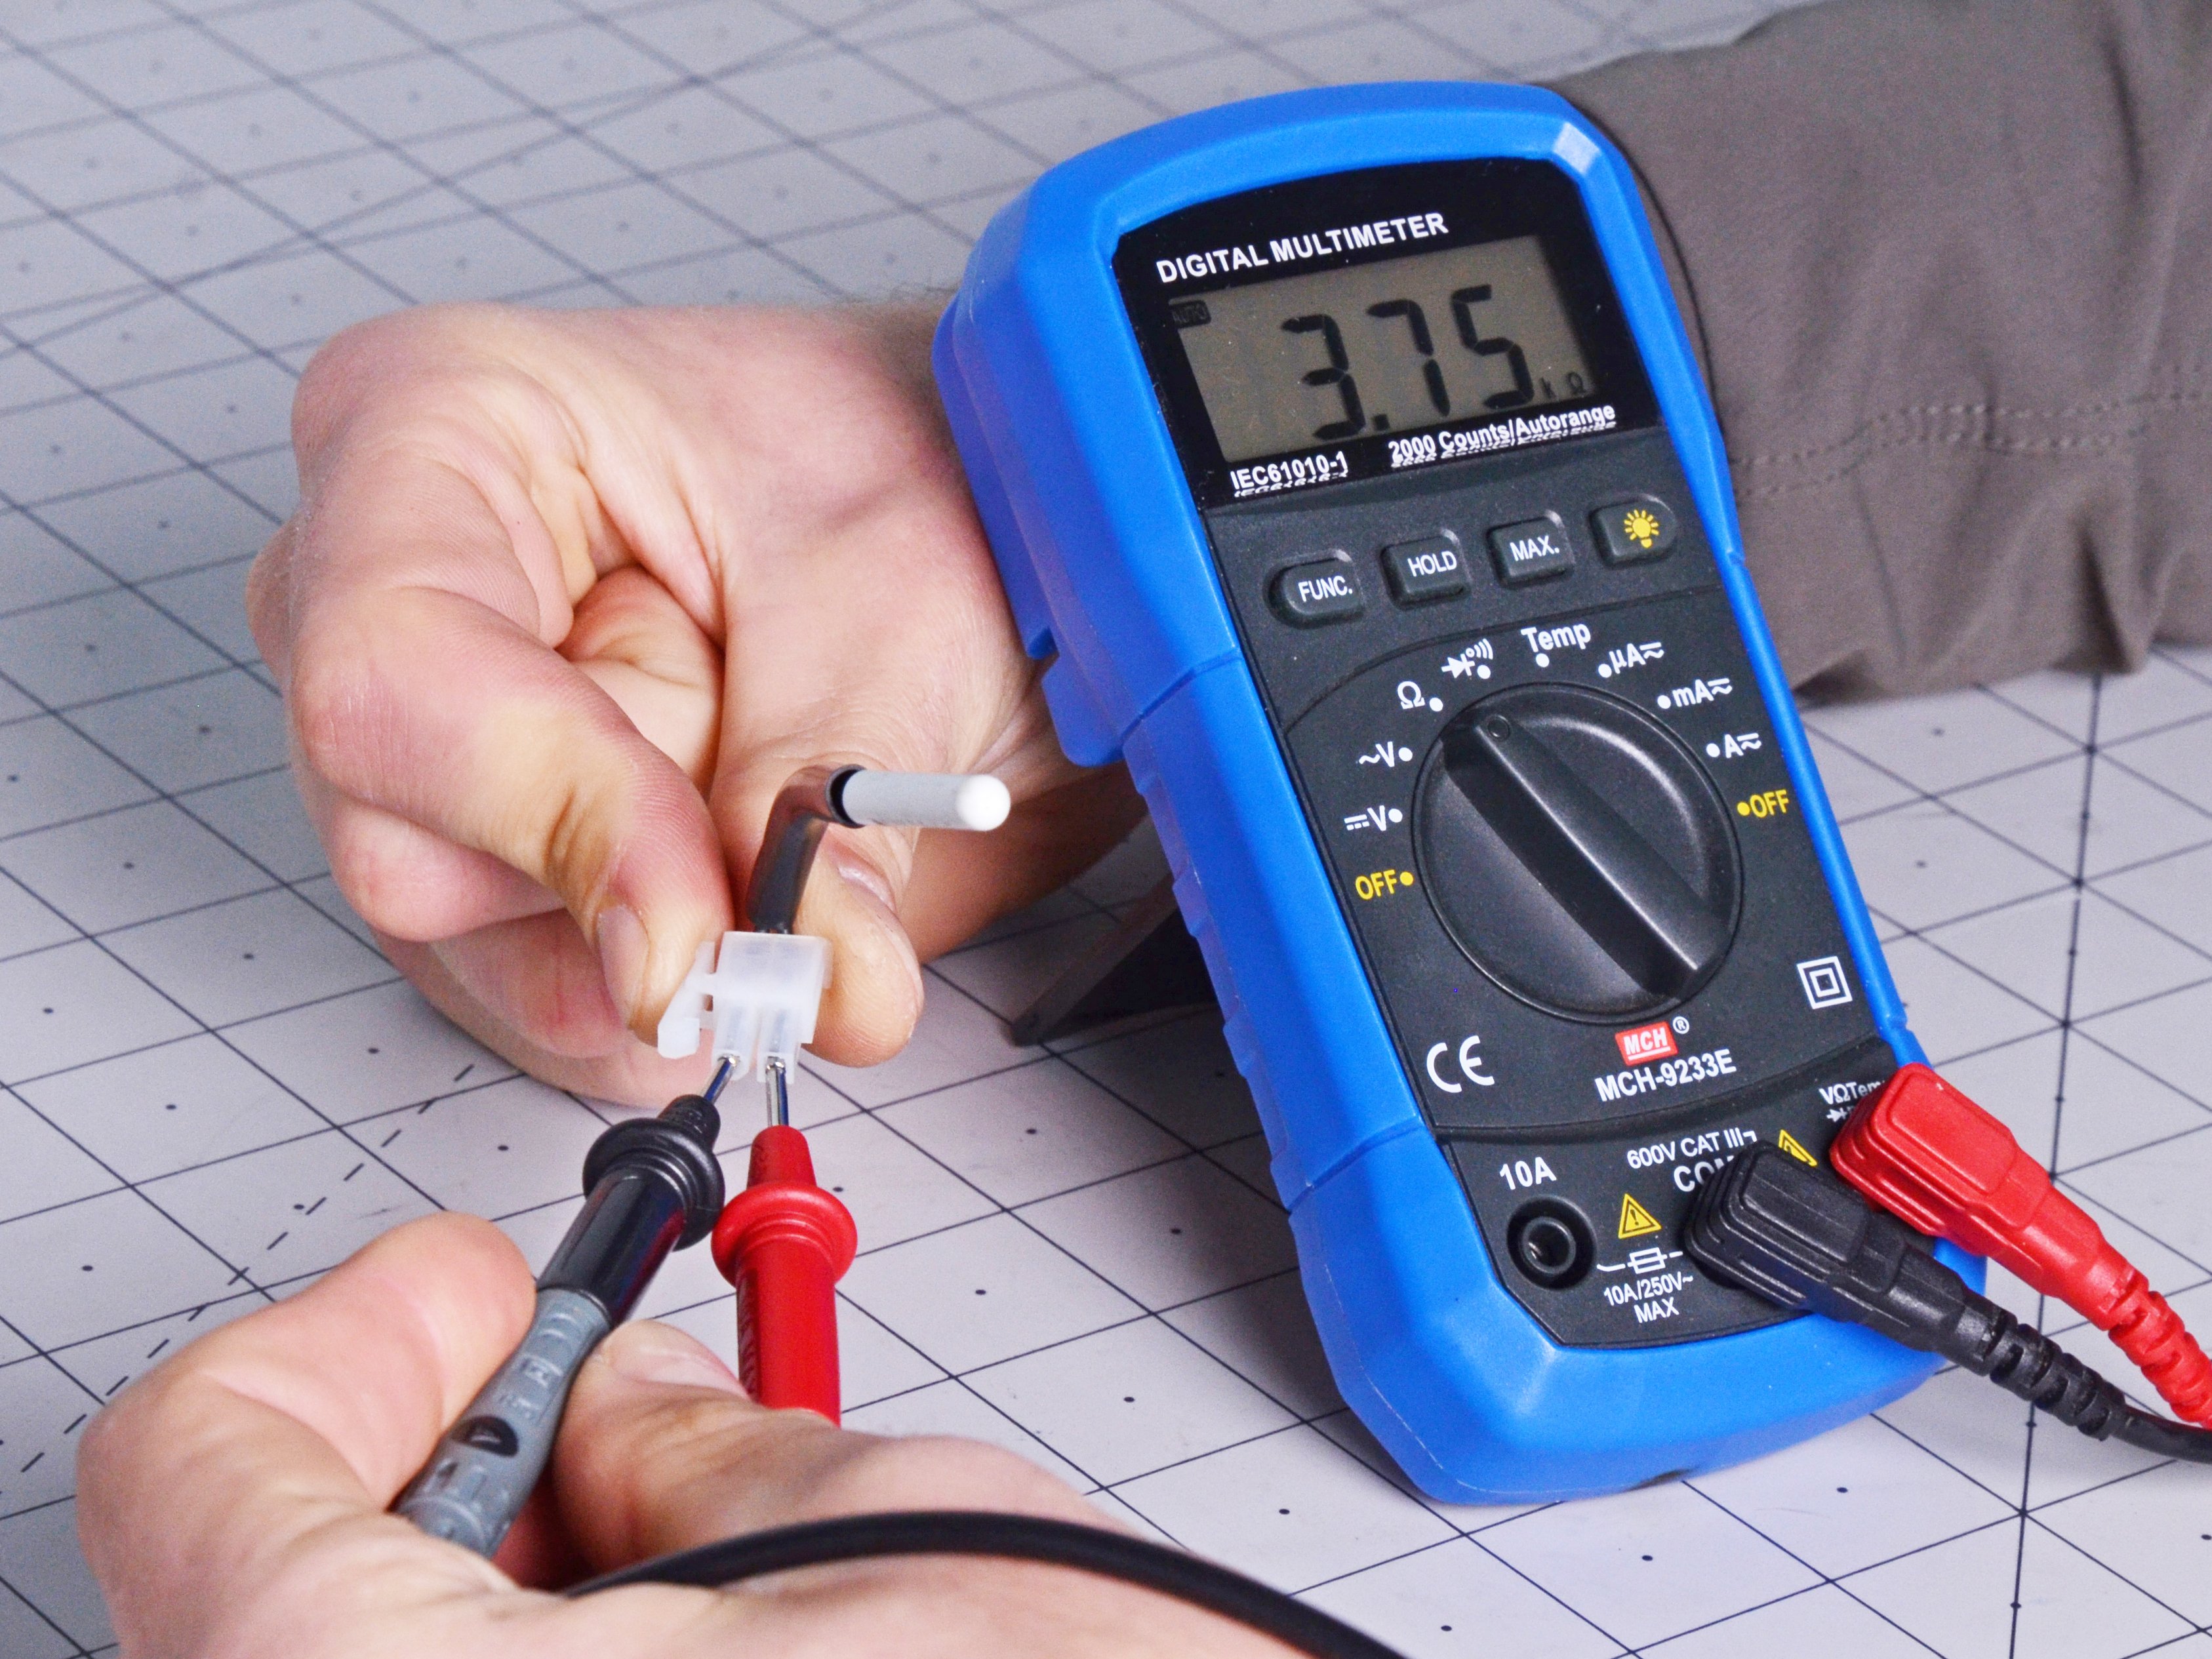
Grab a multimeter and continuity test the thermistor. Place the thermistor tip into a cup of ice water made from ice, water (just enough to cover the ice) and salt. You will need to find information on the resistance value expected for your refrigerator's various thermistors at 32°F (0°C).
Another possible cause is the defrost thermistor. This can keep the defrost cycle from running fully, allowing ice to build up, which will cause temperature problems in the refrigerator either because the evaporator in the freezer frosts up or because the fresh food compartment defrost is failing in a dual evaporator system.
If the thermistors test ok go on to the next item.
- 5 minutesEasy

Find compatible replacement parts for your Refrigerator. All parts and fix kits are backed by the iFixit Quality Guarantee.
If the refrigerator is not cold enough, the temperature control board might be defective. The temperature control board provides voltage to the fan motors and compressor. The electronic control board starts the defrost cycle and regulates how often they are triggered. If the control board fails, your fridge will not be able to defrost automatically.
- These boards are often misdiagnosed. Check all other components to be certain this is the cause of the problem.

Find compatible replacement parts for your Refrigerator. All parts and fix kits are backed by the iFixit Quality Guarantee.
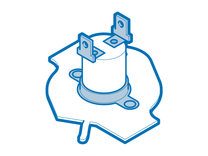
Since the compressor is likely running for the freezer to work, this isn't as likely a failure. If the capacitor has failed, the compressor will not be able to start and run as it should. Most newer refrigerators use a run capacitor, which stays in the circuit and improves the energy efficiency of the compressor. Some older refrigerators may have a start capacitor, which functions just at startup. These are not as common.
You may be able to tell what kind you have by looking at a couple of factors. Many run capacitors are polymer-type capacitors with a small rectangular block shape. There are cylindrical run capacitors, but they are less common (some LG fridges have them). The capacitance values of run capacitors tend to be smaller on refrigerators, something between 10 and 22µF (µF stands for microfarads, also abbreviated MFD).

A Typical Run Capacitor
Safely remove the capacitor and discharge with a discharge tool.
On smaller capacitors, you can use a screwdriver with an insulated handle to discharge it. But be careful as capacitors increase in size.
Test the capacitor with a capacitance meter; replace it if the value measured is outside the tolerance listed on the capacitor (usually +/- 5-10%).
A very quick functional check for a capacitor is to set your multimeter to the continuity function with the beeper on. Connect the capacitor to the leads for a few seconds. Then, swap the leads to the opposite terminals. If the capacitor is at least storing some charge, you should get a short beep. This will not tell you if the capacitance is correct, only that the capacitor will store charge.
When you replace a capacitor, get the exact type of the existing capacitor and the same capacitance value. You can safely use a capacitor with the same or higher voltage rating than the original.
If everything checks out, go to the next item.

- 2 - 15 minutesModerate

Find compatible replacement parts for your Refrigerator. All parts and fix kits are backed by the iFixit Quality Guarantee.
If there is a refrigerant leak, the fridge won't be able to maintain a proper temperature. Your compressor is likely running non-stop.
- Contact a service technician to inspect your compressor.
- This may result in refilling or replacing your refrigerant, or replacing the entire fridge.
Finally, if the refrigerator won’t get cold enough, the main control board might be defective. This is not common.
- Check and test the defrost system, cooling fans, and cooling controls first.
- If none of the other components are defective, consider replacing the main control board.

Find compatible replacement parts for your Refrigerator. All parts and fix kits are backed by the iFixit Quality Guarantee.
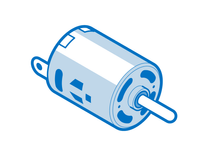
The compressor is your fridge's workhorse. By pressurizing the refrigerant, the compressor ultimately enables the evaporator to chill air. If the compressor is very noisy when you start it up, that's a bad sign, but give it 90 seconds or so to stabilize and get quieter.
- Test the compressor for continuity by following the video above.
- Resistance values vary based on the compressor.
- Values outside of the range or a short to ground will mean replacing the compressor with a new one, which is a costly repair.
- If your fridge is over a few years old, you may be better off replacing the fridge instead of the compressor.

Find compatible replacement parts for your Refrigerator. All parts and fix kits are backed by the iFixit Quality Guarantee.
Modern refrigerator compressor technology has shifted from single-phase motors to 3-phase DC-controlled AC motors.
This means that instead of the start relay assembly normally attached to the compressor pins — the start relay, overload relay, and overload capacitor — there is now a sealed motherboard and many wires. The inverter board modulates the power supplied to the compressor, allowing for more efficient operation.

This new technology is harder to test, so this video may be helpful.
The inverter board must be tested by the process of elimination.
- First, test the input voltages. The inverter board will have both a 120V AC main power supply voltage and a 4-6V DC voltage from the main control board. Remember to make all voltage measurements with everything connected.
- If one of these voltages is missing, the inverter board will not work.
- Backtrack to find the issue. You could have a faulty wire harness connector, a bad motherboard, or another issue.
- Second, follow the compressor continuity testing from above to verify your compressor isn't shorted and is okay.
- If the compressor is fine, and the board input voltages are fine, then your inverter board has failed and needs replacing.
Find compatible replacement parts for your Refrigerator. All parts and fix kits are backed by the iFixit Quality Guarantee.
You're seeing solutions for Refrigerator. Select your model to find parts for your device.
Related Problems


23 common problems
View allDescribe your problem in your own words