Free Shipping on Domestic Orders $75+

What you need

This teardown is not a repair guide. To repair your iPhone 12, use our service manual.

    1. iPhone 12  Teardown, Remove the SIM: step 1, image 1 of 2 iPhone 12  Teardown, Remove the SIM: step 1, image 2 of 2
      • Remove the SIM Card tray using a SIM Card eject tool

      Ask FixBot

      Add Comment

    2. iPhone 12  Teardown, Unscrew the lower screws: step 2, image 1 of 3 iPhone 12  Teardown, Unscrew the lower screws: step 2, image 2 of 3 iPhone 12  Teardown, Unscrew the lower screws: step 2, image 3 of 3
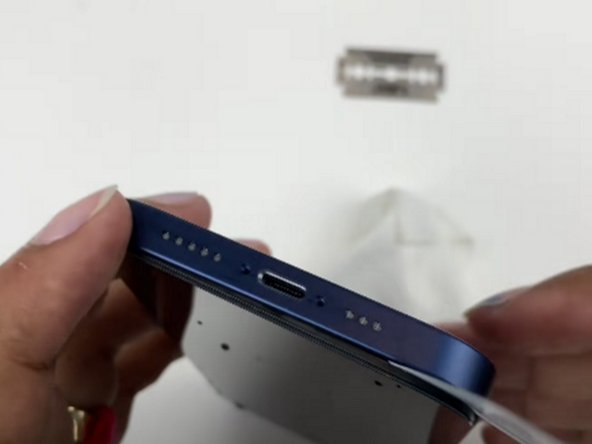
      • Turn off the device

      • Unscrew the two 6.9 mm long Pentalobe screws.

      Ask FixBot
      Add Comment

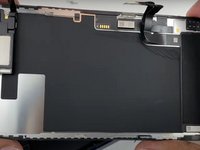
    3. iPhone 12  Teardown, Raise the display: step 3, image 1 of 3 iPhone 12  Teardown, Raise the display: step 3, image 2 of 3 iPhone 12  Teardown, Raise the display: step 3, image 3 of 3
      • Apply a heated iOpener all around the edge of the screen to loosen the adhesive under the display.

      • Lift the display with a suction cup and insert a thin object to separate the screen from the frame.

      • Slide the fine object along the entire edge to cut the adhesive.

      • Raise the display.

      Ask FixBot
      Add Comment

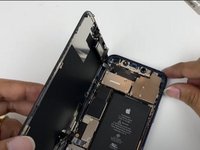
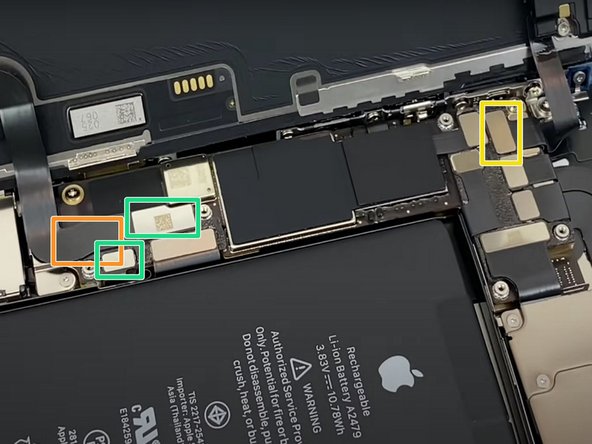
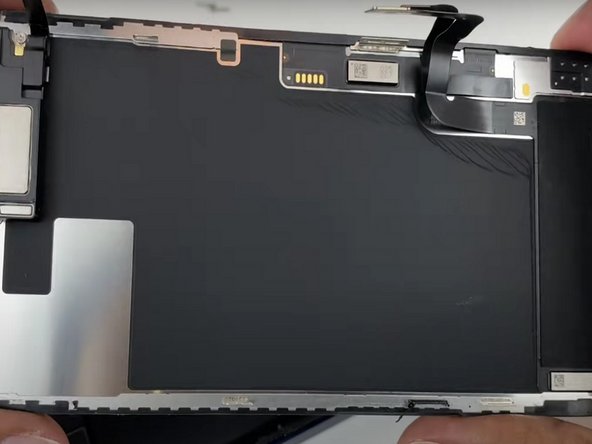
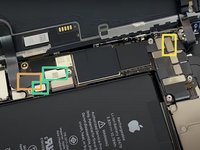
    4. iPhone 12  Teardown, Disconnect the display: step 4, image 1 of 3 iPhone 12  Teardown, Disconnect the display: step 4, image 2 of 3 iPhone 12  Teardown, Disconnect the display: step 4, image 3 of 3
      • Remove the 6 Phillips # 00 screws.

      • With a spudger or with your fingernails, lift the two connectors.

      • Lift the connector underneath.

      • Disconnect the display connector.

      • Raise the display.

      Ask FixBot
      Add Comment

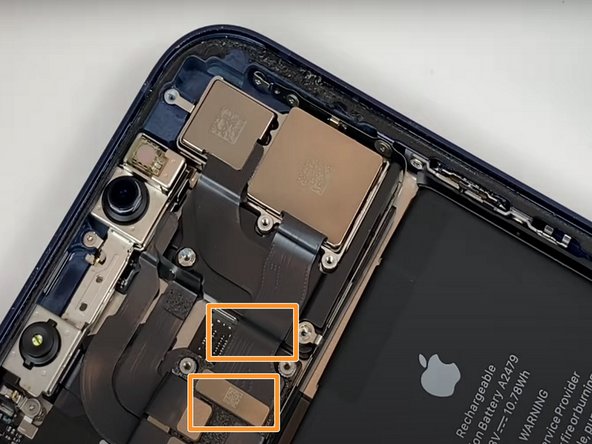
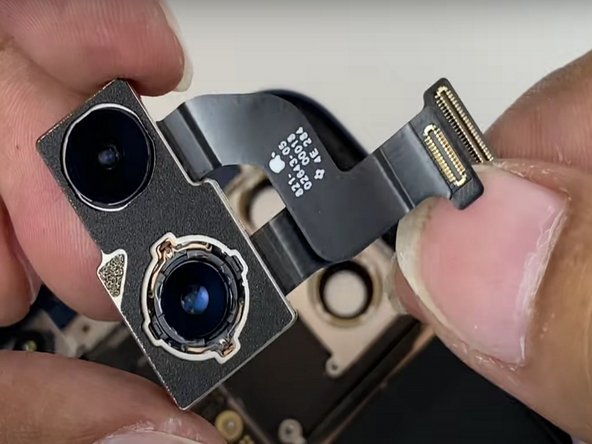
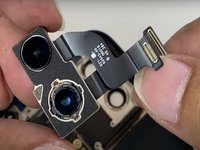
    5. iPhone 12  Teardown, Remove the rear camera: step 5, image 1 of 3 iPhone 12  Teardown, Remove the rear camera: step 5, image 2 of 3 iPhone 12  Teardown, Remove the rear camera: step 5, image 3 of 3
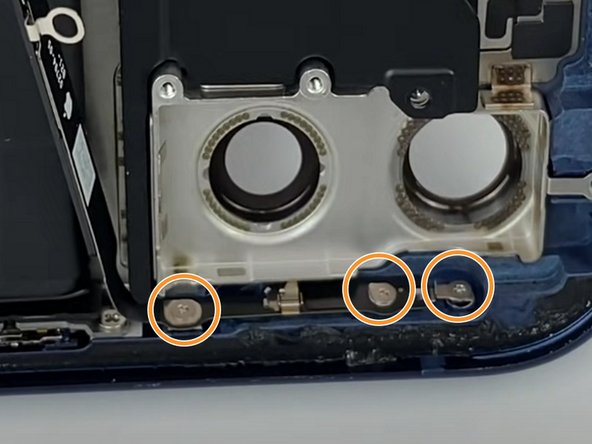
      • Unscrew the 4 Phillips # 00 screws.

      • With a spudger or fingernails disconnect the two rear camera connectors.

      • Remove the rear camera.

      Ask FixBot

      Add Comment

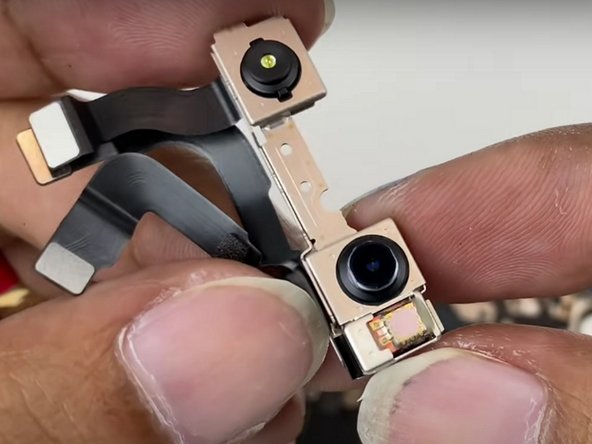
    6. iPhone 12  Teardown, Remove the front camera.: step 6, image 1 of 2 iPhone 12  Teardown, Remove the front camera.: step 6, image 2 of 2
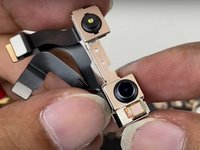
      • With a spudger or fingernails to disconnect the three connectors that connect the front camera.

      • Remove the front camera.

      Ask FixBot

      Add Comment

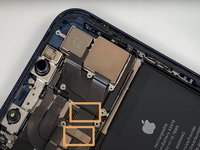
    7. iPhone 12  Teardown, Remove the battery holder: step 7, image 1 of 2 iPhone 12  Teardown, Remove the battery holder: step 7, image 2 of 2
      • With a spudger or fingernails disconnect the battery holder connector.

      • Unscrew the 3 Phillips # 00 screws.

      • Remove the battery holder.

      Ask FixBot
      Add Comment

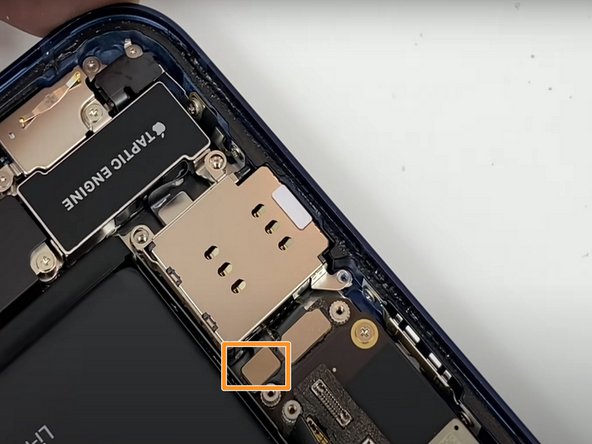
    8. iPhone 12  Teardown, Remove the camera flash: step 8, image 1 of 1
      • With a spudger or fingernails disconnect the rear camera flash connector.

      • Unscrew the 3 Phillips # 00 screws.

      • Unscrew the 2 Phillips # 00 screws.

      • Remove the rear camera flash.

      Ask FixBot
      Add Comment

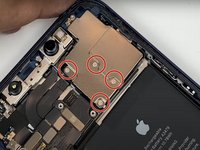
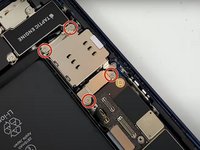
    9. iPhone 12  Teardown, Remove the SIM card holder: step 9, image 1 of 3 iPhone 12  Teardown, Remove the SIM card holder: step 9, image 2 of 3 iPhone 12  Teardown, Remove the SIM card holder: step 9, image 3 of 3
      • Unscrew the 4 Phillips # 00 screws.

      • Unscrew the 2 screw holders with the suitable screwdriver.

      • With a spudger or fingernails to disconnect the SIM card holder connector.

      • Remove the SIM card holder.

      Ask FixBot
      Add Comment

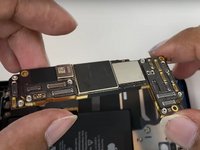
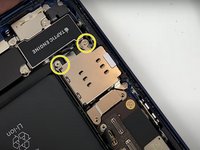
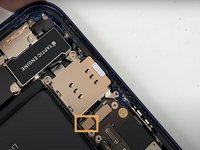
    10. iPhone 12  Teardown, Remove the battery logic board: step 10, image 1 of 2 iPhone 12  Teardown, Remove the battery logic board: step 10, image 2 of 2
      • Remove the 2 Phillips # 00 screws.

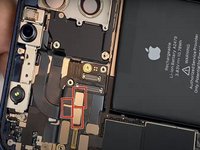
      • With a spudger or fingernails disconnect the 3 battery connectors.

      • Unscrew the screw holder with a standoff screwdriver for iphone.

      • Remove the film with a spudger.

      • Attention this last step is necessary to remove the logic board.

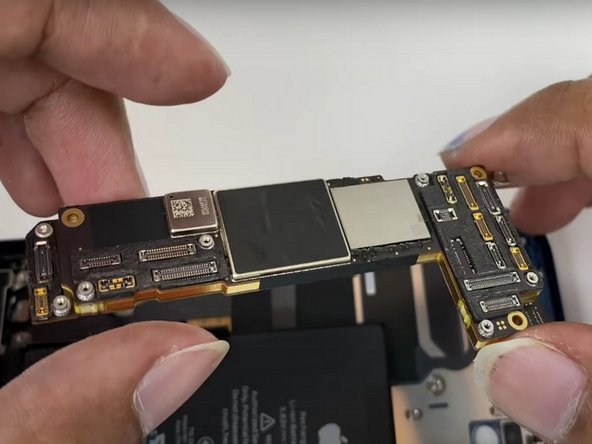
      • Remove the logic board.

      Ask FixBot
      Add Comment
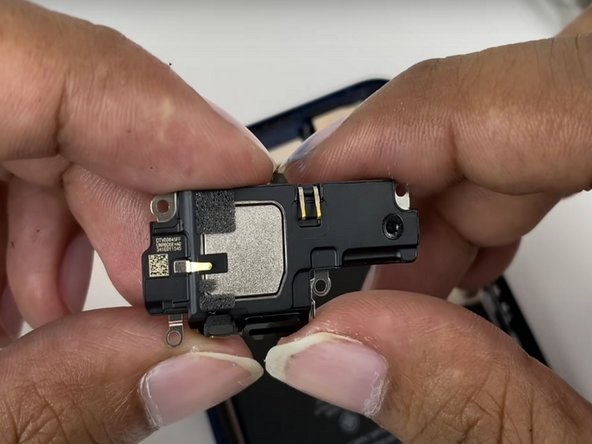
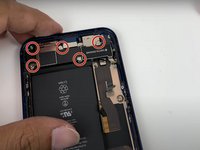
    11. iPhone 12  Teardown, Remove the speaker: step 11, image 1 of 2 iPhone 12  Teardown, Remove the speaker: step 11, image 2 of 2
      • Unscrew the 5 Phillips # 00 screws.

      • Remove the speaker.

      Ask FixBot

      Add Comment

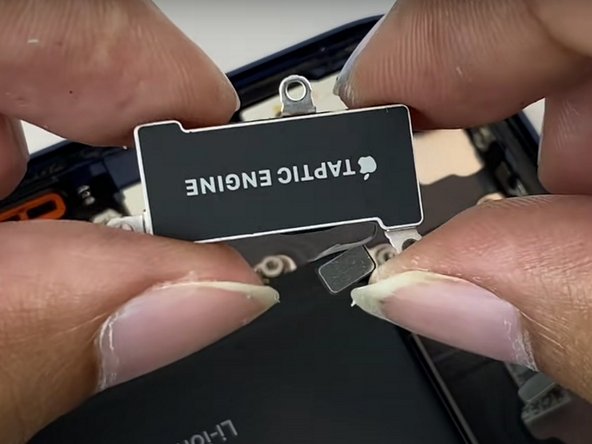
    12. iPhone 12  Teardown, Remove the taptic engine: step 12, image 1 of 2 iPhone 12  Teardown, Remove the taptic engine: step 12, image 2 of 2
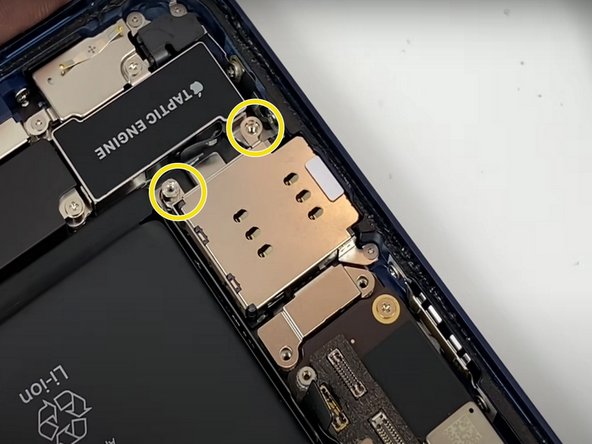
      • Remove the 2 screw holders with a standoff screwdriver for iphone

      • Unscrew the 3 Phillips # 00 screws.

      • Remove the taptic engine connector with a spudger or fingernail.

      • Remove the taptic engine.

      Ask FixBot

      Add Comment

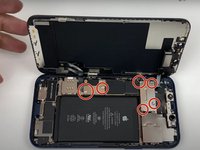
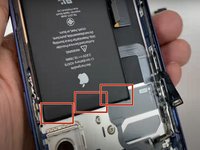
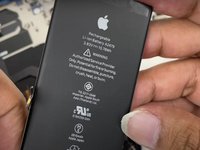
    13. iPhone 12  Teardown, Remove the battery: step 13, image 1 of 2 iPhone 12  Teardown, Remove the battery: step 13, image 2 of 2
      • Remove the adhesive under the battery.

      • To remove the adhesive under the battery, remove the stickers marked in red in the first photo.

      • Remove the battery.

      Ask FixBot

      Add Comment

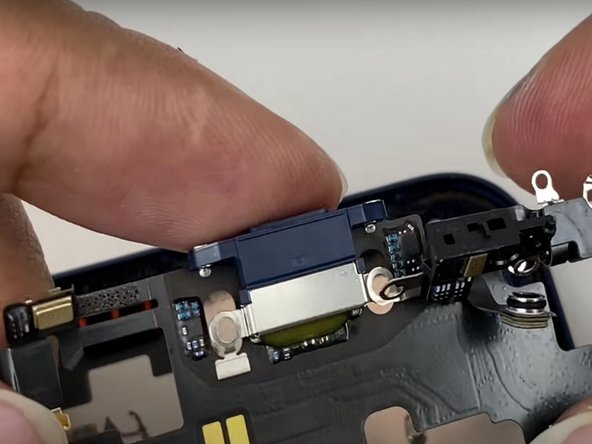
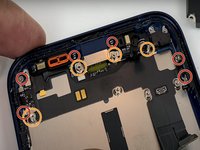
    14. iPhone 12  Teardown, Remove the charging port: step 14, image 1 of 2 iPhone 12  Teardown, Remove the charging port: step 14, image 2 of 2
      • Unscrew 6 Phillips # 00 screws.

      • Remove the 4 screw holders with an iPhone standoff screwdriver.

      • Remove the film with a spudger.

      • Attention, the previous step is essential to remove the charging port.

      • Remove the charging port.

      • Be careful not to make too strong, this could damage some components.

      Ask FixBot

      Add Comment

    15. iPhone 12  Teardown: step 15, image 1 of 1
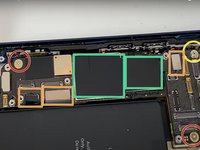
      • And here are all the components that make up the new iPhone 12.

      Ask FixBot

      Add Comment

Special thanks to these translators:

it en

100%

These translators are helping us fix the world! Want to contribute?
Start translating ›

Andrea Alfani

Member since: 04/20/22

8,754 Reputation

5 Guides authored

Team

SussyFixers Member of SussyFixers

Community

3 Members

24 Guides authored

8 Guide Comments

I had problem with nfc. When it was changed. Have any solution?

Ak H - Reply Share

I don't see any mentioning of the microphone, Is the Microphone an integral part of the charging port harnes?

Paal Halvorsen - Reply Share

This guide is missing A LOT of steps

Jason Oestrike​ - Reply Share

This is definitely not a US iPhone 12! e careful as the antenna can tear easily and potentially ruin a motherboard.

Kyle Morrell - Reply Share

>disconnect battery connector
>disconnetct 3 battery connectors

wtf?)) why do you call any FPC "battery connector"? so NPC

Джокер Богданофф - Reply Share

Add Comment

View Statistics:

Past 24 Hours: 67

Past 7 Days: 443

Past 30 Days: 1,881

All Time: 82,559