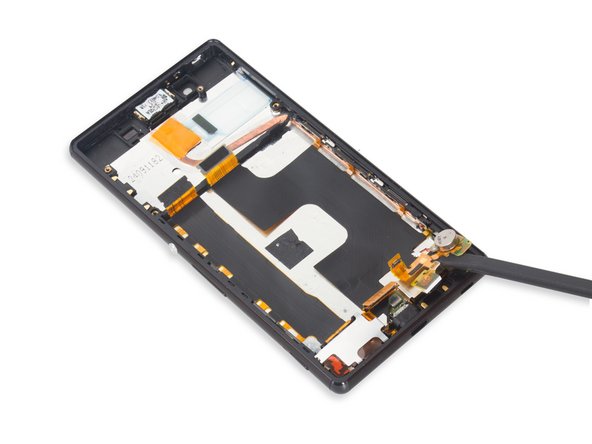
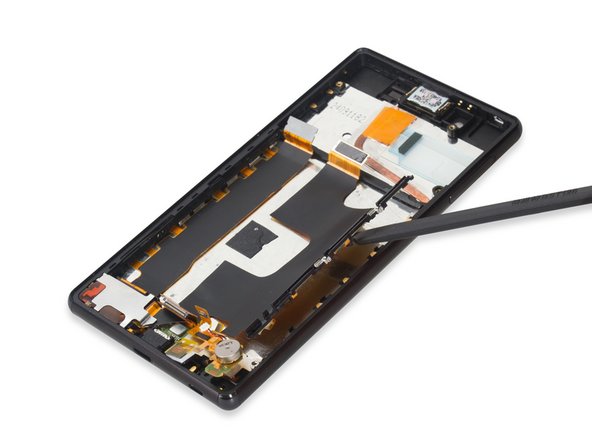
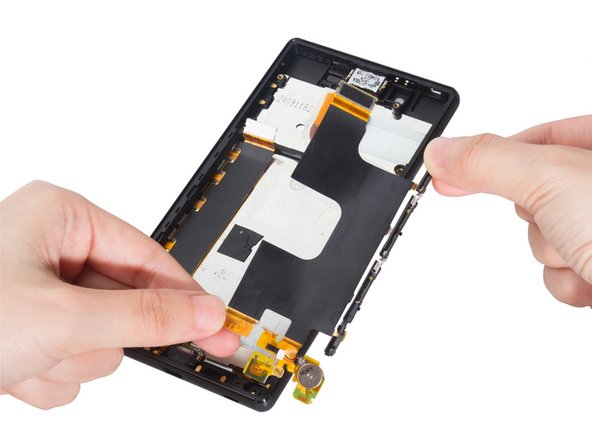
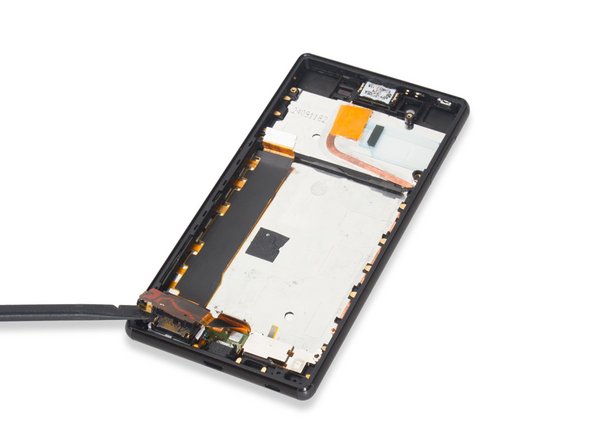
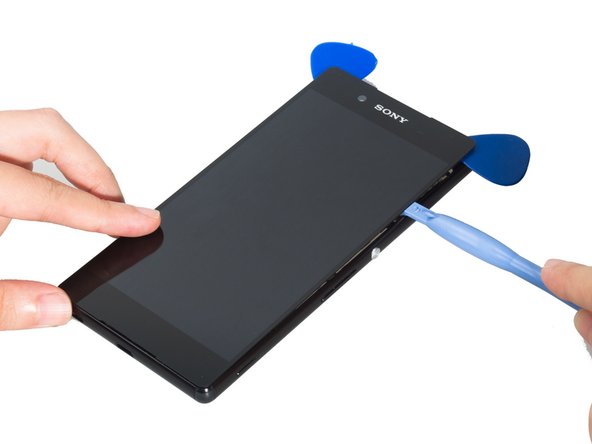
What you need

Video Overview

This teardown is not a repair guide. To repair your Sony Xperia Z4, use our service manual.

  1. Sony Xperia Z4 Teardown, Sony Xperia Z4 Teardown: step 1, image 1 of 2 Sony Xperia Z4 Teardown, Sony Xperia Z4 Teardown: step 1, image 2 of 2
    • Remove back cover.

  2. Sony Xperia Z4 Teardown: step 2, image 1 of 3 Sony Xperia Z4 Teardown: step 2, image 2 of 3 Sony Xperia Z4 Teardown: step 2, image 3 of 3
    • Remove battery.

  3. Sony Xperia Z4 Teardown: step 3, image 1 of 2 Sony Xperia Z4 Teardown: step 3, image 2 of 2
    • Release all the connectors on board and remove the screws there.

  4. Sony Xperia Z4 Teardown: step 4, image 1 of 2 Sony Xperia Z4 Teardown: step 4, image 2 of 2
    • Remove that small securing bracket.

  5. Sony Xperia Z4 Teardown: step 5, image 1 of 3 Sony Xperia Z4 Teardown: step 5, image 2 of 3 Sony Xperia Z4 Teardown: step 5, image 3 of 3
    • Remove rear camera and front camera.

  6. Sony Xperia Z4 Teardown: step 6, image 1 of 2 Sony Xperia Z4 Teardown: step 6, image 2 of 2
    • Remove motherboard.

  7. Sony Xperia Z4 Teardown: step 7, image 1 of 3 Sony Xperia Z4 Teardown: step 7, image 2 of 3 Sony Xperia Z4 Teardown: step 7, image 3 of 3
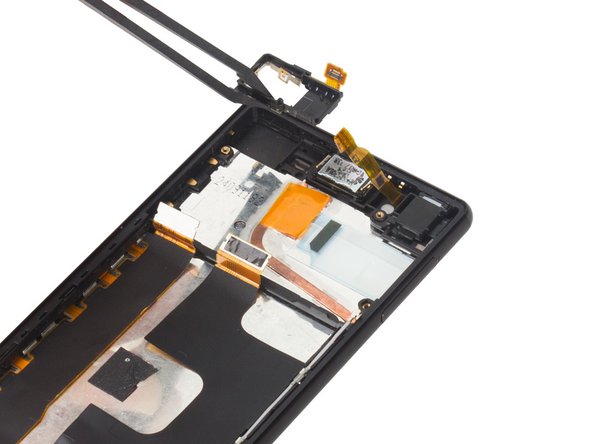
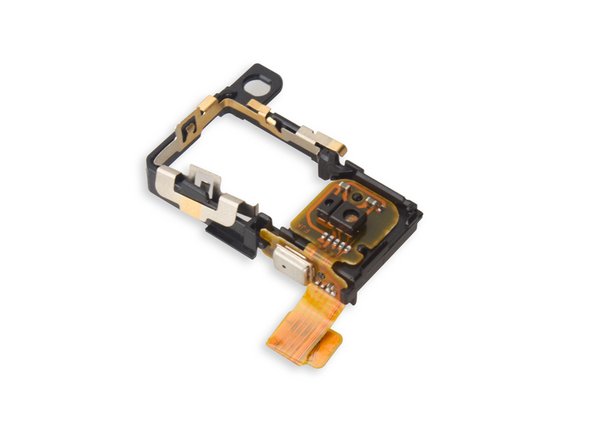
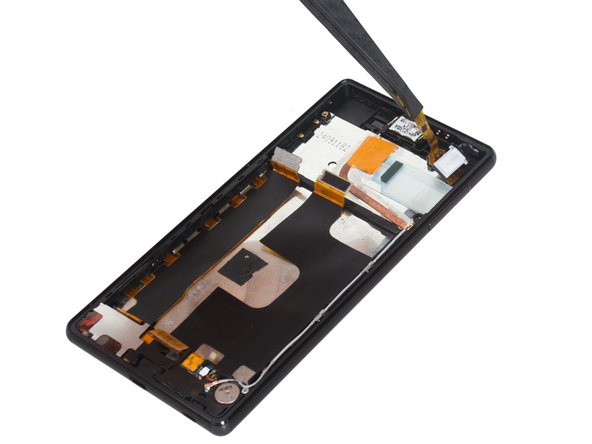
    • Remove sensor flex.

  8. Sony Xperia Z4 Teardown: step 8, image 1 of 3 Sony Xperia Z4 Teardown: step 8, image 2 of 3 Sony Xperia Z4 Teardown: step 8, image 3 of 3
    • Remove two pieces of cover brackets on the audio jack.

  9. Sony Xperia Z4 Teardown: step 9, image 1 of 2 Sony Xperia Z4 Teardown: step 9, image 2 of 2
    • Cut the adhesive on the top of the audio jack and remove the audio jack assembly.

  10. Sony Xperia Z4 Teardown: step 10, image 1 of 1
    • Remove signal cable.

  11. Sony Xperia Z4 Teardown: step 11, image 1 of 3 Sony Xperia Z4 Teardown: step 11, image 2 of 3 Sony Xperia Z4 Teardown: step 11, image 3 of 3
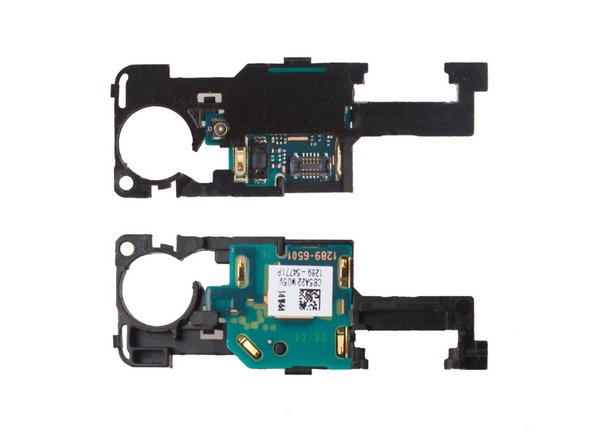
    • Release connectors connecting on the antenna logic board and finally remove it.

  12. Sony Xperia Z4 Teardown: step 12, image 1 of 2 Sony Xperia Z4 Teardown: step 12, image 2 of 2
    • Release LCD connector there and loosen the bottom of the whole flex.

  13. Sony Xperia Z4 Teardown: step 13, image 1 of 3 Sony Xperia Z4 Teardown: step 13, image 2 of 3 Sony Xperia Z4 Teardown: step 13, image 3 of 3
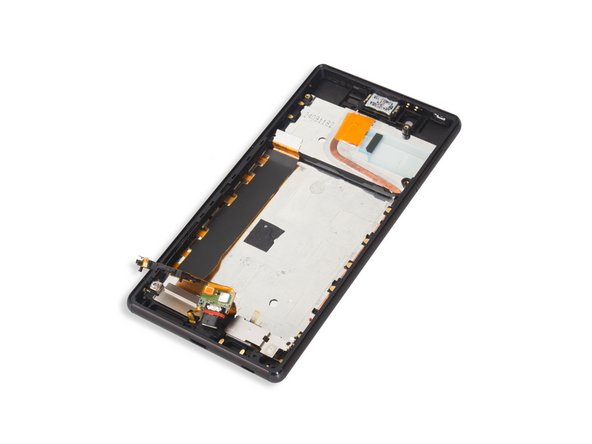
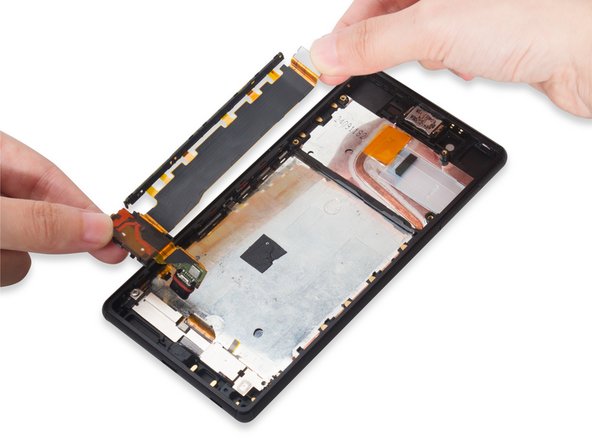
    • Remove main flex.

  14. Sony Xperia Z4 Teardown: step 14, image 1 of 2 Sony Xperia Z4 Teardown: step 14, image 2 of 2
    • Remove loudspeaker securing bracket.

  15. Sony Xperia Z4 Teardown: step 15, image 1 of 2 Sony Xperia Z4 Teardown: step 15, image 2 of 2
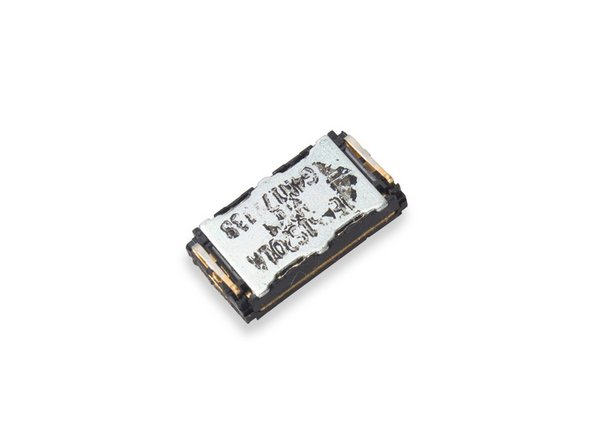
    • Remove loudspeaker hidden under the flex.

  16. Sony Xperia Z4 Teardown: step 16, image 1 of 2 Sony Xperia Z4 Teardown: step 16, image 2 of 2
    • Push the USB port out of the slot.

  17. Sony Xperia Z4 Teardown: step 17, image 1 of 2 Sony Xperia Z4 Teardown: step 17, image 2 of 2
    • Remove USB charging flex assembly.

  18. Sony Xperia Z4 Teardown: step 18, image 1 of 2 Sony Xperia Z4 Teardown: step 18, image 2 of 2
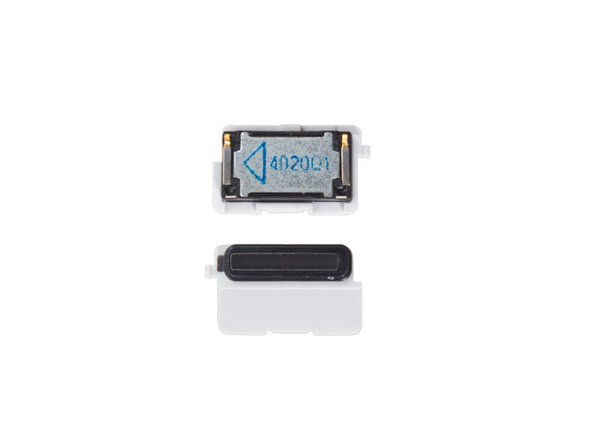
    • Remove earpiece speaker.

  19. Sony Xperia Z4 Teardown: step 19, image 1 of 2 Sony Xperia Z4 Teardown: step 19, image 2 of 2
    • Remove the metal bracket covering on the screen flex.

  20. Sony Xperia Z4 Teardown: step 20, image 1 of 3 Sony Xperia Z4 Teardown: step 20, image 2 of 3 Sony Xperia Z4 Teardown: step 20, image 3 of 3
    • Remove LCD screen carefully.

  21. Sony Xperia Z4 Teardown: step 21, image 1 of 1
    • Done.

Sophia

Member since: 03/25/14

43,810 Reputation

62 Guides authored

2 Comments

Is it possible to replace the nylon corners? I've heard it was possible in the previous xperia z devices like z2 and z3. Unfortunately I couldn't find the replacement corners for z3+ or z4 anywhere. Anyone has any idea about it?

Sanket - Reply

Late answer, but it seems like there’s replacement parts for the corners now. I don’t know how to replace them, though.

Farie Indriawan -

Add Comment

View Statistics:

Past 24 Hours: 1

Past 7 Days: 16

Past 30 Days: 66

All Time: 35,829