What you need

Video Overview

This teardown is not a repair guide. To repair your Samsung Galaxy S6, use our service manual.

  1. Samsung Galaxy S6 Teardown, Take Out The SIM Card Tray.: step 1, image 1 of 1
    • Power off the Samsung Galaxy S6.

    • Use an eject pin or pointed tweezers to take out the SIM Card Tray.

  2. Samsung Galaxy S6 Teardown, Take Apart The Battery Door.: step 2, image 1 of 1
    • Heat up the Samsung Galaxy S6 Battery Door.

    • Draw the battery cover up with a suction cup. (Note: The battery door is adhered to the rear housing with quite strong adhesive, take your time during this process.)

    • Separate the battery door with an opening pick.

  3. Samsung Galaxy S6 Teardown, Release The Rear Housing.: step 3, image 1 of 2 Samsung Galaxy S6 Teardown, Release The Rear Housing.: step 3, image 2 of 2
    • Undo the 13 screws in the rear housing.

    • Heat up the LCD Assembly.

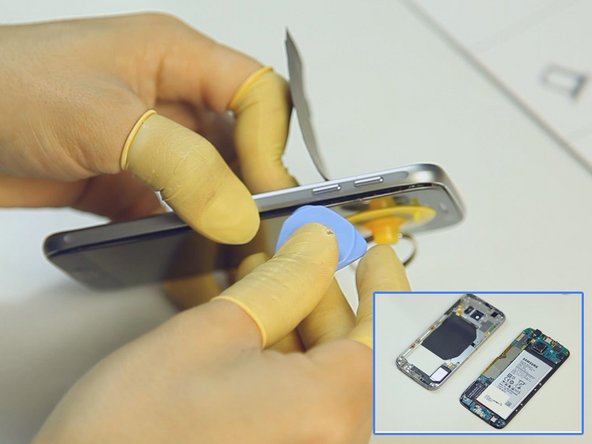
    • Separate the rear housing from the LCD Assembly with the help of suction cup tool and case opening tool. (Notice: be careful not to damage the wireless charging chip attached to the battery.)

  4. Samsung Galaxy S6 Teardown, Release The Side Keys.: step 4, image 1 of 3 Samsung Galaxy S6 Teardown, Release The Side Keys.: step 4, image 2 of 3 Samsung Galaxy S6 Teardown, Release The Side Keys.: step 4, image 3 of 3
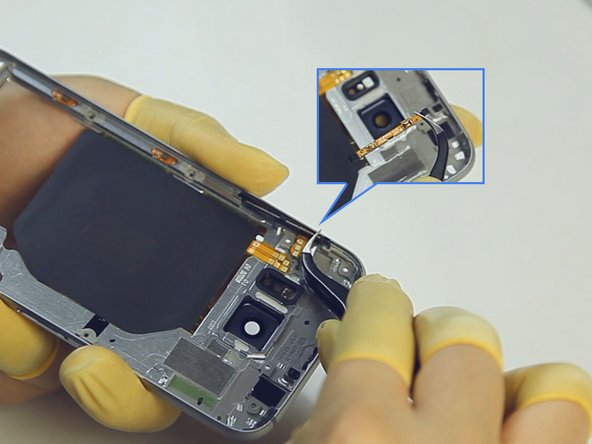
    • Remove the power button flex.

    • Remove the volume button flex.

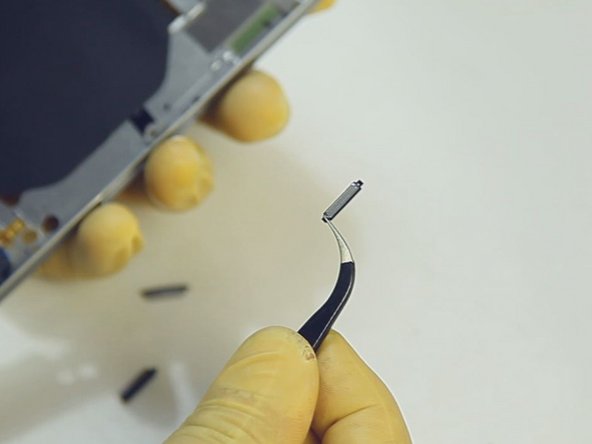
    • Remove the side keys. (Note: the Galaxy S6 power button and volume buttons are compatible with each other.)

  5. Samsung Galaxy S6 Teardown, Release The Wireless Charging Chip.: step 5, image 1 of 1
    • Pry up the charging chip flex ribbons on both sides of rear housing. (Notice: be careful not to damage the flex ribbons.)

  6. Samsung Galaxy S6 Teardown, Remove The Motherboard.: step 6, image 1 of 1
    • Pry up the LCD assembly connector, front facing camera connector, battery connector, ear speaker connector and home button flex ribbon connector.

    • Turn over the motherboard and pry up the connector.

  7. Samsung Galaxy S6 Teardown, Remove The Battery.: step 7, image 1 of 1
    • Gently pry up the battery with a spudger.

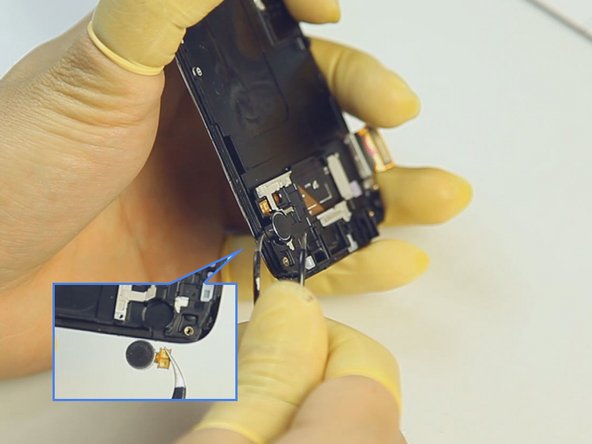
  8. Samsung Galaxy S6 Teardown, Release The Front Housing Small Parts.: step 8, image 1 of 3 Samsung Galaxy S6 Teardown, Release The Front Housing Small Parts.: step 8, image 2 of 3 Samsung Galaxy S6 Teardown, Release The Front Housing Small Parts.: step 8, image 3 of 3
    • Remove the front facing camera.

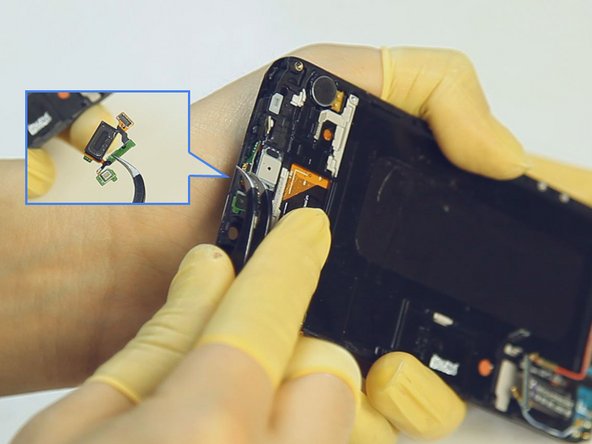
    • Remove the ear speaker. (Notice: be careful not to break the flex ribbon.)

    • Remove the vibrating motor.

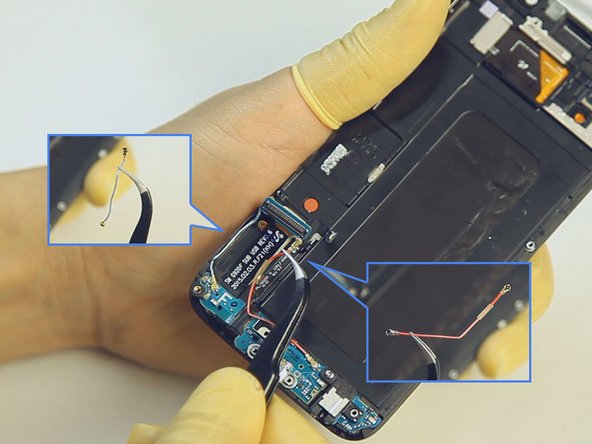
  9. Samsung Galaxy S6 Teardown, Release The Back Camera And Signal Cables.: step 9, image 1 of 2 Samsung Galaxy S6 Teardown, Release The Back Camera And Signal Cables.: step 9, image 2 of 2
    • Remove the back facing camera on the mainboard.

    • Remove the Bluetooth cable and Wi-Fi signal cable.

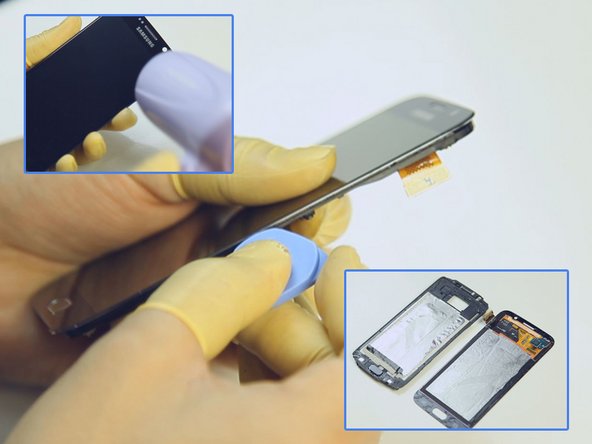
  10. Samsung Galaxy S6 Teardown, Release The Charging Port Assembly.: step 10, image 1 of 3 Samsung Galaxy S6 Teardown, Release The Charging Port Assembly.: step 10, image 2 of 3 Samsung Galaxy S6 Teardown, Release The Charging Port Assembly.: step 10, image 3 of 3
    • Undo the earphone jack screw. (Notice: the screw is different than the rear housing screws.)

    • Heat up the LCD Assembly to release the front housing.

    • Pry up the navigation light stickers.

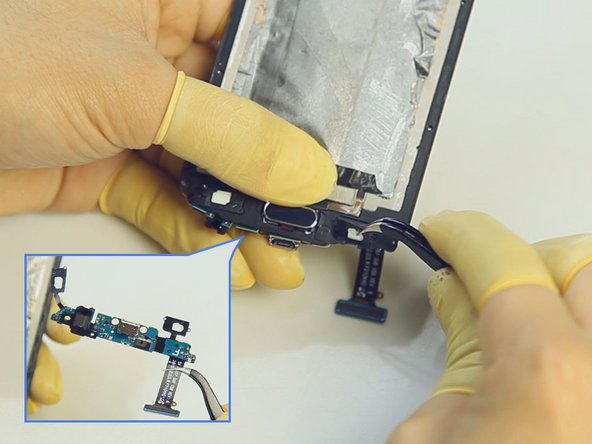
  11. Samsung Galaxy S6 Teardown, Release The Home Button With Flex.: step 11, image 1 of 1
    • Pry up the connector on the back side of home button.

    • Pry up the home button.

  12. Samsung Galaxy S6 Teardown, Finished: step 12, image 1 of 1
    • The Samsung Galaxy S6 disassembly process is complete.

Mandy

Member since: 12/05/14

9,518 Reputation

9 Guides authored

View Statistics:

Past 24 Hours: 6

Past 7 Days: 15

Past 30 Days: 45

All Time: 141,755