Introduction
For iFixit's official Galaxy S6 teardown, click here. The guide you are currently viewing is retained for historical purposes only.
What you need
Video Overview
-
-
Power off the Samsung Galaxy S6.
-
Use an eject pin or pointed tweezers to take out the SIM Card Tray.
-
-
-
Heat up the Samsung Galaxy S6 Battery Door.
-
Draw the battery cover up with a suction cup. (Note: The battery door is adhered to the rear housing with quite strong adhesive, take your time during this process.)
-
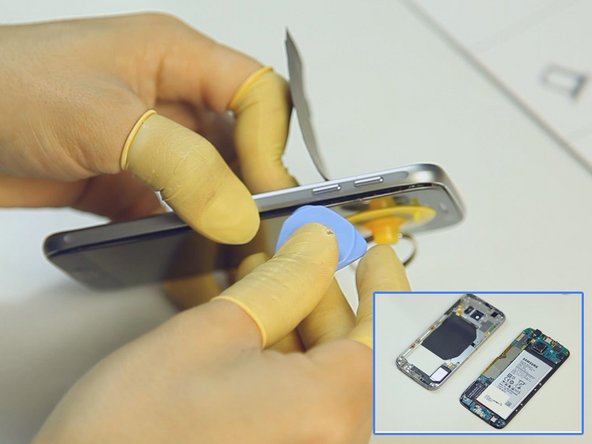
Separate the battery door with an opening pick.
-
-
-
Undo the 13 screws in the rear housing.
-
Heat up the LCD Assembly.
-
Separate the rear housing from the LCD Assembly with the help of suction cup tool and case opening tool. (Notice: be careful not to damage the wireless charging chip attached to the battery.)
-
-
-
Remove the power button flex.
-
Remove the volume button flex.
-
Remove the side keys. (Note: the Galaxy S6 power button and volume buttons are compatible with each other.)
-
-
-
-
Pry up the charging chip flex ribbons on both sides of rear housing. (Notice: be careful not to damage the flex ribbons.)
-
-
-
Pry up the LCD assembly connector, front facing camera connector, battery connector, ear speaker connector and home button flex ribbon connector.
-
Turn over the motherboard and pry up the connector.
-
-
-
Remove the front facing camera.
-
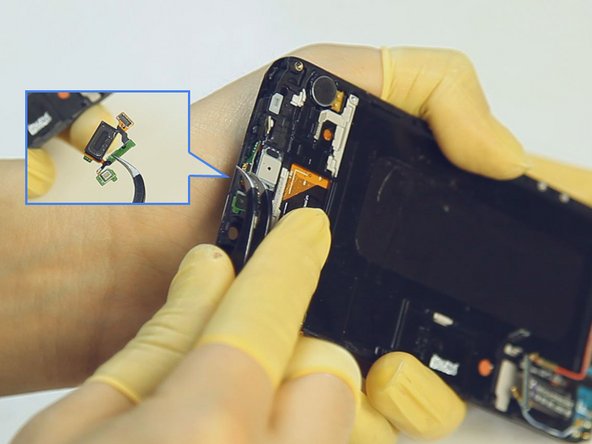
Remove the ear speaker. (Notice: be careful not to break the flex ribbon.)
-
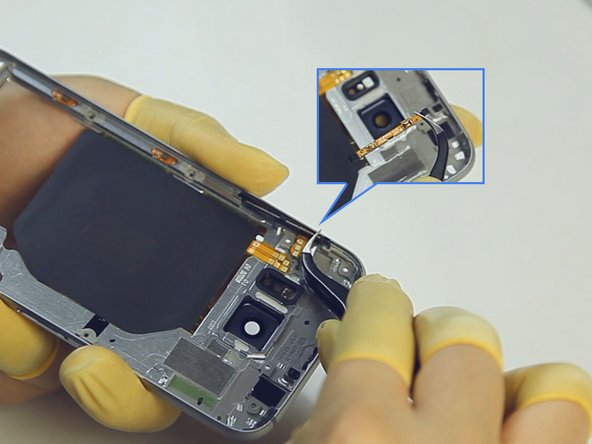
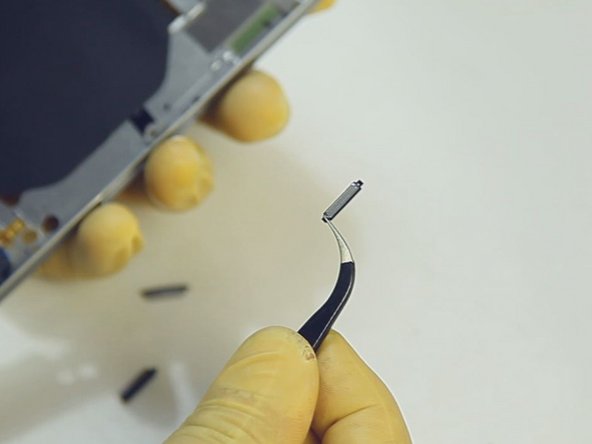
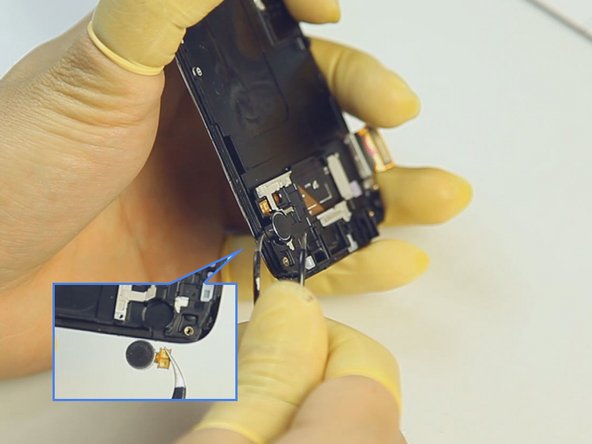
Remove the vibrating motor.
-
-
-
Remove the back facing camera on the mainboard.
-
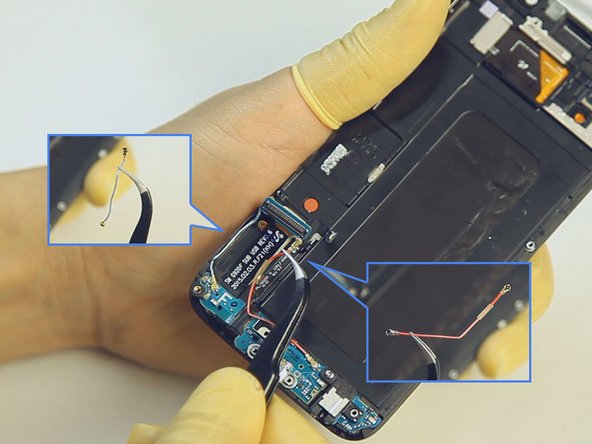
Remove the Bluetooth cable and Wi-Fi signal cable.
-
-
-
Undo the earphone jack screw. (Notice: the screw is different than the rear housing screws.)
-
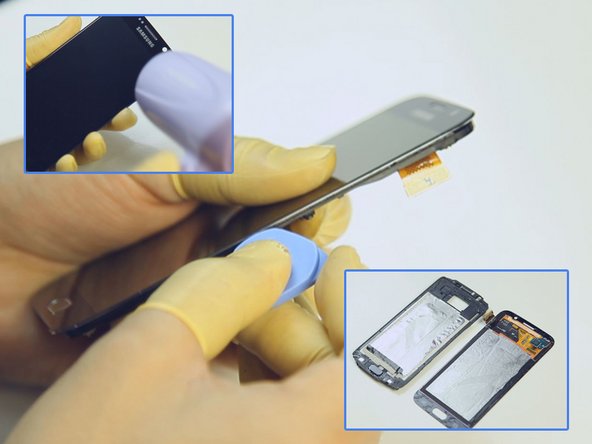
Heat up the LCD Assembly to release the front housing.
-
Pry up the navigation light stickers.
-
-
-
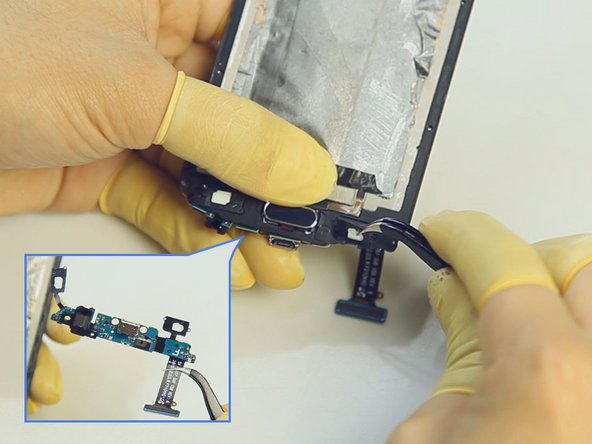
Pry up the connector on the back side of home button.
-
Pry up the home button.
-