Introduction
This guide is for my engineering class. My goal is to show you how to fully gut a Power Mac G4.
What you need
-
-
Use a flat head screwdriver or spudger to lift up the tabs that hold down the heat-sink.
-
Repeat x2
-
The heat-sink should just lift right off.
-
-
-
-
Remove highlighted cables.
-
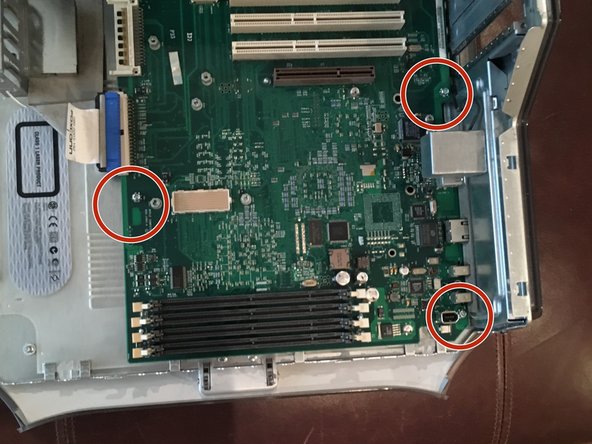
Remove highlighted screws.
-
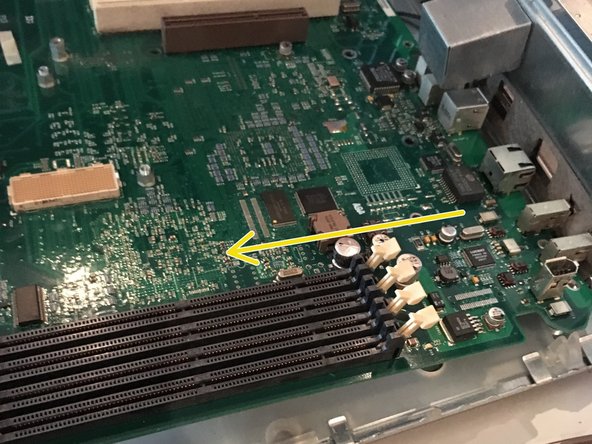
Lift out the motherboard. (Note: pull to the left to clear the ports from the case)
-
-
-
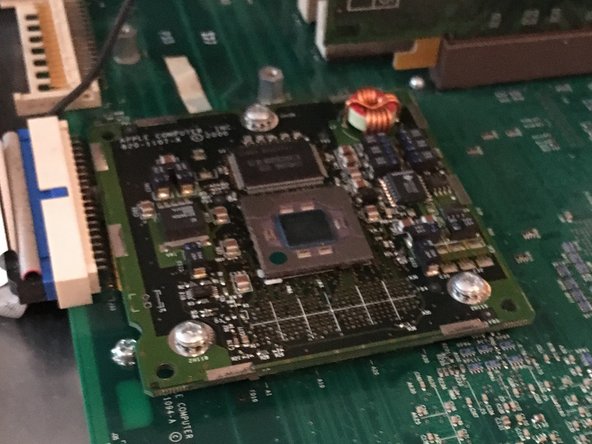
Remove highlighted screws.
-
After removing the screws, simply lift off the CPU from the connector. Use only a minimal amount of pressure when pulling the CPU from the connector.
-
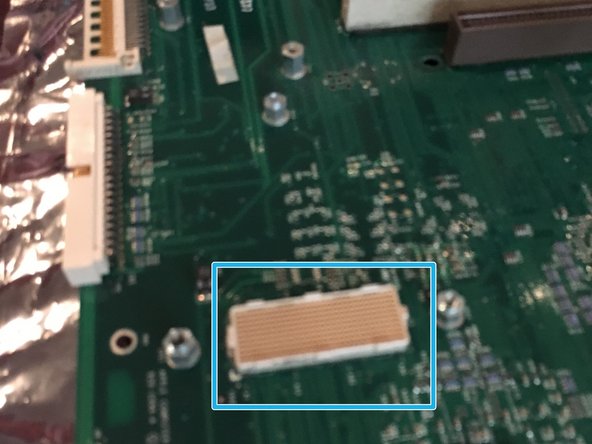
This is the connector after removal of the CPU.
-
-
-
Remove the face plate. You are supposed to press down the highlighted tabs from the inside.
-
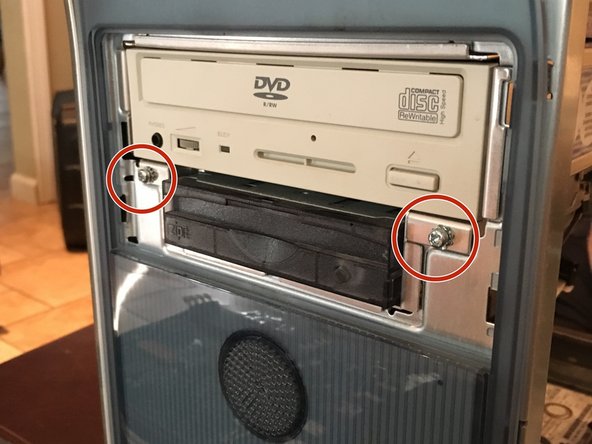
Remove highlighted screws.
-
Slide out the drive. (MAKE SURE TO UNHOOK THE CABLES)
-
-
-
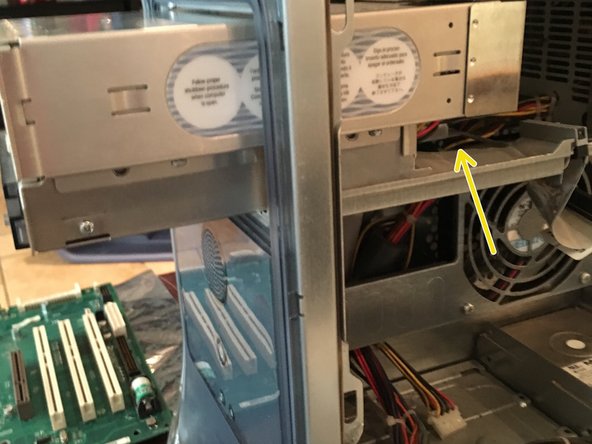
Remove the highlighted cables.
-
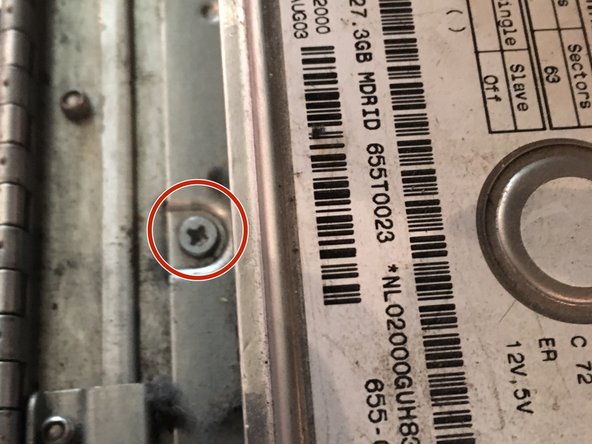
Remove highlighted screw.
-
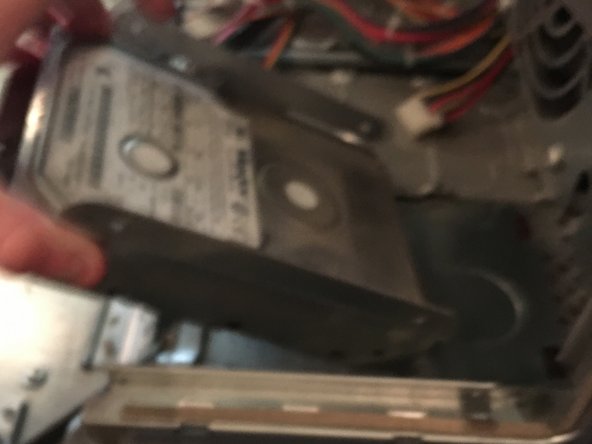
Lift out the hard drive.
-
-
-
Remove highlighted screw. ( SAME SCREW ON OPPOSITE SIDE, REMOVE THAT AS WELL.)
-
Disconnect the connector.
-
After that, just pull it out.
-
-
-
Use a 2.5 mm hex key to remove these screws.
-
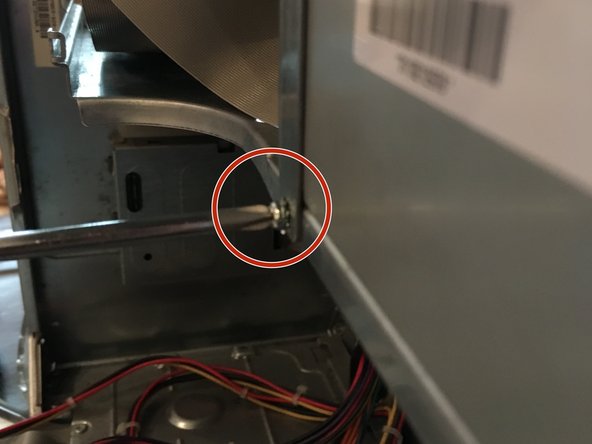
Remove highlighted screw.
-
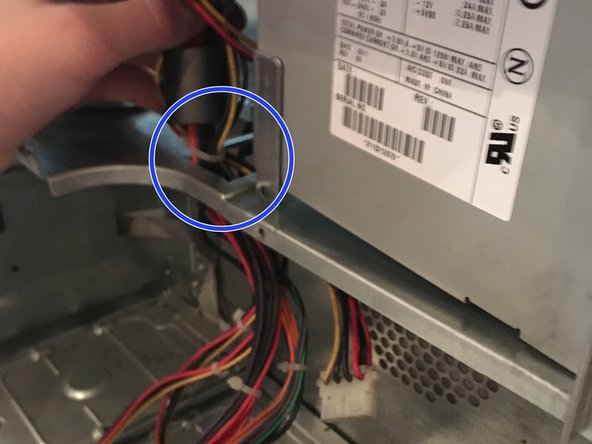
Feed the wires through the highlighted hole, then pull out the power supply.
-


4 Comments
The is a kit from thelaserhive.com to allow an mATX board to be used inside the G4 cases.
como retiro las tapas de los lados para hacerlelimpieza
Sieh hier nach