Introduction
This is the Amiga that started it all. Released in 1985 the Amiga 1000 is a classic vintage computer. The inside of the Amiga 1000 case is engraved with the signatures of the engineers that worked on the project.
-
-
This Amiga has some yellowing on the case from age.
-
The first step is to remove the phillips head screws from beneath the Amiga.
-
Carefully turn the machine over and unclip the lid.
-
-
-
Remove the RAM expansion board by gently pulling it towards you.
-
The front panel of the computer can then be clipped off. Be careful with the power and disk drive LED's. It is easy to clip them off from the inside of the panel.
-
Remove the Phillips screws holding the metal shield in place.
-
-
-
Gently remove the metal shield to reveal the system board, floppy disk drive and power supply.
-
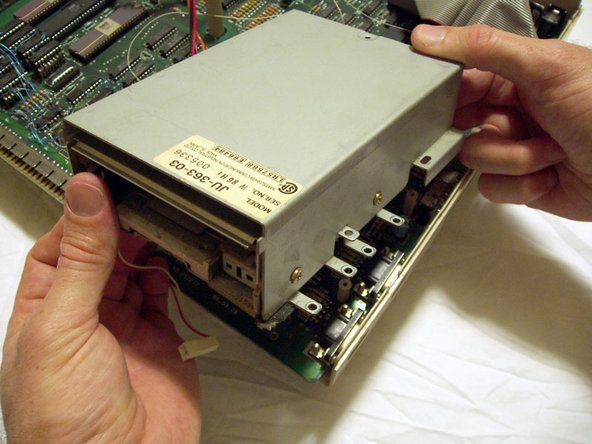
Unscrew the floppy drive from the case.
-
Check out those hook up wires!
-
-
-
-
Remove the cables from the floppy disk drive.
-
There are three cables in total on the drive. Two on the back and one underneath.
-
-
-
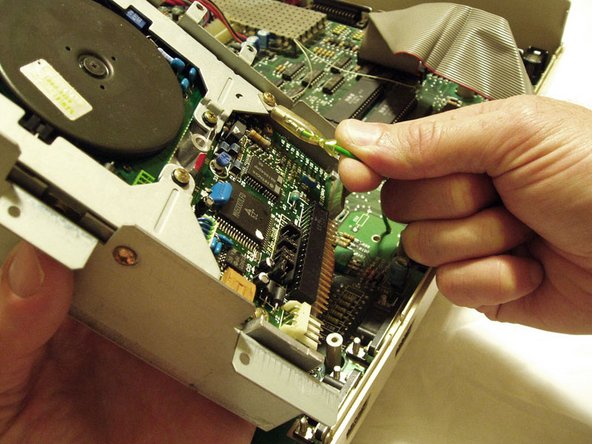
On this Amiga you will notice that there are lots of delicate hook up wires on the board. I am not sure if this is standard however you should exercise care when working around these deilcate connections.
-
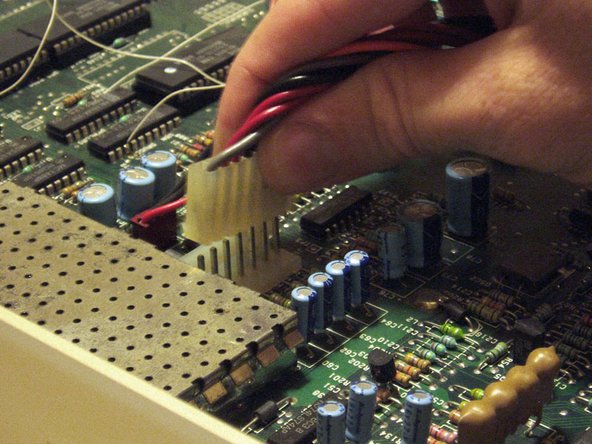
Remove the screws holding the power supply in place and unclip the connector from the main board.
-
-
-
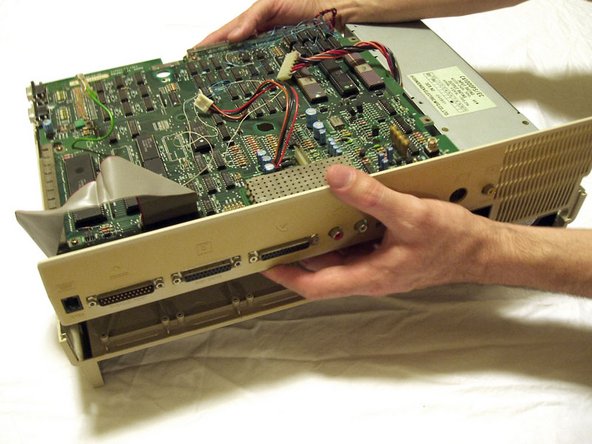
With the power supply disconnected from the main board and all screws removed it is time to lift the board from the bottom casing.
-
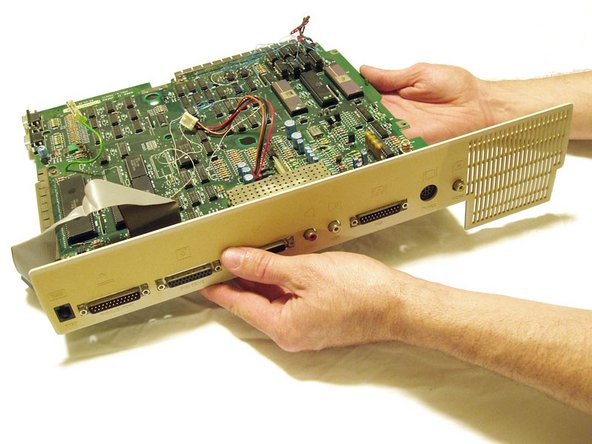
The rear panel lifts up with the board.
-
You can then separate the rear panel and main board.
-
-
-
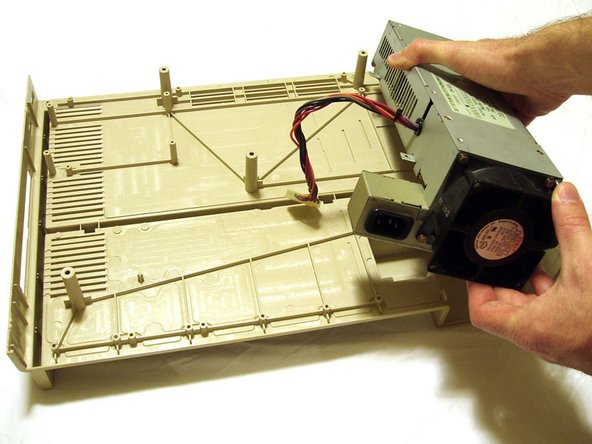
The power supply is the last item to be separated from the bottom case.
-
Lift the power supply and tilt as shown to release clip from the underneath.
-
There you have it, an old skool Amiga teardown.
-