What you need
-
-
Remove both T3 screws
-
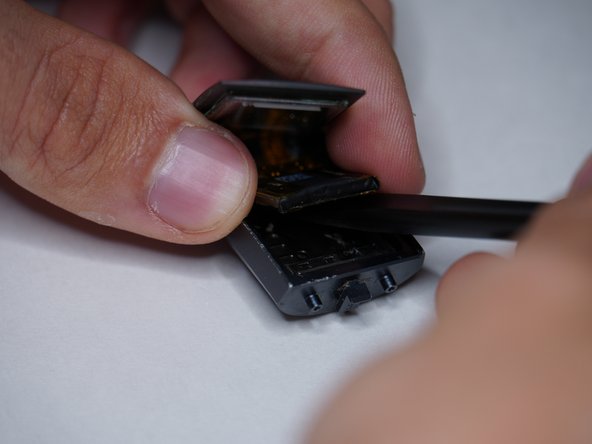
Slide off the plastic piece by lifting out and then up
-
Slide plastic and spring assembly off the rail
-
-
-
Heat the glass screen with a blowdryer to soften the adhesives
-
Insert a razor blade between the glass and the body
-
Keep going around the rim of the display until loose
-
-
-
-
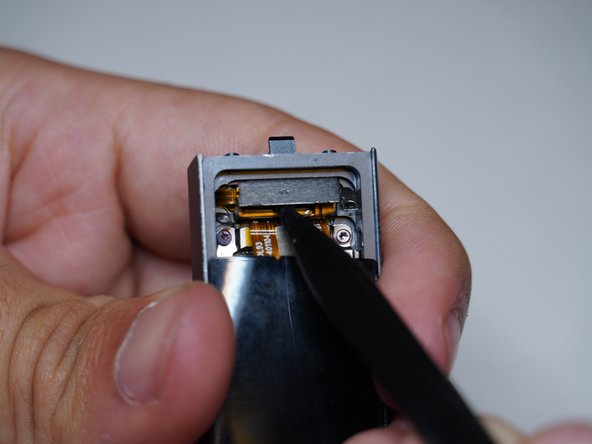
Disconnect vibrator motor
-
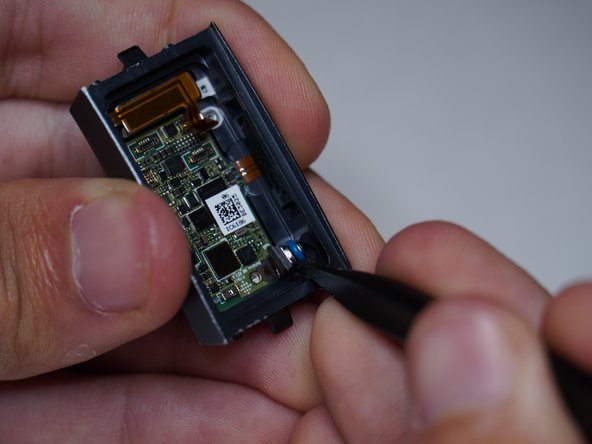
Disconnect heartrate and charging connector
-
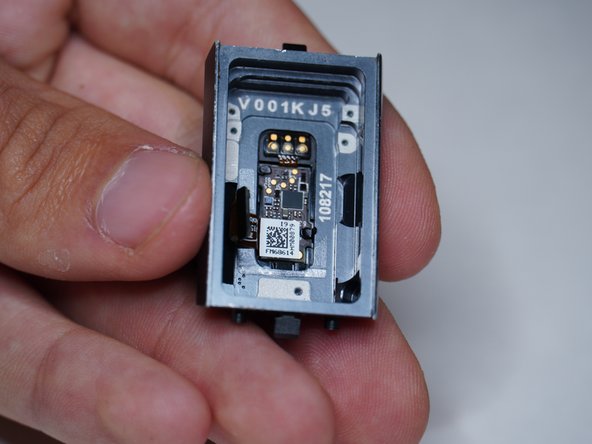
Remove altimeter
-
-
-
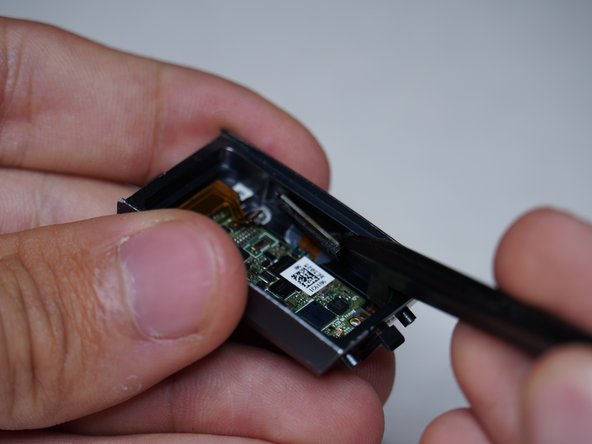
Remove motherboard
-
It seems as if the heart rate sensor and charging pins are molded into the case, and I was not able to remove them
-


Team
