Free Shipping on Domestic Orders $75+

iPhone Air Battery Removal

Prerequisite Only
This is a prerequisite-only guide! This guide is part of another procedure and isn’t meant to be used alone.

What you need

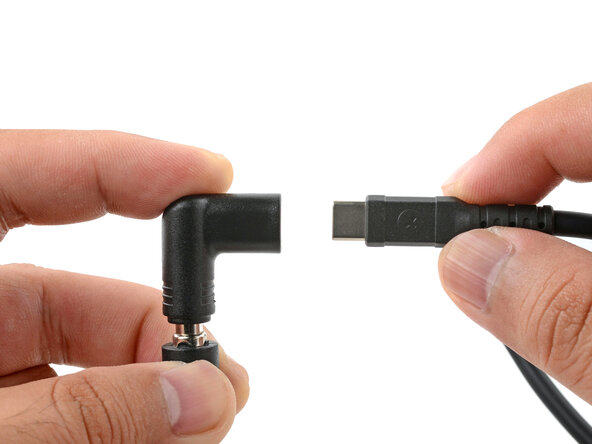
    1. iPhone Air Battery Removal, Assemble the VoltClip: step 1, image 1 of 2 iPhone Air Battery Removal, Assemble the VoltClip: step 1, image 2 of 2
      Tool used on this step:
      VoltClip
      $10.95
      Buy
      • The guide uses the VoltClip to release the adhesive. If you're using a different method, such as a 9V battery, follow the guide normally and supplement your power source's operating procedures during the necessary steps.

      • Plug the VoltClip's barrel connector into the USB-C elbow.

      • Don't connect the VoltClip to a power source just yet. The loose alligator clips may accidentally touch each other and cause an electrical short.

      Ask FixBot

      Add Comment

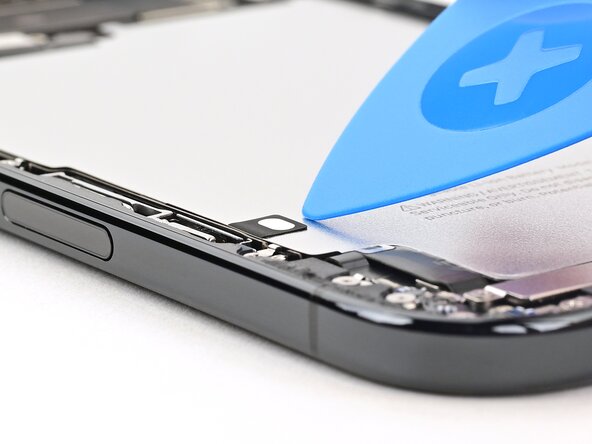
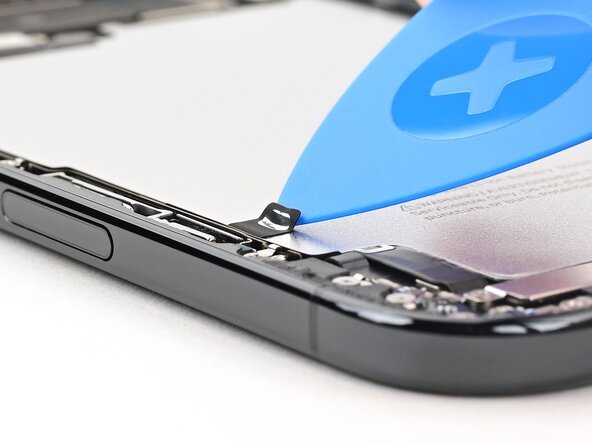
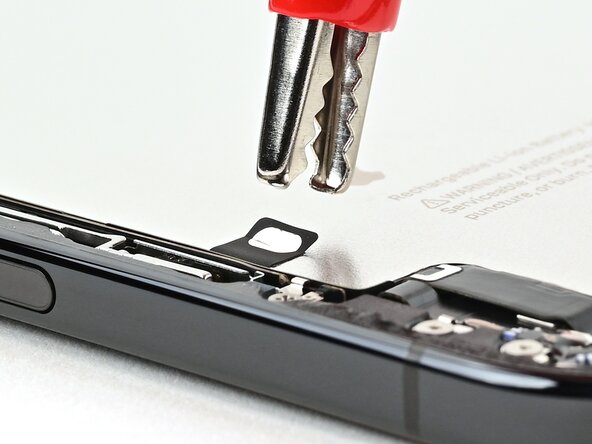
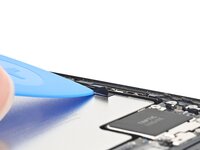
    2. iPhone Air Battery Removal, Peel up the silver tab: step 2, image 1 of 2 iPhone Air Battery Removal, Peel up the silver tab: step 2, image 2 of 2
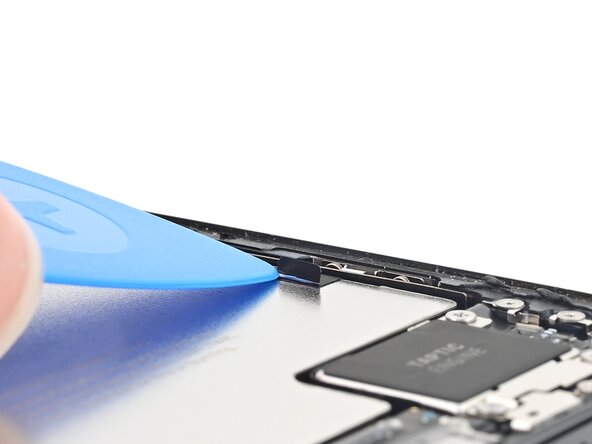
      • Use a clean fingernail or an opening pick to peel up one of the silver tabs on the battery.

      Ask FixBot

      Add Comment

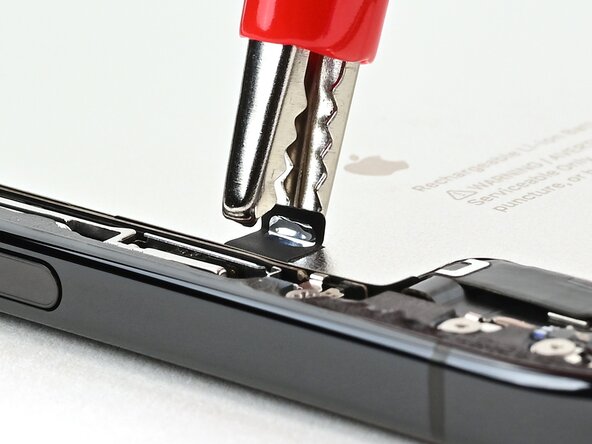
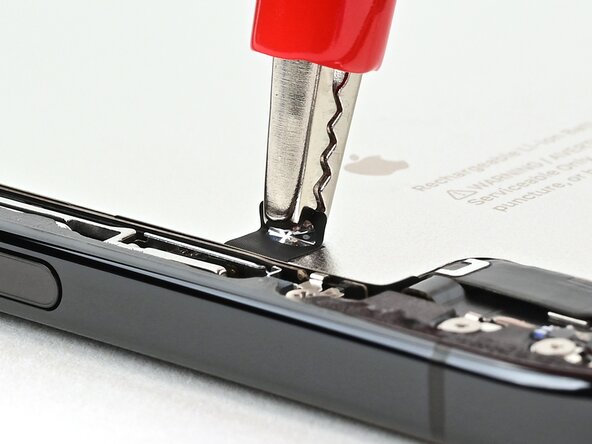
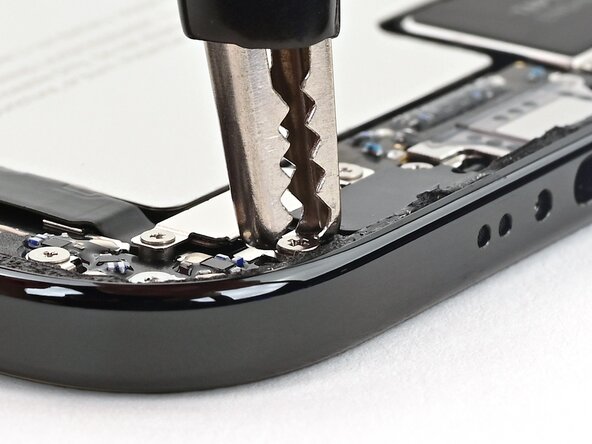
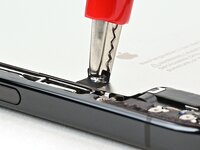
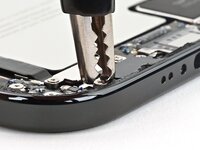
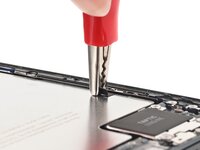
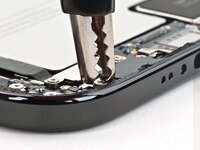
    3. iPhone Air Battery Removal, Attach the alligator clips: step 3, image 1 of 3 iPhone Air Battery Removal, Attach the alligator clips: step 3, image 2 of 3 iPhone Air Battery Removal, Attach the alligator clips: step 3, image 3 of 3
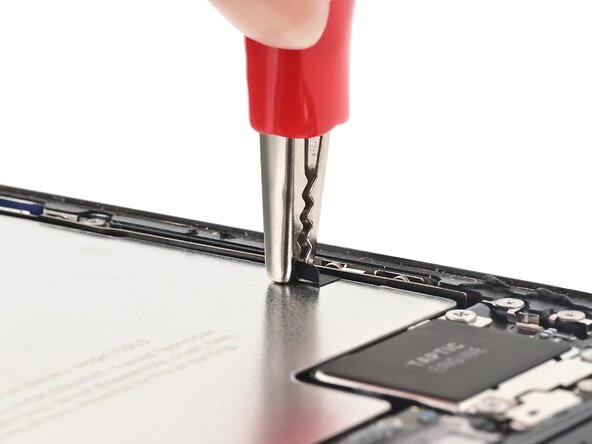
      • Attach the red alligator clip to the lifted silver tab on the battery.

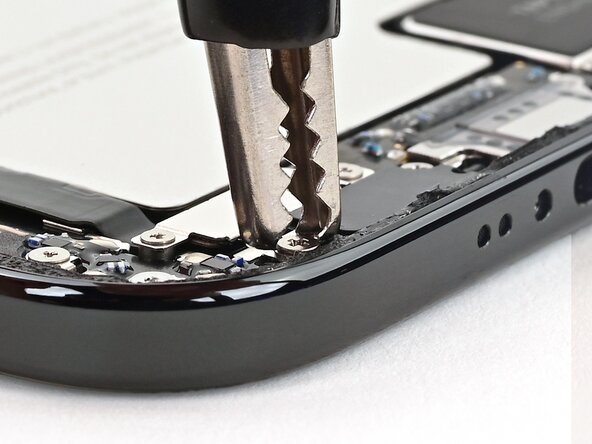
      • Attach the black alligator clip to the grounding screw located on the left side of the bottom edge.

      Ask FixBot

      Add Comment

    4. iPhone Air Battery Removal, Connect power to the VoltClip: step 4, image 1 of 3 iPhone Air Battery Removal, Connect power to the VoltClip: step 4, image 2 of 3 iPhone Air Battery Removal, Connect power to the VoltClip: step 4, image 3 of 3
      • Make sure the red alligator clip is secured. If the black alligator clip pops off its screw, disconnect the USB-C cable, reseat the clip, and try again.

      • Connect the USB‑C elbow to a power source (via a USB‑C cable) and wait 90 seconds for the adhesive to loosen.

      Ask FixBot

      Add Comment

    5. iPhone Air Battery Removal, Disconnect the VoltClip: step 5, image 1 of 3 iPhone Air Battery Removal, Disconnect the VoltClip: step 5, image 2 of 3 iPhone Air Battery Removal, Disconnect the VoltClip: step 5, image 3 of 3
      • Disconnect the USB-C cable from the elbow, then disconnect the alligator clips.

      Ask FixBot

      Add Comment

    6. iPhone Air Battery Removal, Loosen the second strip: step 6, image 1 of 3 iPhone Air Battery Removal, Loosen the second strip: step 6, image 2 of 3 iPhone Air Battery Removal, Loosen the second strip: step 6, image 3 of 3
      • Repeat this procedure on the other silver tab to loosen the second adhesive strip.

      Ask FixBot

      Add Comment

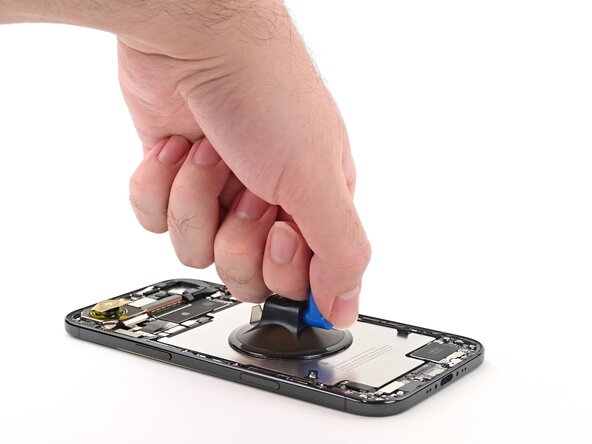
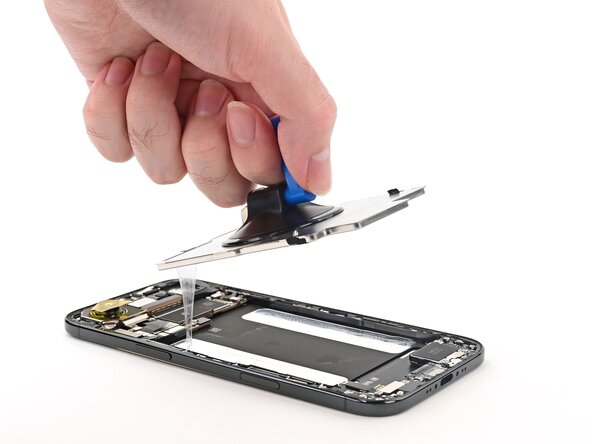
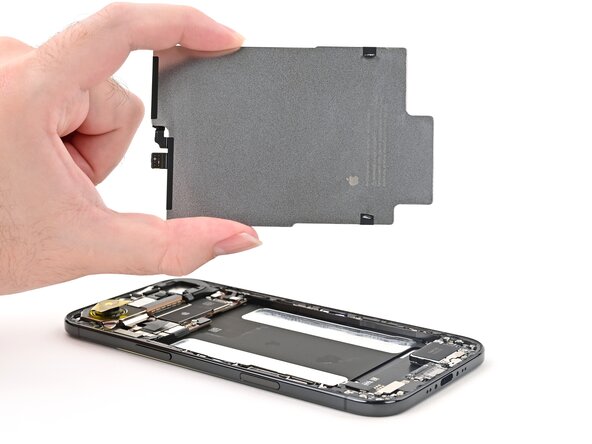
    7. iPhone Air Battery Removal, Remove the battery: step 7, image 1 of 3 iPhone Air Battery Removal, Remove the battery: step 7, image 2 of 3 iPhone Air Battery Removal, Remove the battery: step 7, image 3 of 3
      • Apply a suction handle to the center of the battery and lift it out with slow, steady force to remove it.

      • If the battery doesn't come out easily, don't force it—reconnect the VoltClip for one minute on each adhesive strip.

      • During reassembly, if your replacement battery doesn't come with pre-installed adhesive, follow this guide to install it. Afterwards, follow this guide to install the back glass.

      Ask FixBot

      Add Comment

Finish Line

Cancel: I did not complete this guide.

Nick Schultz

Member since: 03/24/24

65,497 Reputation

343 Guides authored

0 Guide Comments

Add Comment

View Statistics:

Past 24 Hours: 0

Past 7 Days: 0

Past 30 Days: 4

All Time: 76