Introduction
Pre-requisite only guide to disconnect the battery on an iPhone 7 Plus. These steps should be taken prior to any repair on an iPhone to prevent powering on the phone mid-repair.
What you need
-
-
Power off your iPhone before beginning disassembly.
-
Remove the two 3.4 mm pentalobe screws at the bottom edge of the iPhone.
-
-
-
Fill a pot or pan with enough water to fully submerge an iOpener.
-
Heat the water to a boil. Turn off the heat.
-
Place an iOpener into the hot water for 2-3 minutes. Make sure the iOpener is fully submerged in the water.
-
Use tongs to extract the heated iOpener from the hot water.
-
Thoroughly dry the iOpener with a towel.
-
Your iOpener is ready for use! If you need to reheat the iOpener, heat the water to a boil, turn off the heat, and place the iOpener in the water for 2-3 minutes.
-
-
-
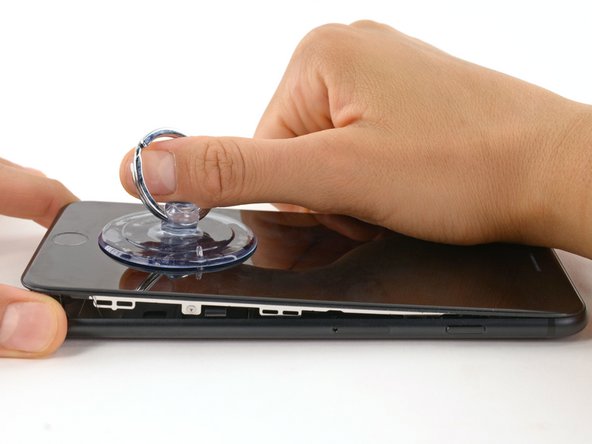
Use a hairdryer or prepare an iOpener and apply it to the lower edge of the iPhone for about a minute in order to soften up the adhesive underneath.
-
-
-
-
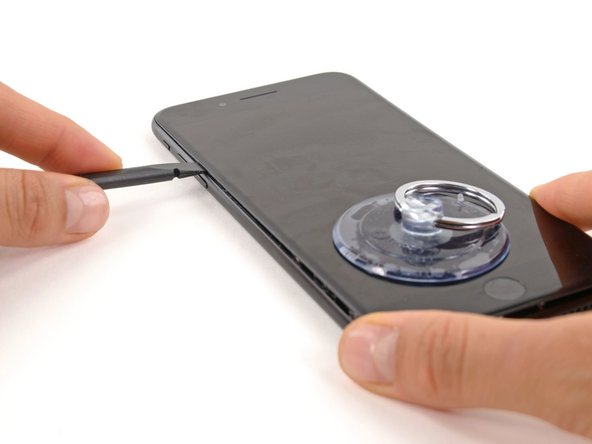
Insert the flat end of the spudger between the front panel and the rear case at the lower left edge of the iPhone.
-
Slide the spudger up the left edge of the phone starting at the lower edge and moving towards the volume control buttons and silent switch, breaking up the adhesive holding the display in place.
-
-
-
Remove the following four tri-point Y000 screws securing the lower display cable bracket to the logic board:
-
Three 1.2 mm screws
-
One 2.6 mm screw
-


To reassemble your device, follow these instructions in reverse order.
To reassemble your device, follow these instructions in reverse order.

One Comment
after I replaced my battery and tried to turn on my phone it would just stay on the apple logo and nothing would happen. I know I did everything right but… help