-
-
Remove the two 3.4 mm Pentalobe screws surrounding the Lightning connector.
 Ask FixBot
-
-
-
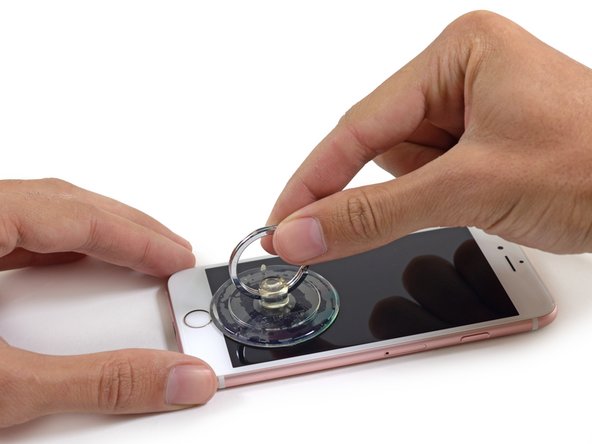
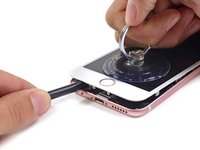
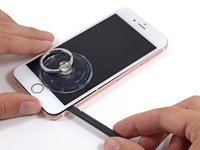
If you don't have an iSclack, use a single suction cup to lift the front panel:
-
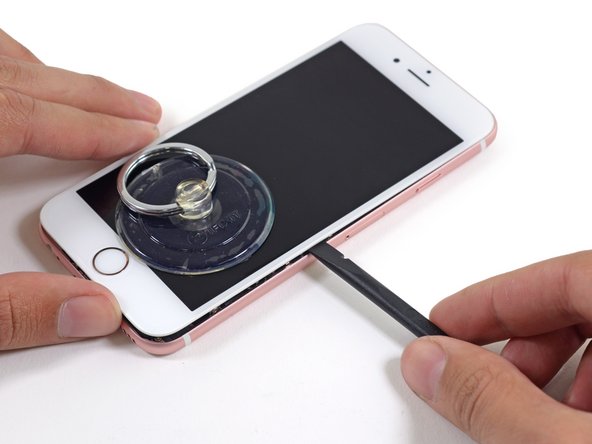
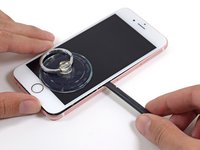
Press a suction cup onto the screen, just above the home button.
-
-
-
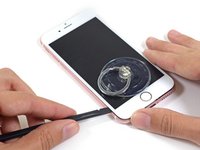
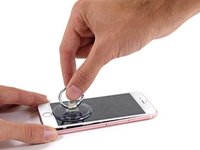
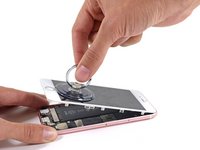
Pull up on the suction cup to slightly separate the front panel assembly from the rear case.
-
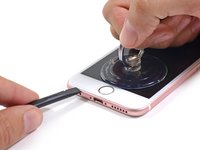
Once a small gap has been opened, insert the flat end of a spudger above the headphone jack.
-
-
-
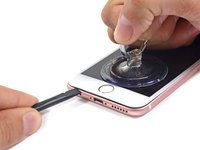
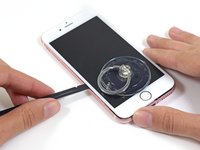
Use the edge of a spudger to slice through the adhesive on either side of the phone.
-
-
-
-
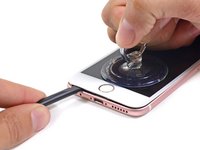
Use the edge of a spudger to slice through the adhesive on either side of the phone.
-
-
-
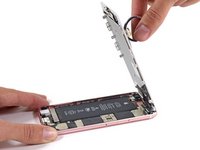
Remove the following screws from the battery connector bracket:
-
One 3.0 mm Phillips #00 screw
-
One 2.3 mm Phillips #00 screw
-
-
-
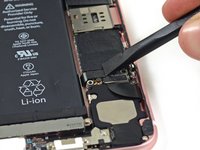
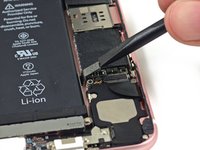
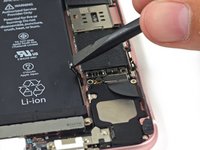
Use the flat end of a spudger to disconnect the battery connector from the logic board.
-
Push the connector to the side to ensure it doesn't accidentally make contact and power on the phone while you're working on it.
-
-
Tool used on this step:Tweezers$4.99
-
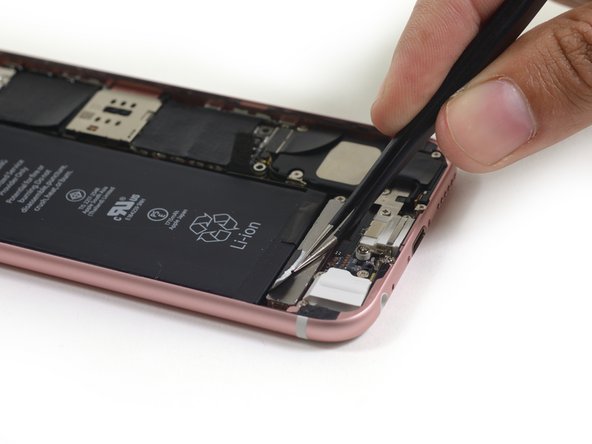
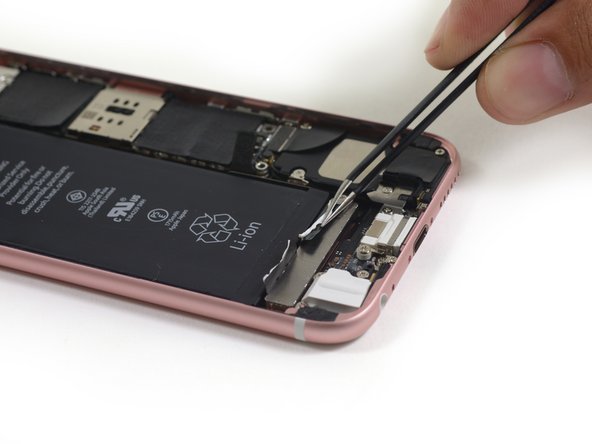
Use tweezers to peel up the edges of the two adhesive strips at the bottom of the battery.
-
-
-
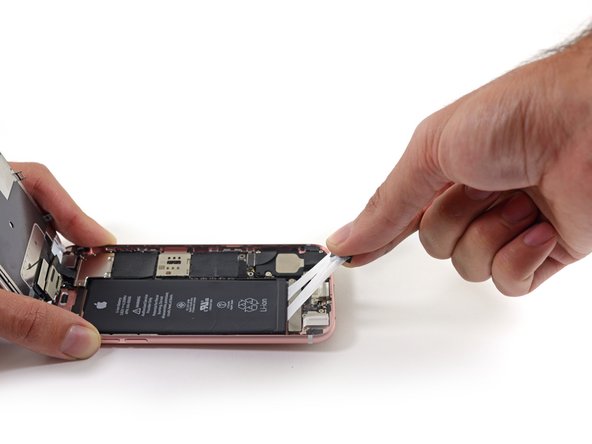
Grab the ends of the two adhesive strips and hold them together. Try to keep the strips flat and wide.
-
-
-
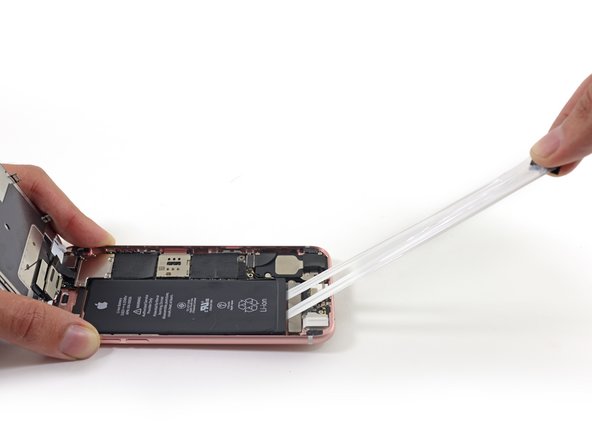
Slowly and gently pull the two strips up and away from the phone.
-
The strips will stretch to many times the length of the battery—keep pulling until they come out from between the battery and the rear case.
-


To reassemble your device, follow these instructions in reverse order.
Cancel: I did not complete this guide.
75 other people completed this guide.


11 Guide Comments
I need to buy the 6s replacement battery itself as well as the tools. Do you sell that as well as the display?
i remember i get my battery repair kit and adhesive for less than 25$ from this seller on amazon https://www.amazon.com/dp/B01LKN9AUG
Please do a video. Lets see how fast you guys can change the 6s battery.