Free Shipping on Domestic Orders $75+

iPhone 6s Battery Connection

Prerequisite Only
This is a prerequisite-only guide! This guide is part of another procedure and isn’t meant to be used alone.

What you need

    1. iPhone 6s Battery Connection, Battery Connection: step 1, image 1 of 1
      • Power off your iPhone before beginning disassembly.

      • Remove the two 3.4 mm Pentalobe screws surrounding the Lightning connector.

      Ask FixBot

      Add Comment

    2. iPhone 6s Battery Connection: step 2, image 1 of 1
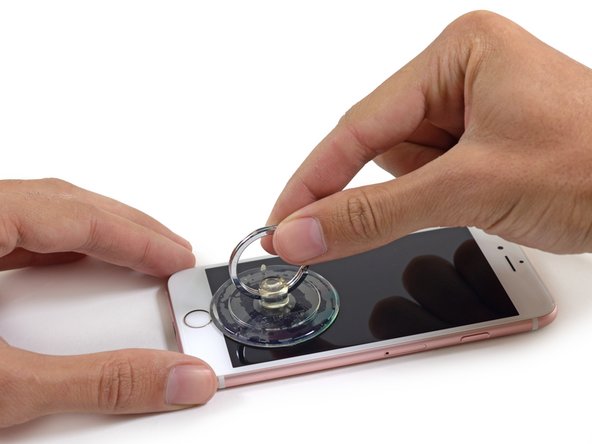
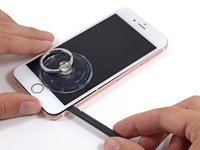
      • If you don't have an iSclack, use a single suction cup to lift the front panel:

      • Press a suction cup onto the screen, just above the home button.

      • Be sure the cup is pressed securely onto the screen to get a tight seal.

      Ask FixBot

      Add Comment

    3. iPhone 6s Battery Connection: step 3, image 1 of 3 iPhone 6s Battery Connection: step 3, image 2 of 3 iPhone 6s Battery Connection: step 3, image 3 of 3
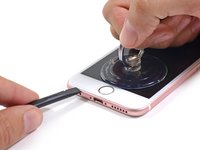
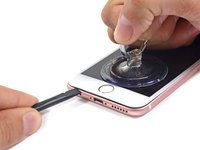
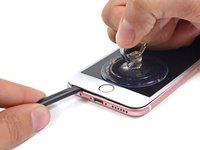
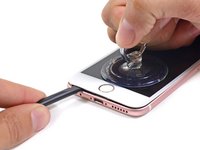
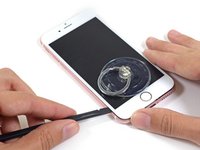
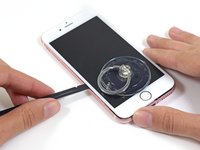
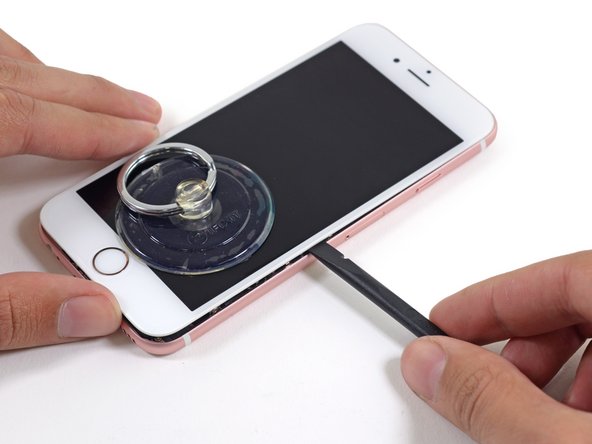
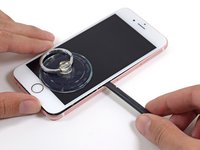
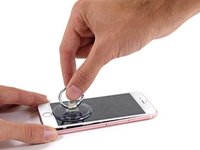
      • There is a notch on the underside of the display just above the headphone jack that is the safest place to begin prying the phone open.

      • Pull up on the suction cup to slightly separate the front panel assembly from the rear case.

      • Take your time and apply firm, constant force. The display assembly is a much tighter fit than most devices and is held down with adhesive.

      • Once a small gap has been opened, insert the flat end of a spudger above the headphone jack.

      Ask FixBot

      Add Comment

    4. iPhone 6s Battery Connection: step 4, image 1 of 2 iPhone 6s Battery Connection: step 4, image 2 of 2
      • Twist the spudger to open the gap more and break it free from the adhesive.

      • Keep pulling up on the suction cup while twisting the spudger.

      Ask FixBot

      Add Comment

    5. iPhone 6s Battery Connection: step 5, image 1 of 2 iPhone 6s Battery Connection: step 5, image 2 of 2
      • Use the edge of a spudger to slice through the adhesive on either side of the phone.

      Ask FixBot

      Add Comment

    6. iPhone 6s Battery Connection: step 6, image 1 of 2 iPhone 6s Battery Connection: step 6, image 2 of 2
      • Use the edge of a spudger to slice through the adhesive on either side of the phone.

      Ask FixBot

      Add Comment

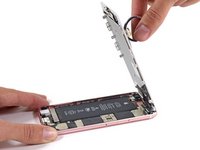
    7. iPhone 6s Battery Connection: step 7, image 1 of 3 iPhone 6s Battery Connection: step 7, image 2 of 3 iPhone 6s Battery Connection: step 7, image 3 of 3
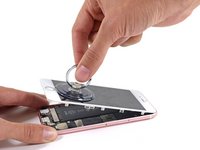
      • Use the suction cup to open the display, breaking the last of the adhesive.

      • Don't open the display more than 90 degrees, as it is still connected at the top by three cables that may break if stretched.

      Ask FixBot

      Add Comment

    8. iPhone 6s Battery Connection: step 8, image 1 of 1
      • Lean the display against something to keep it propped up while you're working on the phone.

      Ask FixBot

      Add Comment

    9. iPhone 6s Battery Connection: step 9, image 1 of 1
      • Remove the following screws from the battery connector bracket:

      • One 3.0 mm Phillips #00 screw

      • One 2.3 mm Phillips #00 screw

      Ask FixBot

      Add Comment

    10. iPhone 6s Battery Connection: step 10, image 1 of 1
      • Remove the metal battery connector bracket from the iPhone.

      Ask FixBot

      Add Comment

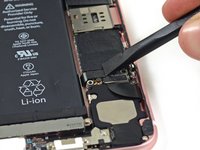
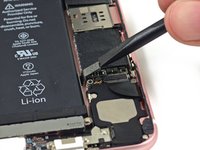
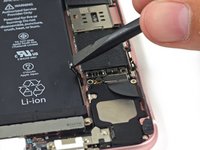
    11. iPhone 6s Battery Connection: step 11, image 1 of 3 iPhone 6s Battery Connection: step 11, image 2 of 3 iPhone 6s Battery Connection: step 11, image 3 of 3
      • Use the flat end of a spudger to disconnect the battery connector from the logic board.

      • Push the connector to the side to ensure it doesn't accidentally make contact and power on the phone while you're working on it.

      Ask FixBot

      Add Comment

Conclusion

To reassemble your device, follow these instructions in reverse order.

Cancel: I did not complete this guide.

One other person completed this guide.

Sam Goldheart

Member since: 10/18/12

478,415 Reputation

538 Guides authored

Team

iFixit Member of iFixit

Staff

122 Members

72,401 Guides authored

3 Guide Comments

While replacing a charging port on the 6s I realized that the battery didn't seem to stay seated. It also won't charge past a certain percentage. Anyone run into this?

CellularRepairEtc - Reply Share

BE FOREWARNED: I used this guide and ended up breaking one of the cables to my display on step 8. Now my home button, camera and speaker don’t work and I have to spend 80 dollars for a new lcd panel.

The featured guide (not this one) shows how to completely detach the screen cables so this won’t happen. Do a quick search and take a look before possibly breaking your phone on step 8. Fully detaching the panel would have prevented this issue

Christopher Kuhar - Reply Share

DO NOT USE THIS GUIDE: It is not complete. I ended up having to goto the store and pay $250 dollars to get my I phone fixed after breaking it with these incomplete directions.

This is a more complete guide use this one: iPhone 6s Battery Replacement

Christopher Kuhar - Reply Share

Add Comment

View Statistics:

Past 24 Hours: 0

Past 7 Days: 5

Past 30 Days: 18

All Time: 792