Free Shipping on Domestic Orders $75+

iPhone 17 Pro Max Back Glass Removal

Prerequisite Only
This is a prerequisite-only guide! This guide is part of another procedure and isn’t meant to be used alone.

What you need

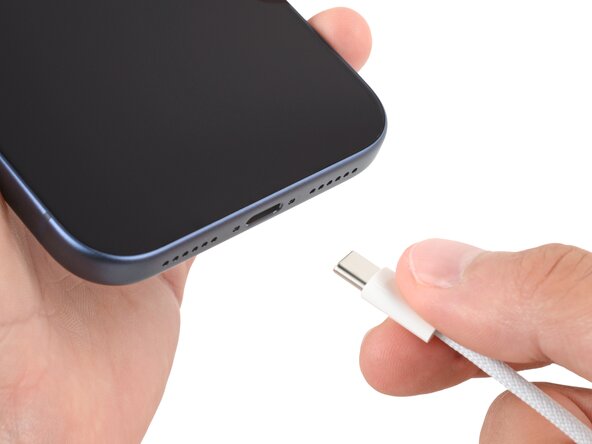
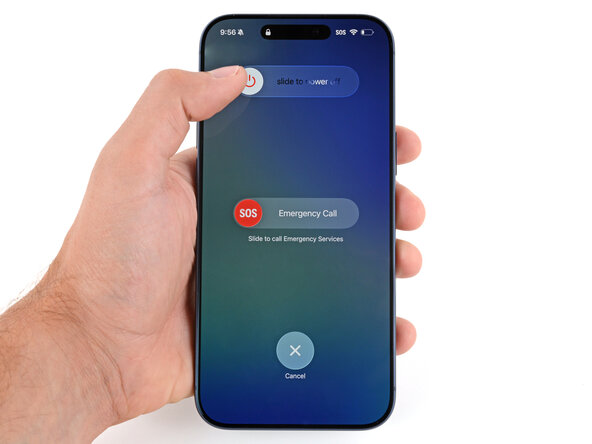
    1. iPhone 17 Pro Max Back Glass Removal, Safety precautions: step 1, image 1 of 2 iPhone 17 Pro Max Back Glass Removal, Safety precautions: step 1, image 2 of 2
      • Let your iPhone's battery drain below 25% before starting this repair—a charged lithium‑ion battery may catch fire if damaged.

      • Unplug all cables from your phone.

      • Hold the power and either volume button and slide to power off your phone.

      Ask FixBot

      Add Comment

    2. iPhone 17 Pro Max Back Glass Removal, Cracked glass preparation: step 2, image 1 of 3 iPhone 17 Pro Max Back Glass Removal, Cracked glass preparation: step 2, image 2 of 3 iPhone 17 Pro Max Back Glass Removal, Cracked glass preparation: step 2, image 3 of 3
      Tool used on this step:
      iFixit Safety Glasses
      $7.95
      Buy
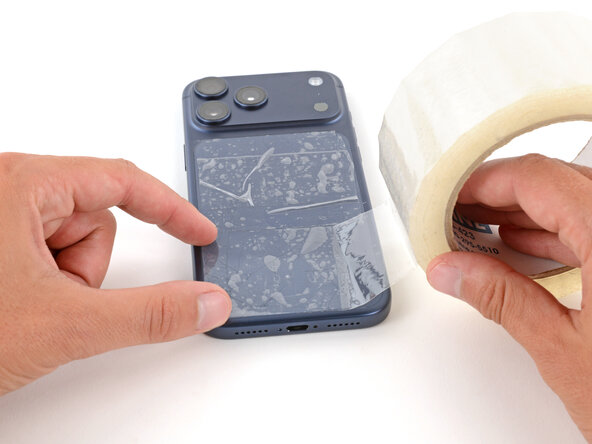
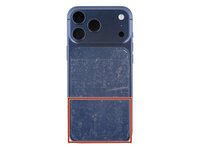
      • Glass shards can complicate disassembly—or worse, cause injury. If your phone is cracked, follow this step.

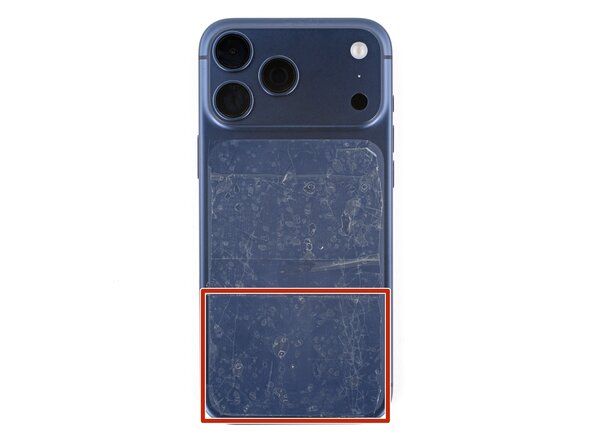
      • Apply strips of packing tape to the cracked glass until it's completely covered—this will help keep the glass contained and allow the suction cup to stick.

      • Make sure there's a single strip of tape (not overlapping) across the bottom edge, big enough for a suction cup to fit on.

      • Only cover the glass itself—don't stick any tape to the frame.

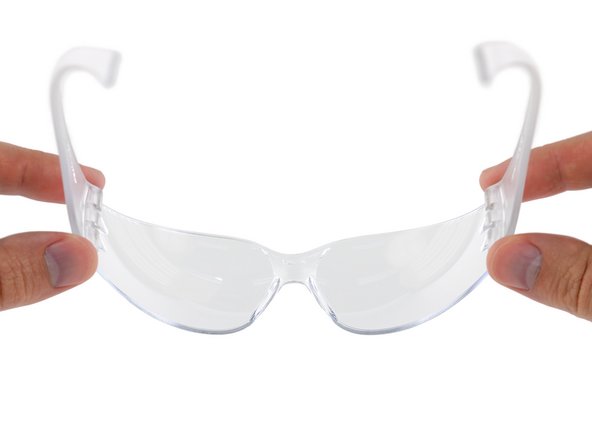
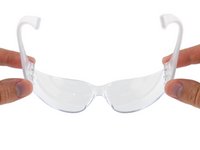
      • Consider wearing safety glasses to protect your eyes from any glass shaken free during the repair.

      Ask FixBot

      Add Comment

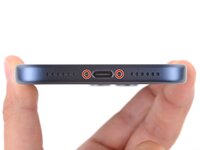
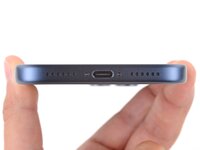
    3. iPhone 17 Pro Max Back Glass Removal, Remove the pentalobe screws: step 3, image 1 of 2 iPhone 17 Pro Max Back Glass Removal, Remove the pentalobe screws: step 3, image 2 of 2
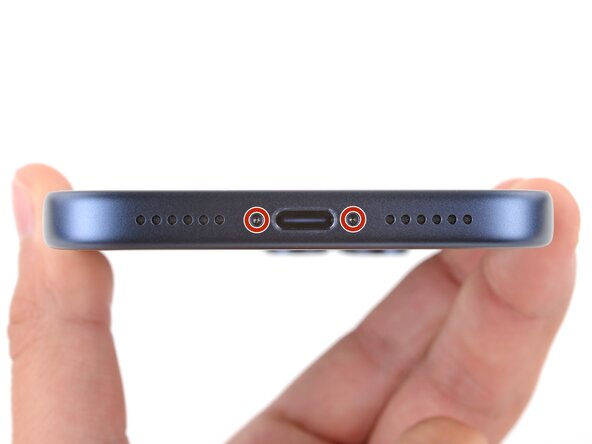
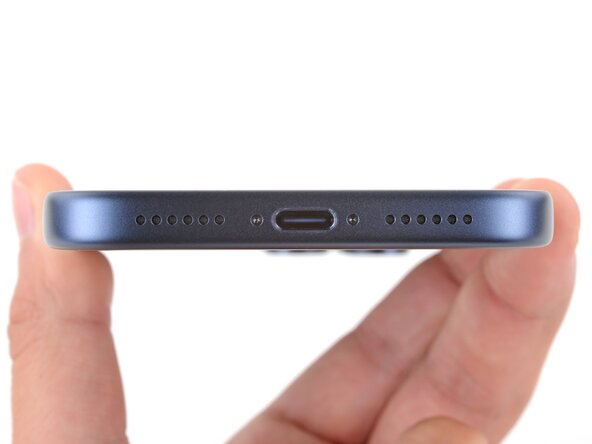
      • Use a P2 pentalobe screwdriver to remove the two 7.5 mm‑long screws on either side of the charging port.

      Ask FixBot

      Add Comment

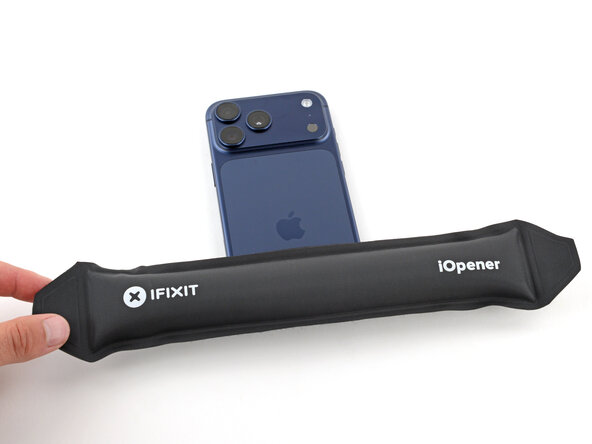
    1. iPhone 17 Pro Max Back Glass Removal, Heat the bottom edge: step 4, image 1 of 1
      • Adhesive secures the back glass to the frame. Heating the glass softens the adhesive, making it easier to separate.

      • Heat an iOpener and lay it on the bottom edge of the back glass for two minutes.

      • Alternatively, you can use a hair dryer or heat gun to heat the back glass until it's slightly too hot to touch.

      • Improper use of a heat gun can destroy the wireless charging assembly and/or battery—follow the linked instructions carefully.

      Ask FixBot

      Add Comment

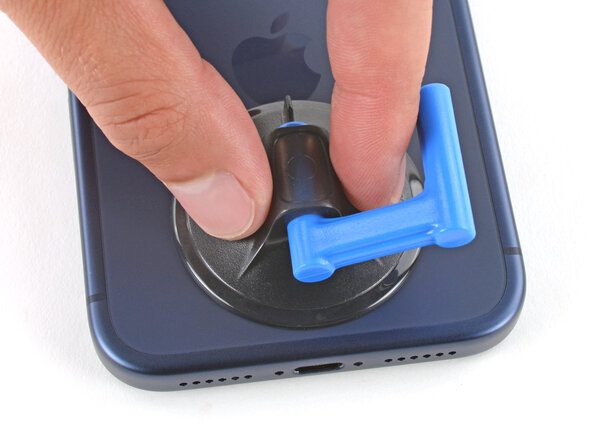
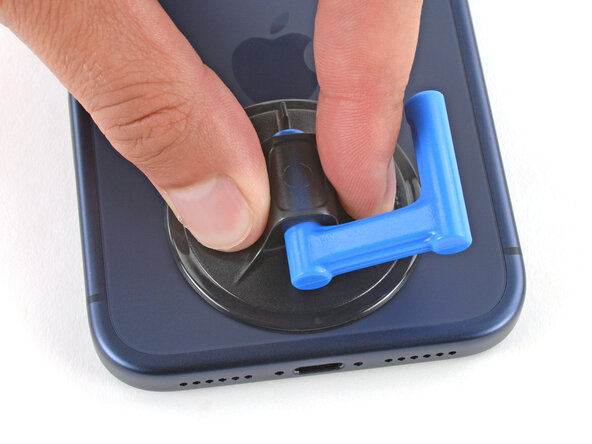
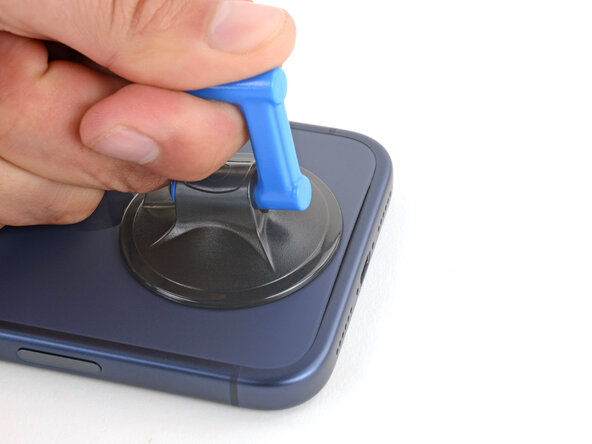
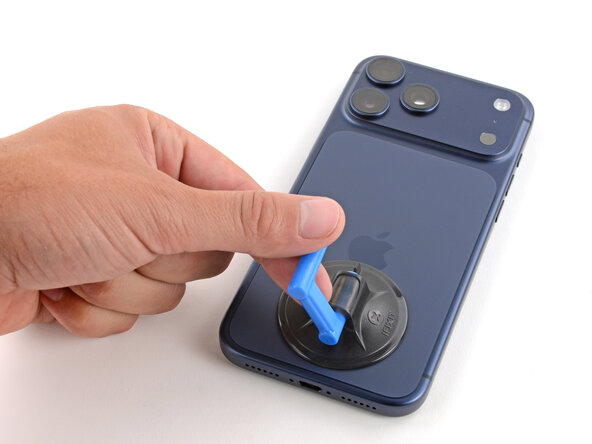
    2. iPhone 17 Pro Max Back Glass Removal, Apply a suction handle: step 5, image 1 of 2 iPhone 17 Pro Max Back Glass Removal, Apply a suction handle: step 5, image 2 of 2
      • Apply a suction handle to the bottom edge of the back glass, as close to the edge as possible.

      Ask FixBot

      Add Comment

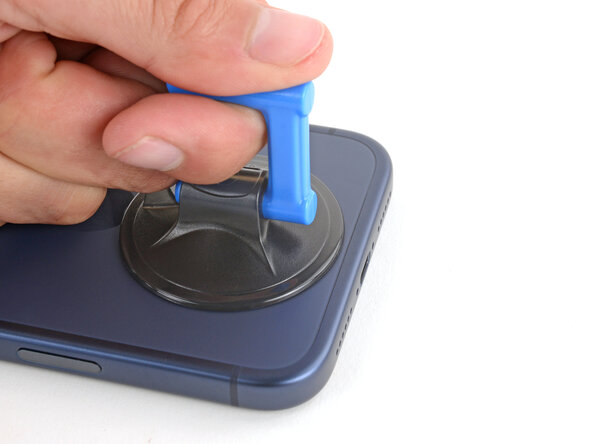
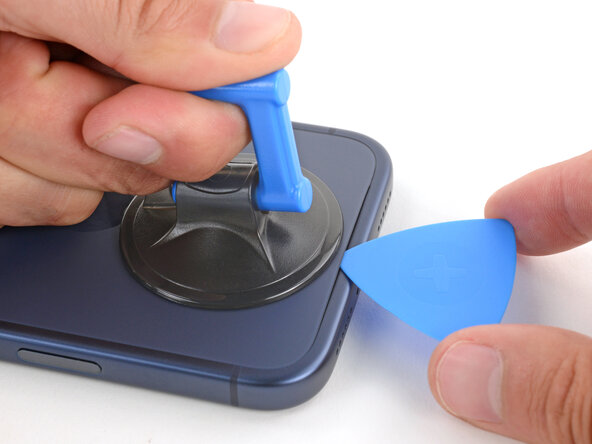
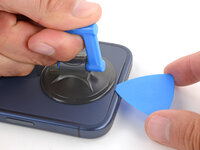
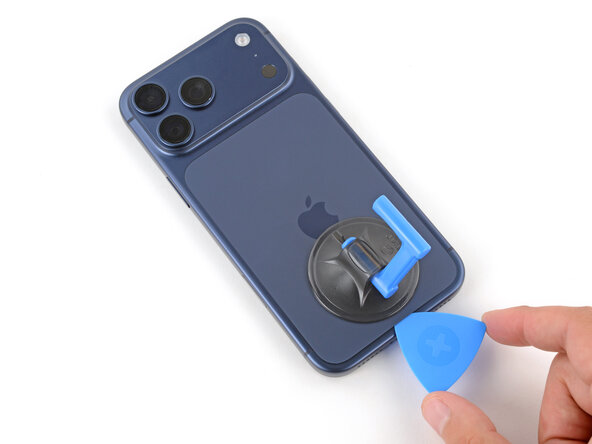
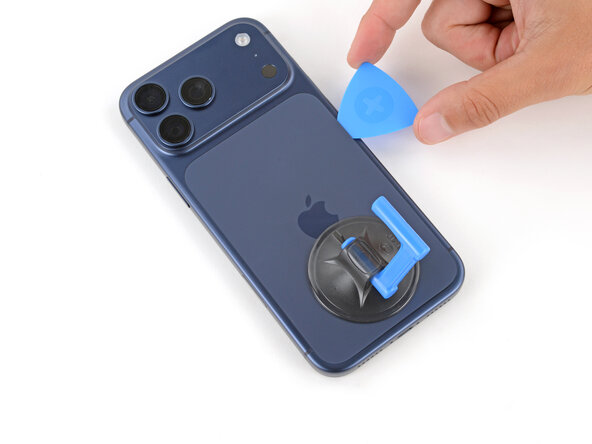
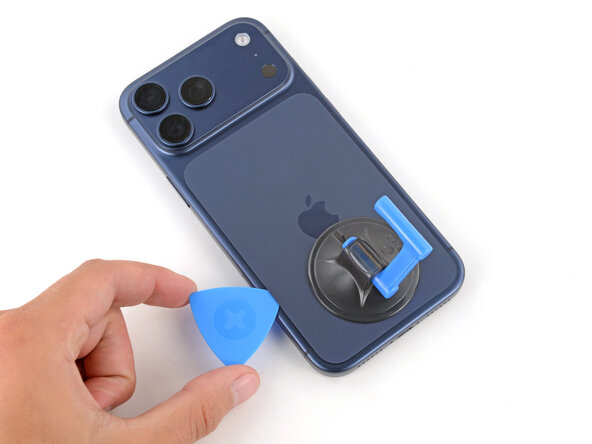
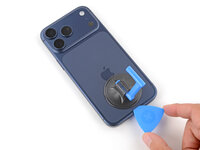
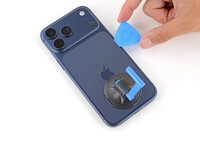
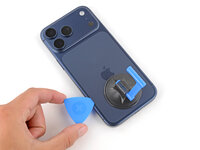
    3. iPhone 17 Pro Max Back Glass Removal, Insert an opening pick: step 6, image 1 of 3 iPhone 17 Pro Max Back Glass Removal, Insert an opening pick: step 6, image 2 of 3 iPhone 17 Pro Max Back Glass Removal, Insert an opening pick: step 6, image 3 of 3
      • Pull up on the suction handle with strong, steady force until a gap forms between the back glass and frame.

      • If you're having trouble, apply more heat and try again.

      • Insert the tip of an opening pick into the gap you just created.

      Ask FixBot

      Add Comment

    4. iPhone 17 Pro Max Back Glass Removal, Separate the adhesive: step 7, image 1 of 3 iPhone 17 Pro Max Back Glass Removal, Separate the adhesive: step 7, image 2 of 3 iPhone 17 Pro Max Back Glass Removal, Separate the adhesive: step 7, image 3 of 3
      • Slide the opening pick around the perimeter of the back glass to separate all the adhesive securing it.

      • Only insert your pick slightly under the back glass near the top of the left edge. Otherwise, you may damage the wireless charging ribbon cable.

      Ask FixBot

      Add Comment

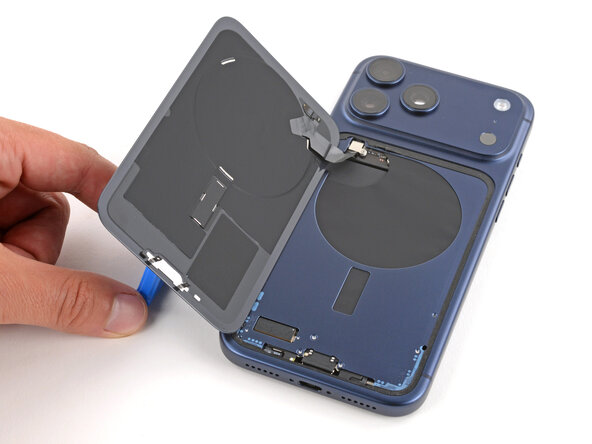
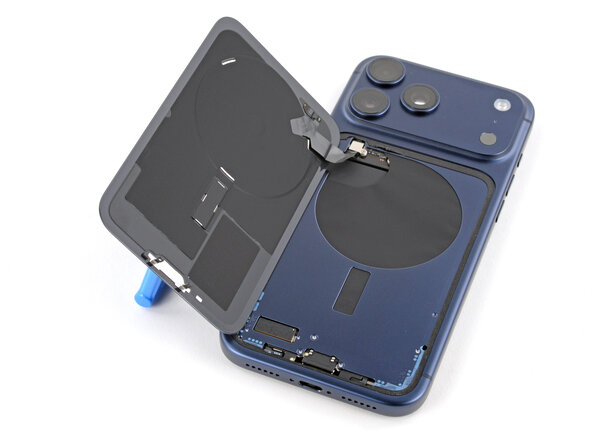
    5. iPhone 17 Pro Max Back Glass Removal, Prop up the back glass: step 8, image 1 of 3 iPhone 17 Pro Max Back Glass Removal, Prop up the back glass: step 8, image 2 of 3 iPhone 17 Pro Max Back Glass Removal, Prop up the back glass: step 8, image 3 of 3
      • At this point, the back glass should be completely separated from the frame. If it feels stuck, go back around the perimeter and separate any remaining adhesive.

      • Flip the back glass over the left edge and use the suction handle to prop it up.

      • Alternatively, you can lay the glass down flat over the left side.

      Ask FixBot

      Add Comment

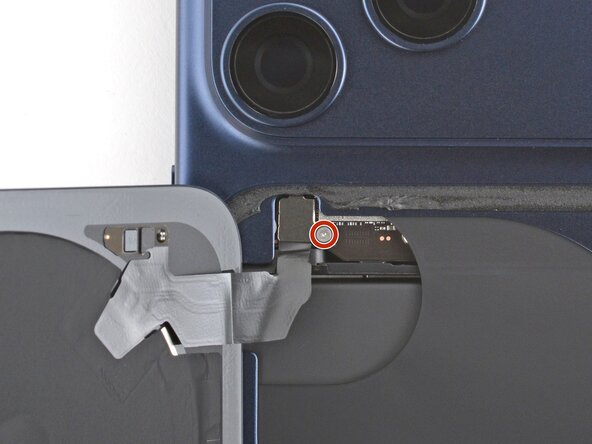
    6. iPhone 17 Pro Max Back Glass Removal, Remove the cover screw: step 9, image 1 of 2 iPhone 17 Pro Max Back Glass Removal, Remove the cover screw: step 9, image 2 of 2
      • Be careful not to damage the exposed battery with your tools during the next few steps.

      • Use a tri‑point Y000 screwdriver to remove the 1.0 mm‑long screw securing the wireless charging connector cover.

      Ask FixBot

      Add Comment

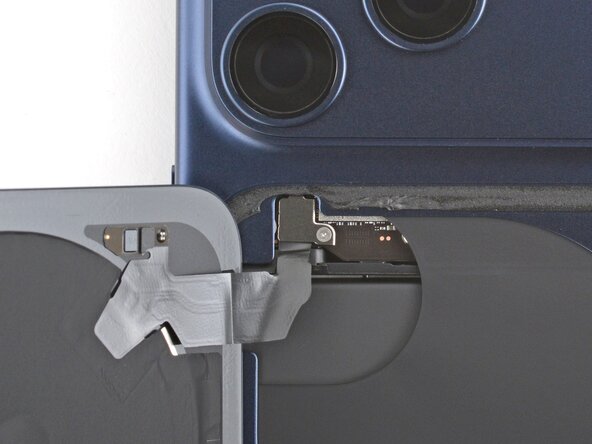
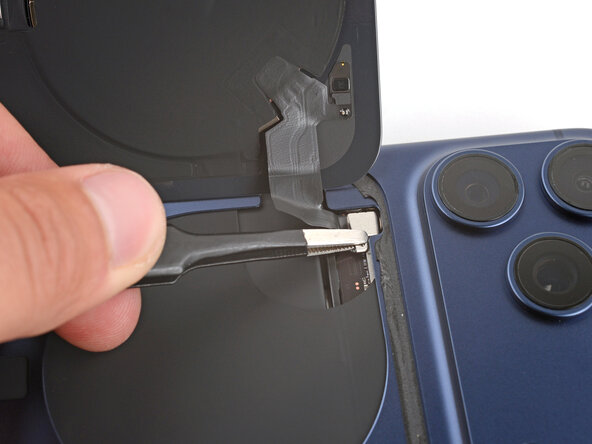
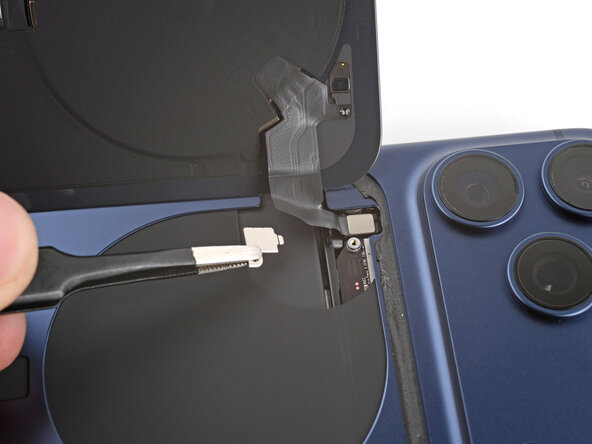
    7. iPhone 17 Pro Max Back Glass Removal, Remove the cover: step 10, image 1 of 2 iPhone 17 Pro Max Back Glass Removal, Remove the cover: step 10, image 2 of 2
      • Remove the cover.

      Ask FixBot

      Add Comment

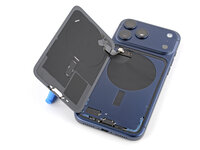
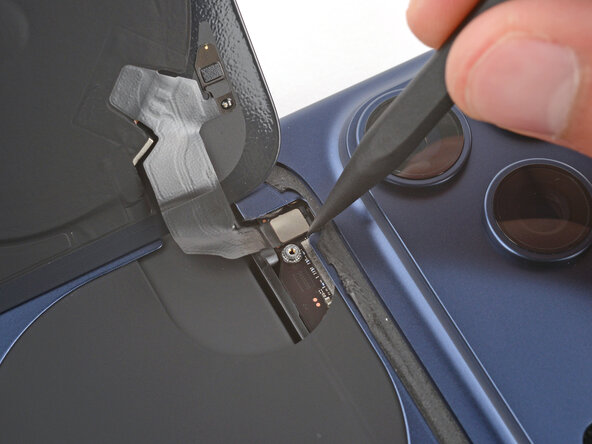
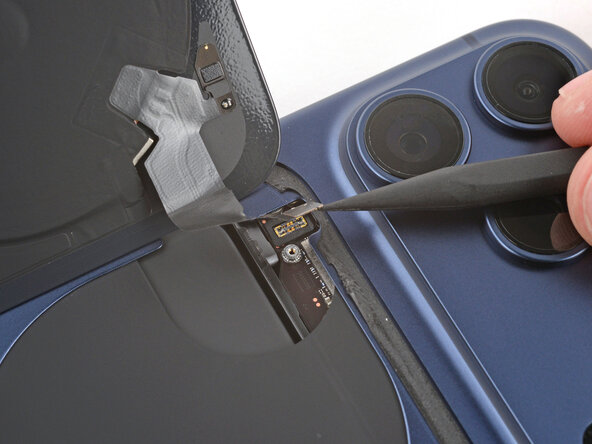
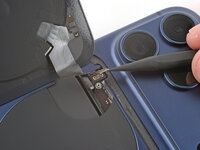
    8. iPhone 17 Pro Max Back Glass Removal, Disconnect the back glass: step 11, image 1 of 2 iPhone 17 Pro Max Back Glass Removal, Disconnect the back glass: step 11, image 2 of 2
      • Use the point of a spudger to pry up and disconnect the wireless charging press connector.

      Ask FixBot

      Add Comment

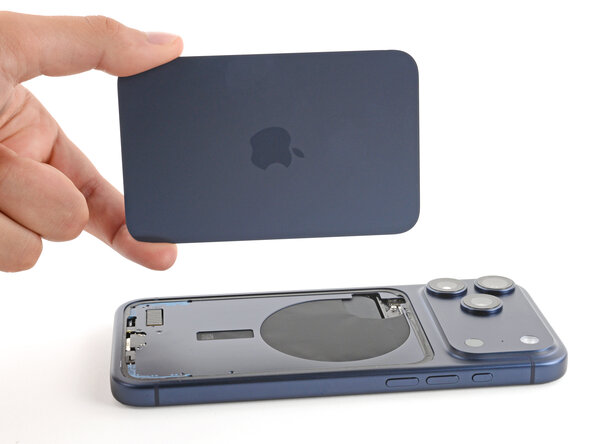
    9. iPhone 17 Pro Max Back Glass Removal, Remove the back glass: step 12, image 1 of 1
      • Remove the back glass.

      Ask FixBot

      Add Comment

Finish Line

Cancel: I did not complete this guide.

Spencer Day

Member since: 09/14/22

206,185 Reputation

1,267 Guides authored

0 Guide Comments

Add Comment

View Statistics:

Past 24 Hours: 1

Past 7 Days: 2

Past 30 Days: 7

All Time: 137