Free Shipping on Domestic Orders $75+

iPhone 16 Pro Microphone Removal

Prerequisite Only
This is a prerequisite-only guide! This guide is part of another procedure and isn’t meant to be used alone.

What you need

    1. iPhone 16 Pro Microphone Removal, Prepare the phone for disassembly: step 1, image 1 of 2 iPhone 16 Pro Microphone Removal, Prepare the phone for disassembly: step 1, image 2 of 2
      • Allow the phone's battery to drain below 25%, as a charged lithium-ion battery is a potential safety hazard.

      • Unplug any cables from the phone.

      • Hold the power and either volume buttons and slide to power off the phone.

      Ask FixBot

      Add Comment

    2. iPhone 16 Pro Microphone Removal, Tape over any cracks: step 2, image 1 of 2 iPhone 16 Pro Microphone Removal, Tape over any cracks: step 2, image 2 of 2
      • If the screen or back glass is badly cracked, lay overlapping strips of packing tape over the glass to protect yourself and make disassembly easier.

      • Make sure there's a smooth area near the bottom edge that's big enough for a suction cup to stick to.

      Ask FixBot

      Add Comment

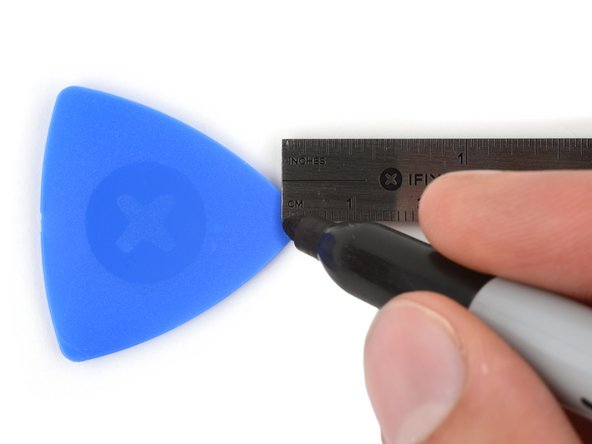
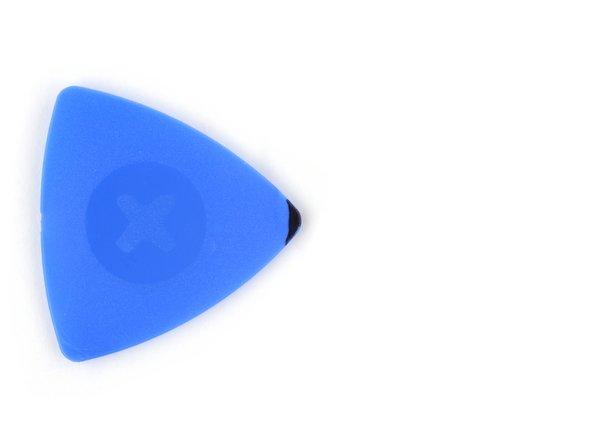
    3. iPhone 16 Pro Microphone Removal, Mark your opening picks: step 3, image 1 of 3 iPhone 16 Pro Microphone Removal, Mark your opening picks: step 3, image 2 of 3 iPhone 16 Pro Microphone Removal, Mark your opening picks: step 3, image 3 of 3
      • If inserted too far, an opening pick can damage your device. Follow this step to mark your pick and prevent damage.

      • Measure 3 mm from the tip and mark the opening pick with a permanent marker.

      • You can also mark the other corners of the pick with different measurements.

      • Alternatively, tape a coin to a pick 3 mm from the tip.

      Ask FixBot

      Add Comment

    4. iPhone 16 Pro Microphone Removal, Remove the pentalobe screws: step 4, image 1 of 2 iPhone 16 Pro Microphone Removal, Remove the pentalobe screws: step 4, image 2 of 2
      • Use a P2 pentalobe screwdriver to remove the two 7.4 mm‑long screws on either side of the USB-C port.

      Ask FixBot

      Add Comment

    1. iPhone 16 Pro Microphone Removal, Mark your opening picks: step 5, image 1 of 3 iPhone 16 Pro Microphone Removal, Mark your opening picks: step 5, image 2 of 3 iPhone 16 Pro Microphone Removal, Mark your opening picks: step 5, image 3 of 3
      • If inserted too far, an opening pick can damage your device. Follow this step to mark your pick and prevent damage.

      • Measure 3 mm from the tip and mark the opening pick with a permanent marker.

      • You can also mark the other corners of the pick with different measurements.

      • Alternatively, tape a coin to a pick 3 mm from the tip.

      Ask FixBot

      Add Comment

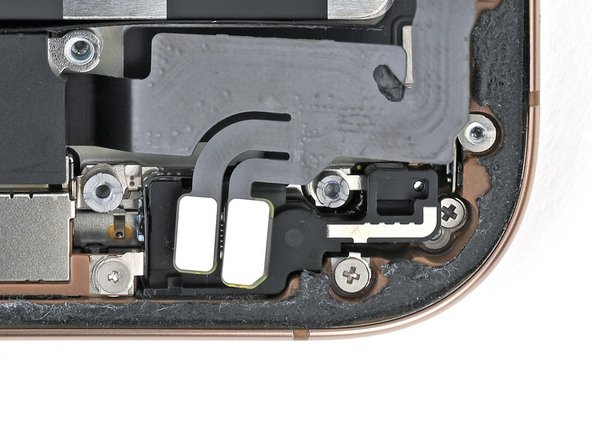
    1. iPhone 16 Pro Microphone Removal, Remove the microphone: step 6, image 1 of 2 iPhone 16 Pro Microphone Removal, Remove the microphone: step 6, image 2 of 2
      • Remove the three screws securing the microphone:

      • One 3.6 mm‑long standoff screw

      • One 2.9 mm‑long standoff screw

      • One 1.3 mm‑long tri-point Y000 screw

      Ask FixBot

      Add Comment

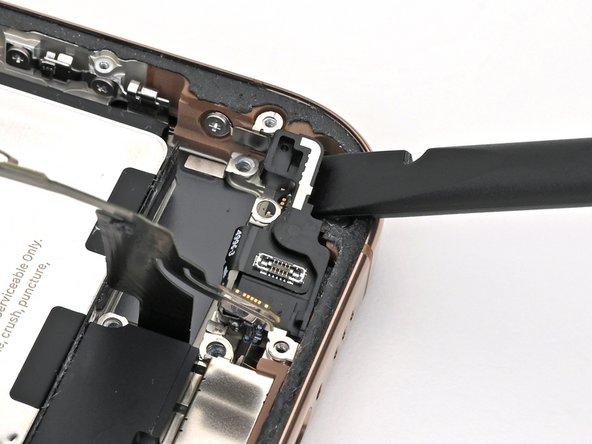
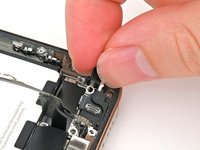
    2. iPhone 16 Pro Microphone Removal: step 7, image 1 of 2 iPhone 16 Pro Microphone Removal: step 7, image 2 of 2
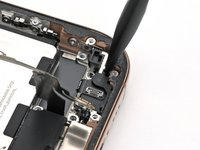
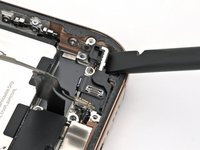
      • Use the flat end of a spudger to pry up the microphone until you can grab it with your fingers or tweezers.

      • Don't pry against the battery, or you may damage it.

      • You'll feel some resistance as the microphone releases from its frame gasket.

      Ask FixBot

      Add Comment

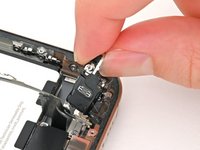
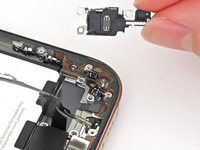
    3. iPhone 16 Pro Microphone Removal: step 8, image 1 of 3 iPhone 16 Pro Microphone Removal: step 8, image 2 of 3 iPhone 16 Pro Microphone Removal: step 8, image 3 of 3
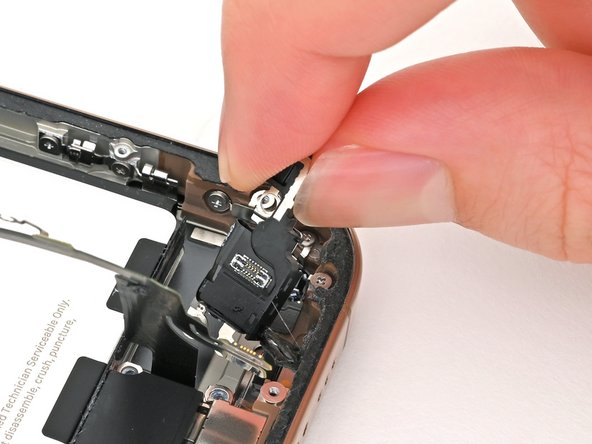
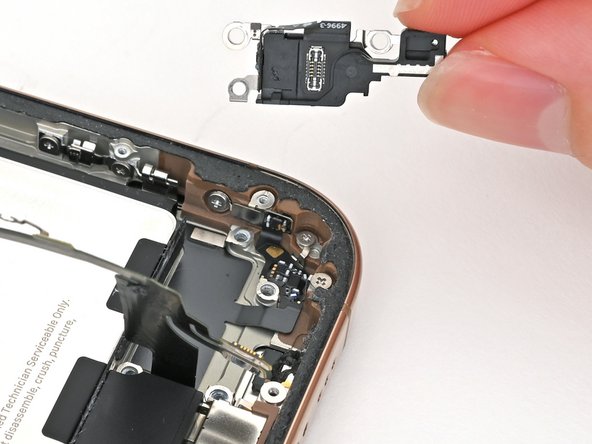
      • Pull the microphone towards the battery to separate it from its adhesive gasket holding it to the frame.

      • Remove the microphone.

      Ask FixBot

      Add Comment

Conclusion

To reassemble your iPhone, follow these instructions in reverse order.

Take your e-waste to an R2 or e-Stewards certified recycler.

Repair didn’t go as planned? Try some basic troubleshooting, or ask our iPhone 16 Pro Answers community for help.


Cancel: I did not complete this guide.

Nick Schultz

Member since: 03/24/24

65,497 Reputation

343 Guides authored

Team

iFixit Member of iFixit

Staff

122 Members

72,401 Guides authored

0 Guide Comments

Add Comment

View Statistics:

Past 24 Hours: 0

Past 7 Days: 1

Past 30 Days: 11

All Time: 217