Free Shipping on Domestic Orders $75+

iPhone 16 Pro Battery Installation

Prerequisite Only
This is a prerequisite-only guide! This guide is part of another procedure and isn’t meant to be used alone.

What you need

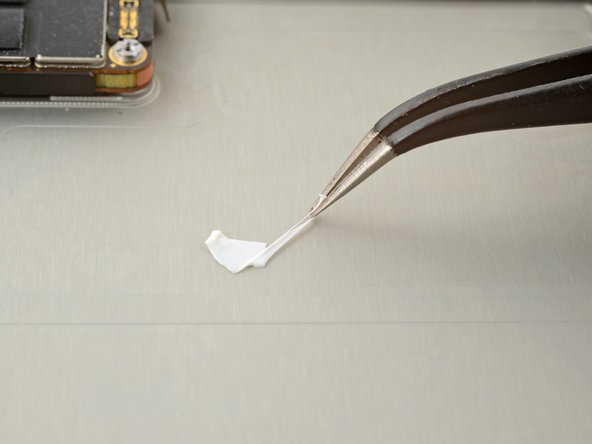
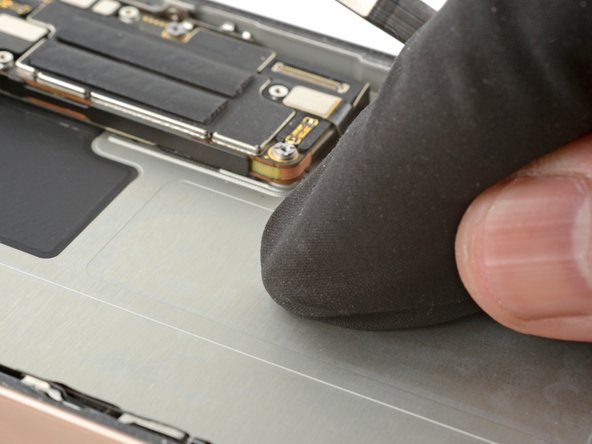
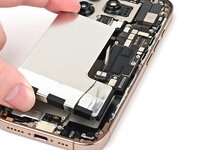
    1. iPhone 16 Pro Battery Installation, Clean the frame: step 1, image 1 of 2 iPhone 16 Pro Battery Installation, Clean the frame: step 1, image 2 of 2
      • Remove any remaining adhesive from the battery recess.

      • Wipe the frame surface with a lint-free cloth and a few drops of isopropyl alcohol. Wait for the alcohol to fully evaporate before installing the new battery.

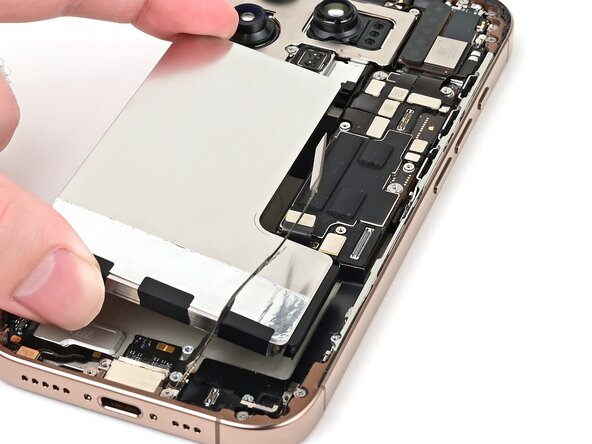
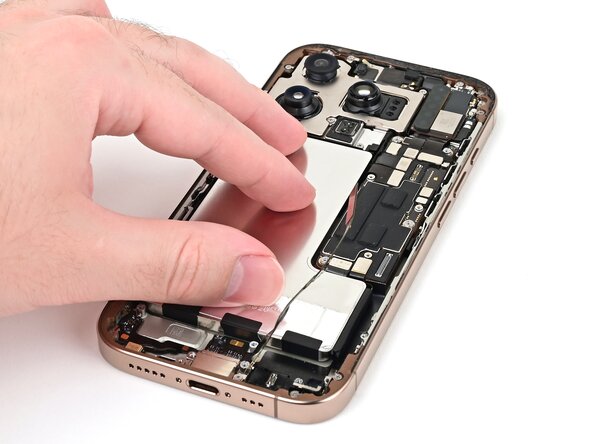
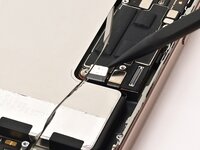
      • Before removing any liners on the adhesive, place the battery in its recess to check that it fits and that its cable reaches its socket on the logic board. Don't connect the battery yet!

      Ask FixBot

      Add Comment

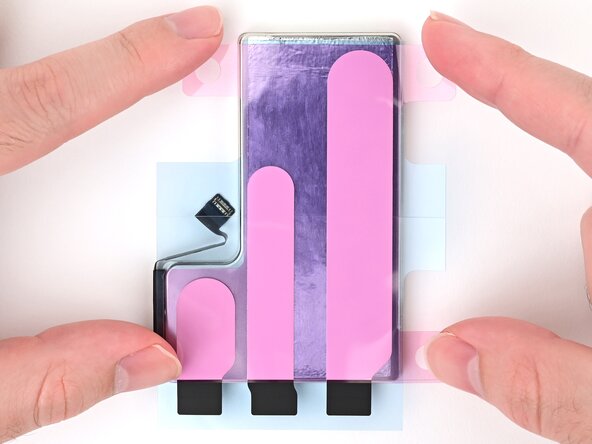
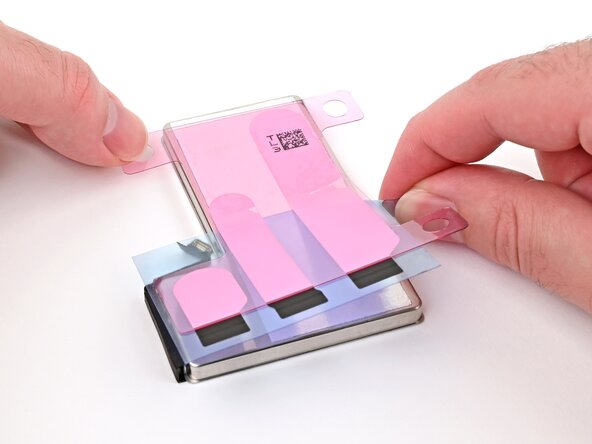
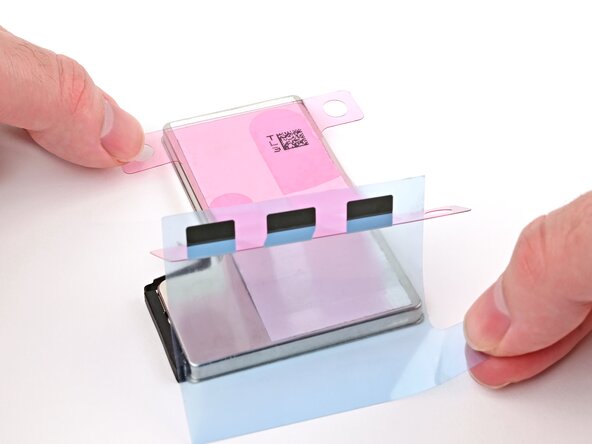
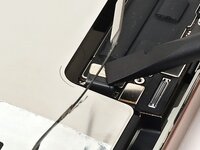
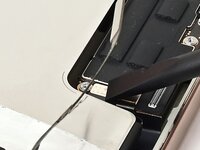
    2. iPhone 16 Pro Battery Installation, Install new adhesive: step 2, image 1 of 3 iPhone 16 Pro Battery Installation, Install new adhesive: step 2, image 2 of 3 iPhone 16 Pro Battery Installation, Install new adhesive: step 2, image 3 of 3
      Tool used on this step:
      Stretch Release Battery Adhesive
      $3.99
      Buy
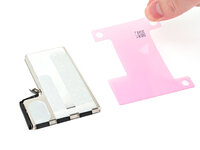
      • The next four steps show how to apply custom-cut adhesive to the battery. If your battery comes with adhesive pre-installed, skip the next four steps.

      • If needed, follow this guide to apply generic stretch release adhesive strips instead. Ensure the position of these strips lines up with the adhesive wells in the phone's frame. Use this photo as a reference.

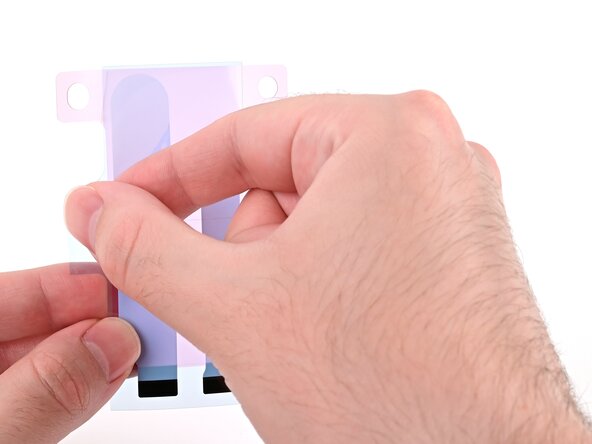
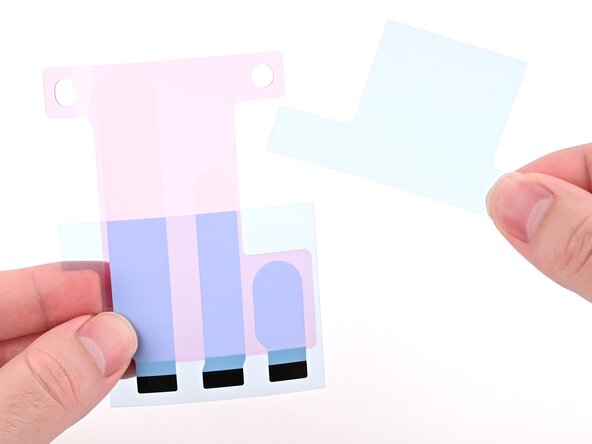
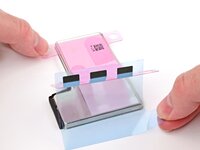
      • Align the new adhesive with your battery to see how it needs to be applied. Set all strips fully on the battery, and align the top edges of the black pull tabs with the bottom edge of the battery.

      • Your adhesive may look slightly different or have different liners.

      • If the battery‑side of your adhesive has two liners, remove the top liner.

      • If the battery‑side of your adhesive has one liner, remove it.

      Ask FixBot

      Add Comment

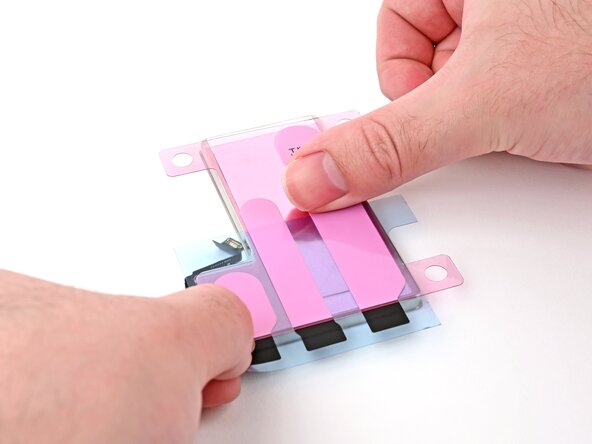
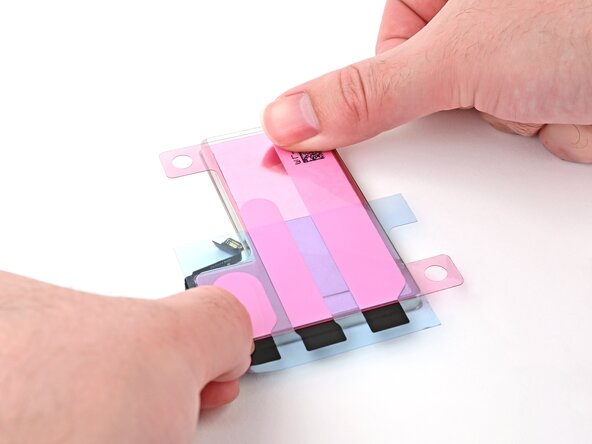
    3. iPhone 16 Pro Battery Installation: step 3, image 1 of 2 iPhone 16 Pro Battery Installation: step 3, image 2 of 2
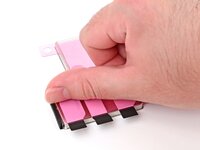
      • Lay the adhesive onto the battery and press each strip firmly into place.

      Ask FixBot

      Add Comment

    4. iPhone 16 Pro Battery Installation: step 4, image 1 of 3 iPhone 16 Pro Battery Installation: step 4, image 2 of 3 iPhone 16 Pro Battery Installation: step 4, image 3 of 3
      • If the battery‑side of your adhesive still has a bottom liner on it, remove it now, and press each strip firmly into place.

      Ask FixBot

      Add Comment

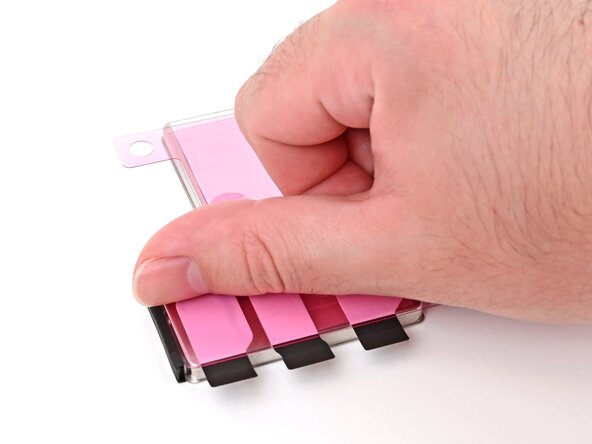
    5. iPhone 16 Pro Battery Installation: step 5, image 1 of 1
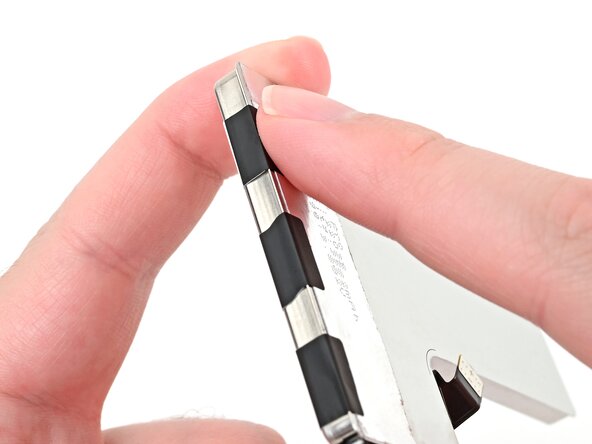
      • Use your finger to fold each black pull tab around the bottom edge of the battery and press it into place.

      Ask FixBot

      Add Comment

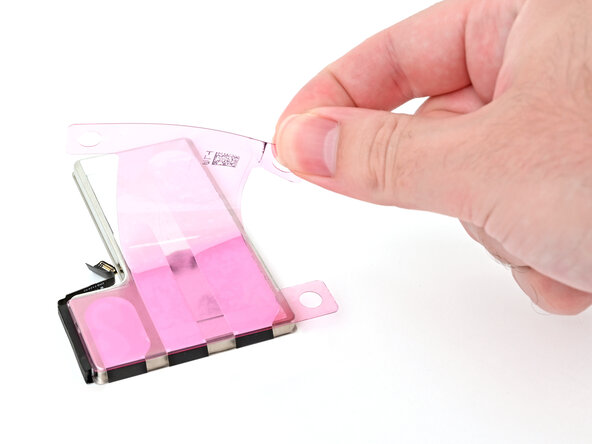
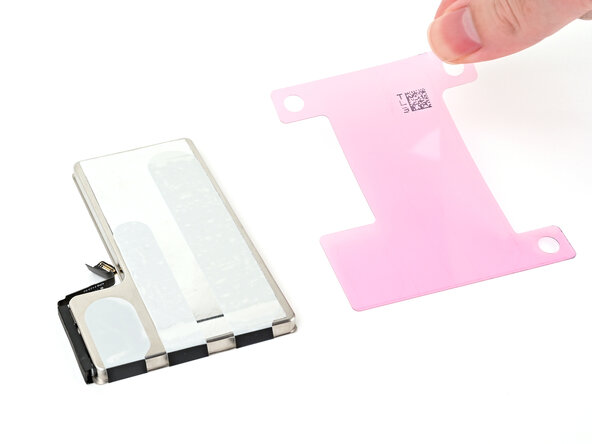
    6. iPhone 16 Pro Battery Installation, Remove the adhesive film: step 6, image 1 of 3 iPhone 16 Pro Battery Installation, Remove the adhesive film: step 6, image 2 of 3 iPhone 16 Pro Battery Installation, Remove the adhesive film: step 6, image 3 of 3
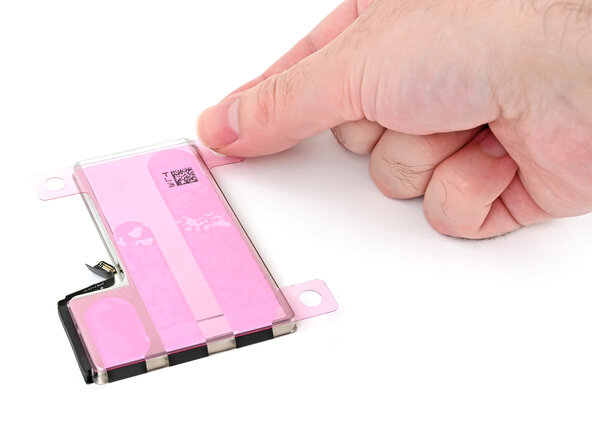
      • Remove the iPhone‑side liner off of the battery adhesive.

      Ask FixBot

      Add Comment

    7. iPhone 16 Pro Battery Installation, Align the battery: step 7, image 1 of 3 iPhone 16 Pro Battery Installation, Align the battery: step 7, image 2 of 3 iPhone 16 Pro Battery Installation, Align the battery: step 7, image 3 of 3
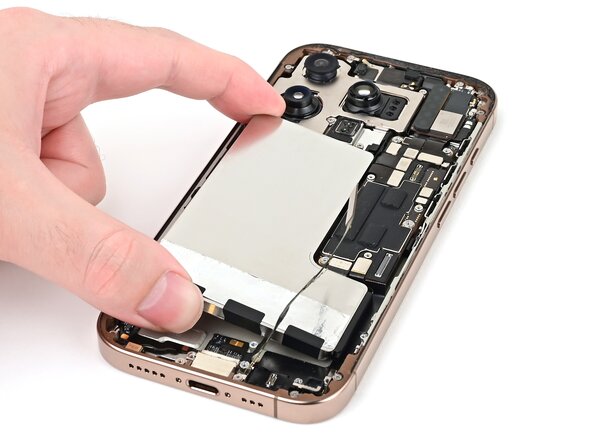
      • The battery adhesive is very sticky! Be careful as you align the battery in its recess—once it sticks, you won't be able to realign it.

      • Lower the battery partially into its recess, making sure the adhesive doesn't touch the frame.

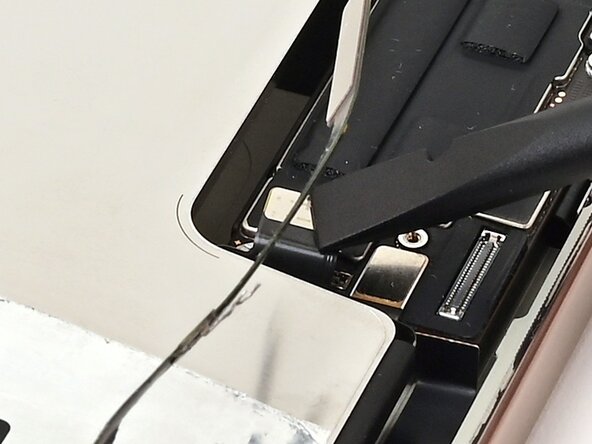
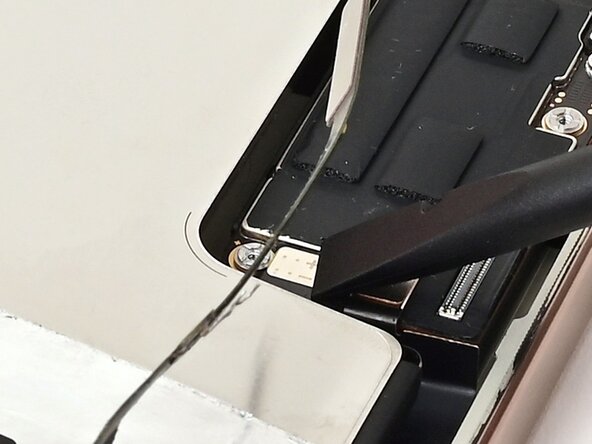
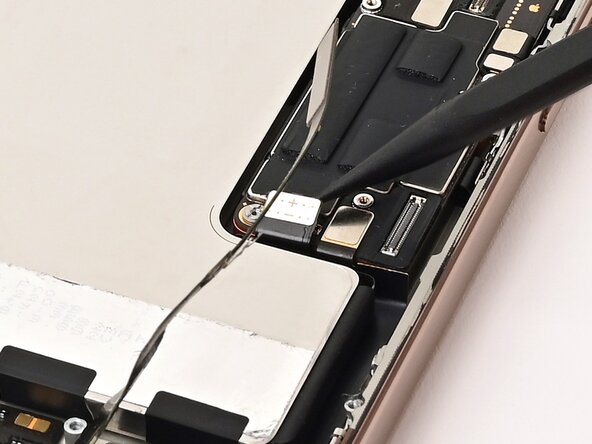
      • Use a spudger or your finger to connect the battery cable's press connector to ensure that the cable reaches.

      Ask FixBot

      Add Comment

    8. iPhone 16 Pro Battery Installation, Install the battery: step 8, image 1 of 3 iPhone 16 Pro Battery Installation, Install the battery: step 8, image 2 of 3 iPhone 16 Pro Battery Installation, Install the battery: step 8, image 3 of 3
      • Push the battery towards the top of the iPhone, and lay it in its recess.

      • Use your fingers to press firmly against the battery for ten seconds to bond it to the frame.

      • Use a spudger or your finger to disconnect the battery from the logic board.

      Ask FixBot

      Add Comment

Finish Line

Cancel: I did not complete this guide.

Nick Schultz

Member since: 03/24/24

65,246 Reputation

343 Guides authored

Team

iFixit Member of iFixit

Staff

122 Members

72,401 Guides authored

0 Guide Comments

Add Comment

View Statistics:

Past 24 Hours: 1

Past 7 Days: 5

Past 30 Days: 21

All Time: 323