Free Shipping on Domestic Orders $75+

iPhone 16 Pro Ambient Light Sensor Transfer

Prerequisite Only
This is a prerequisite-only guide! This guide is part of another procedure and isn’t meant to be used alone.

What you need

    1. iPhone 16 Pro Ambient Light Sensor Transfer, Ambient light sensor information: step 1, image 1 of 1
      • The ambient light sensor is located behind the screen, next to the cut‑out for the Face ID sensors.

      • Check if the replacement screen comes with one installed. If it does, click here to skip the next twelve steps.

      Ask FixBot

      Add Comment

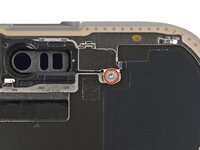
    2. iPhone 16 Pro Ambient Light Sensor Transfer, Remove the ambient light sensor bracket: step 2, image 1 of 2 iPhone 16 Pro Ambient Light Sensor Transfer, Remove the ambient light sensor bracket: step 2, image 2 of 2
      • Use a Phillips screwdriver to remove the 1 mm‑long screw securing the bracket on the ambient light sensor.

      Ask FixBot

      Add Comment

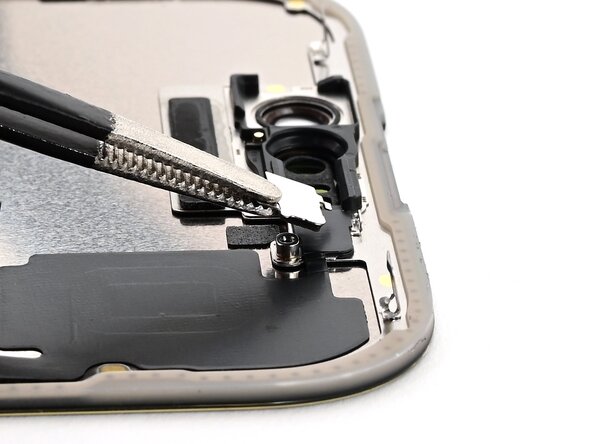
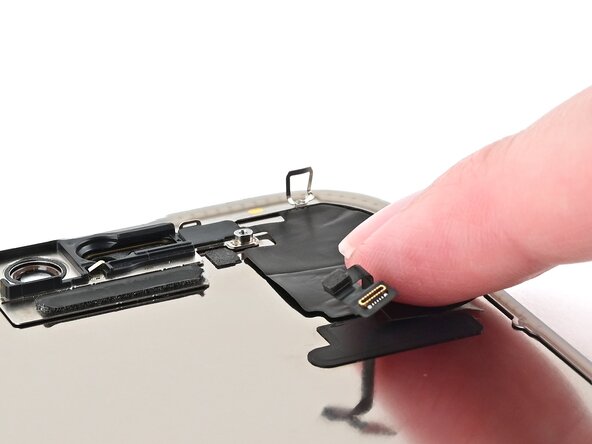
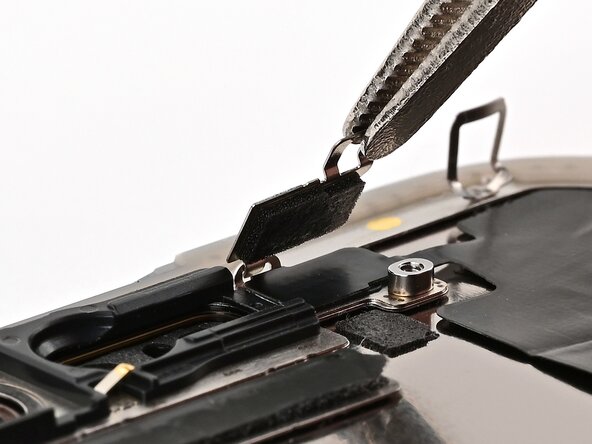
    3. iPhone 16 Pro Ambient Light Sensor Transfer: step 3, image 1 of 2 iPhone 16 Pro Ambient Light Sensor Transfer: step 3, image 2 of 2
      • Use a pair of tweezers or your fingers to lift and remove the ambient light sensor bracket.

      Ask FixBot

      Add Comment

    4. iPhone 16 Pro Ambient Light Sensor Transfer, Heat the ambient light sensor cable: step 4, image 1 of 1
      • Use a hair dryer, heat gun, or iOpener to soften the adhesive under the ambient light sensor and ambient light sensor cable.

      Ask FixBot

      Add Comment

    5. iPhone 16 Pro Ambient Light Sensor Transfer, Peel up the ambient light sensor cable: step 5, image 1 of 3 iPhone 16 Pro Ambient Light Sensor Transfer, Peel up the ambient light sensor cable: step 5, image 2 of 3 iPhone 16 Pro Ambient Light Sensor Transfer, Peel up the ambient light sensor cable: step 5, image 3 of 3
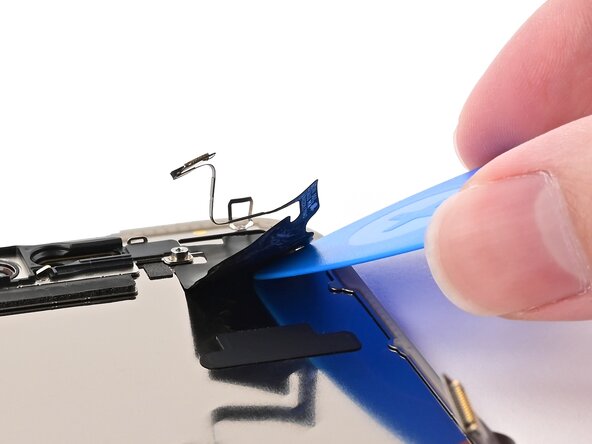
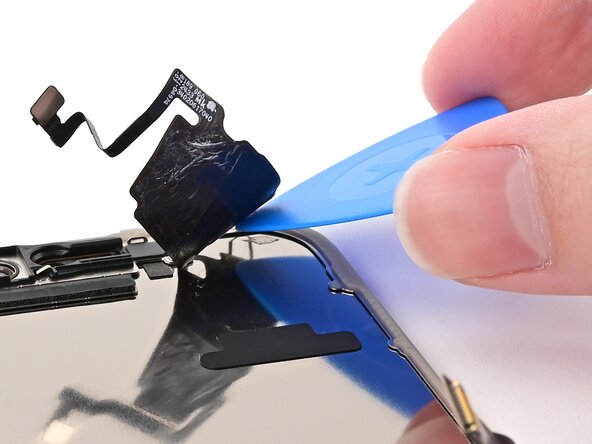
      • Be careful and work slowly—the cable is extremely delicate, especially near the sensor. Don't try to lift the sensor itself yet.

      • Slowly slide an opening pick under the ambient light sensor cable, starting under the connector at the bottom and working upwards until the cable is free from the screen.

      • If the adhesive doesn't peel up easily, apply more heat.

      Ask FixBot

      Add Comment

    6. iPhone 16 Pro Ambient Light Sensor Transfer, Reheat the ambient light sensor: step 6, image 1 of 1
      Ask FixBot

      Add Comment

    7. iPhone 16 Pro Ambient Light Sensor Transfer, Pry up the ambient light sensor: step 7, image 1 of 3 iPhone 16 Pro Ambient Light Sensor Transfer, Pry up the ambient light sensor: step 7, image 2 of 3 iPhone 16 Pro Ambient Light Sensor Transfer, Pry up the ambient light sensor: step 7, image 3 of 3
      • Work slowly to avoid tearing the thin cable attached to the ambient light sensor. If it feels stubborn, apply more heat instead of using more force.

      • Use the flat end of a spudger to slowly pry up the ambient light sensor from the side with the protruding cable.

      • Remove the ambient light sensor.

      Ask FixBot

      Add Comment

    8. iPhone 16 Pro Ambient Light Sensor Transfer, Prepare the ambient light sensor: step 8, image 1 of 1
      Tool used on this step:
      Tesa 61395 Tape
      $2.95
      Buy
      • Use tweezers to reposition any adhesive that may have covered the ambient light sensor during removal. The adhesive should form a border around the raised rectangle.

      • If the adhesive was damaged or stayed with the old screen, replace it with a 1 mm wide strip of thin, double-sided tape along its top border.

      Ask FixBot

      Add Comment

    9. iPhone 16 Pro Ambient Light Sensor Transfer, Place the ambient light sensor: step 9, image 1 of 2 iPhone 16 Pro Ambient Light Sensor Transfer, Place the ambient light sensor: step 9, image 2 of 2
      • Align the ambient light sensor with its recess in the back of the screen.

      • Use a spudger or your finger to press the ambient light sensor into its recess.

      Ask FixBot

      Add Comment

    10. iPhone 16 Pro Ambient Light Sensor Transfer, Warm the ambient light sensor cable: step 10, image 1 of 1
      • Use a hair dryer, heat gun, or iOpener to soften the adhesive under the ambient light sensor and its cable. It only needs to be warm—not hot.

      Ask FixBot

      Add Comment

    11. iPhone 16 Pro Ambient Light Sensor Transfer, Press the ambient light sensor: step 11, image 1 of 3 iPhone 16 Pro Ambient Light Sensor Transfer, Press the ambient light sensor: step 11, image 2 of 3 iPhone 16 Pro Ambient Light Sensor Transfer, Press the ambient light sensor: step 11, image 3 of 3
      Tool used on this step:
      Tesa 61395 Tape
      $2.95
      Buy
      • Use your finger to press down the ambient light sensor cable.

      • If the ambient light sensor cable isn't sticking, apply a few small pieces of thin, double‑sided tape, like Tesa tape, to the back of the sensor cable.

      Ask FixBot

      Add Comment

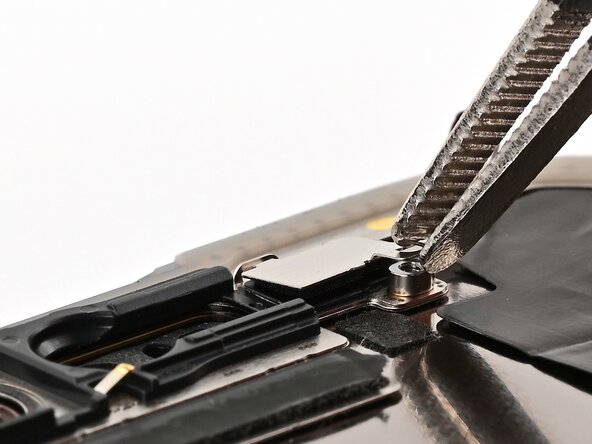
    12. iPhone 16 Pro Ambient Light Sensor Transfer, Install the ambient light sensor bracket: step 12, image 1 of 3 iPhone 16 Pro Ambient Light Sensor Transfer, Install the ambient light sensor bracket: step 12, image 2 of 3 iPhone 16 Pro Ambient Light Sensor Transfer, Install the ambient light sensor bracket: step 12, image 3 of 3
      • Use tweezers or your fingers to hook the ambient light sensor bracket over the back of the sensor and set it into place.

      Ask FixBot

      Add Comment

    13. iPhone 16 Pro Ambient Light Sensor Transfer: step 13, image 1 of 1
      • Use a Phillips screwdriver to install the 1 mm‑long screw securing the bracket on the ambient light sensor.

      Ask FixBot

      Add Comment

Finish Line

Cancel: I did not complete this guide.

Nick Schultz

Member since: 03/24/24

65,446 Reputation

343 Guides authored

0 Guide Comments

Add Comment

View Statistics:

Past 24 Hours: 0

Past 7 Days: 4

Past 30 Days: 12

All Time: 146