
Free Shipping on Domestic Orders $75+

iPad Pro 12.9" 3rd Gen Screen Replacement

Archived Guide
This guide is retained solely for historical purposes. Use the updated version of the guide to perform your repair.

What you need

  1. iPad Pro 12.9" 3rd Gen Screen Replacement, Screen Replacement: step 1, image 1 of 1
    • iPad Pro 3rd Gen' A1895

    • Be sure to turn off the iPad by pressing and releasing the volume up button then volume down.

    • Press and hold the side button until the screen turns off.

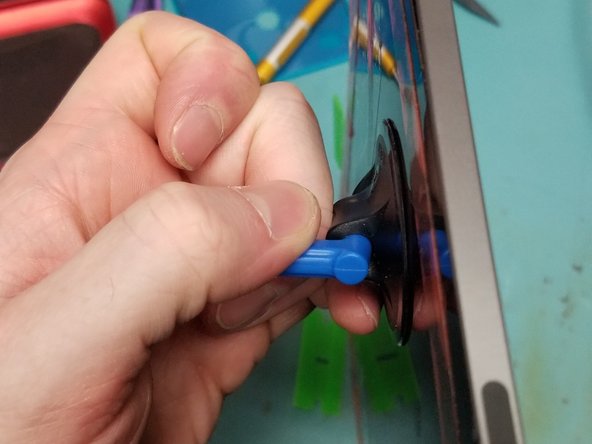
    • Use the slider if you can.

    • Not powering it off can blow out your LCD back light just like iPhones other iPads!

  2. iPad Pro 12.9" 3rd Gen Screen Replacement: step 2, image 1 of 1
    • You can use a heat gun or another handy heating method! MUST DO!

    • Heating the entire screen will help make it easy to safely remove the screen.

  3. iPad Pro 12.9" 3rd Gen Screen Replacement: step 3, image 1 of 1
    • Leave it on the heat for 15 minutes to loosen the strong adhesive.

    • Use an ifixit suction cup to pull up the screen so that you can insert a plastic pick.

  4. iPad Pro 12.9" 3rd Gen Screen Replacement: step 4, image 1 of 3 iPad Pro 12.9" 3rd Gen Screen Replacement: step 4, image 2 of 3 iPad Pro 12.9" 3rd Gen Screen Replacement: step 4, image 3 of 3
    • Apply tape or adhesive over broken glass!

    • Bust out the metal pry tool lifting broken causing glass to stick to tape working your way around broken side.

    • Wiggle Jiggle the screen off the adhesive using multiple plastic guitar picks.

    • Do Not Tear the Screen Off!!!

  5. iPad Pro 12.9" 3rd Gen Screen Replacement: step 5, image 1 of 3 iPad Pro 12.9" 3rd Gen Screen Replacement: step 5, image 2 of 3 iPad Pro 12.9" 3rd Gen Screen Replacement: step 5, image 3 of 3
    • Do not rip the screen off!! Cables are very short will cause internal Damages!!!

    • On the Top of the screen the proximity sensor front camera has to be disconnected 1st.

  6. iPad Pro 12.9" 3rd Gen Screen Replacement: step 6, image 1 of 2 iPad Pro 12.9" 3rd Gen Screen Replacement: step 6, image 2 of 2
    • Lay screen flat pull it down just enough to use a PH000 Screw drive to remove the safety bracket

    • Use Flat Ended Spoudger remove the bracken and cable from the Logic board!

  7. iPad Pro 12.9" 3rd Gen Screen Replacement: step 7, image 1 of 2 iPad Pro 12.9" 3rd Gen Screen Replacement: step 7, image 2 of 2
    • Perfect! Now Lift the screen folding it up to the left like so!

    • Remove 5 PH000 Screws protecting Power Connection and Display Cables

  8. iPad Pro 12.9" 3rd Gen Screen Replacement: step 8, image 1 of 3 iPad Pro 12.9" 3rd Gen Screen Replacement: step 8, image 2 of 3 iPad Pro 12.9" 3rd Gen Screen Replacement: step 8, image 3 of 3
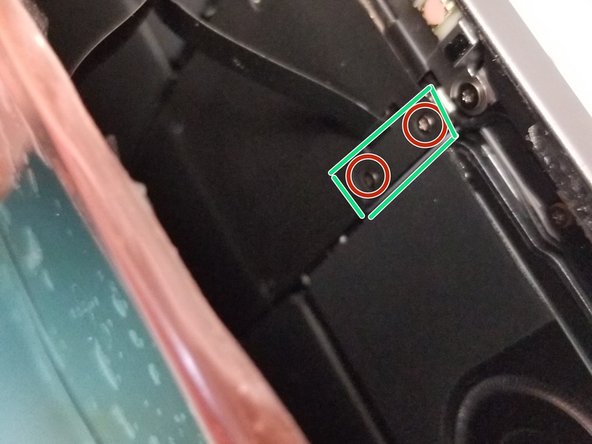
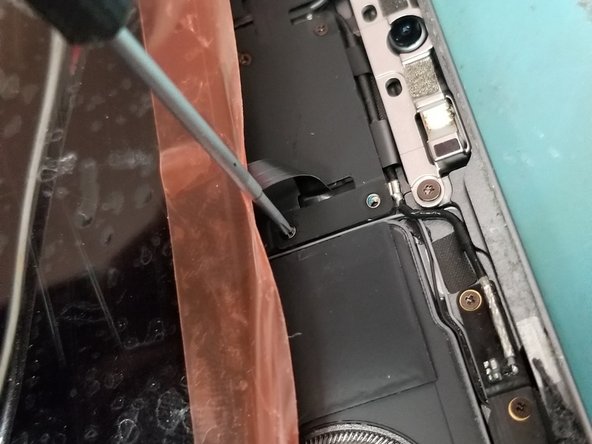
    • Remove PH000 Battery Connection clip retaining screw.

    • Do not attempt to remove battery connection.

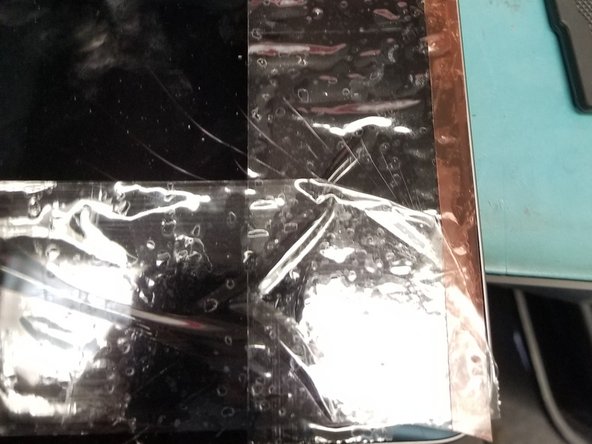
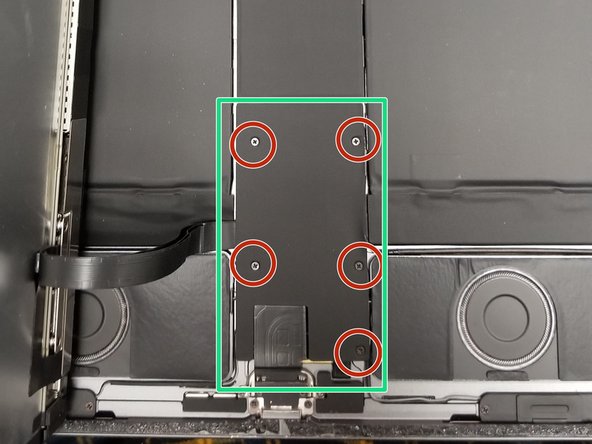
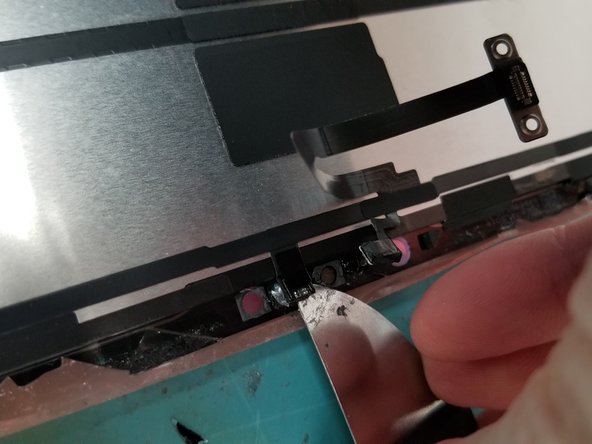
    • Move Small cable is taped around edges up so you can gain access to the side of the battery connection.

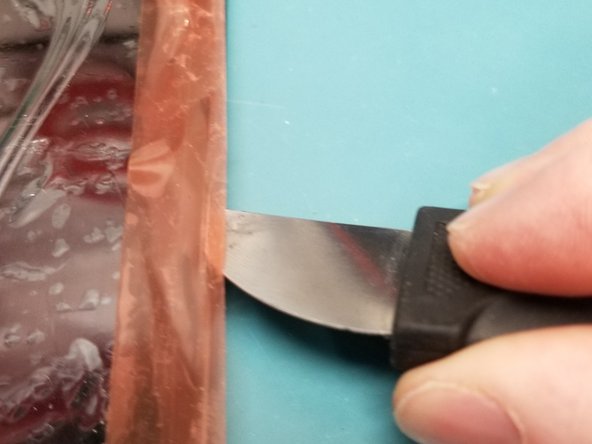
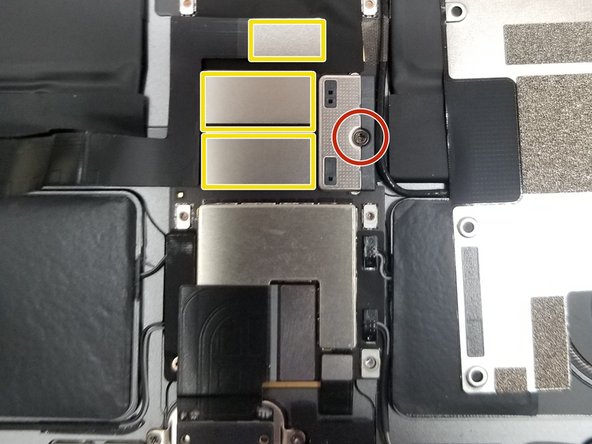
    • Slide thin plastic under battery connection. This will lift the battery connection pins away from the battery cable connectors and isolate the battery.

    • After Isolating battery.

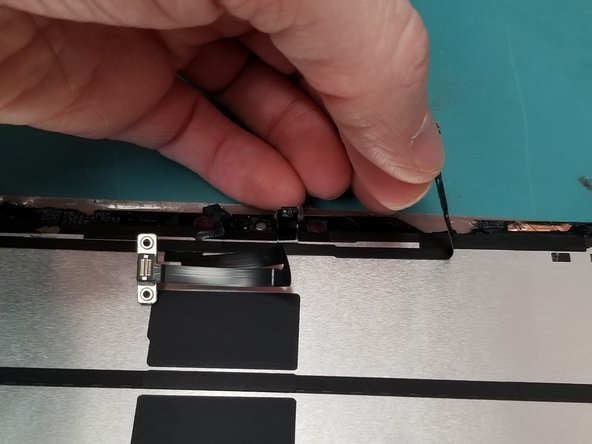
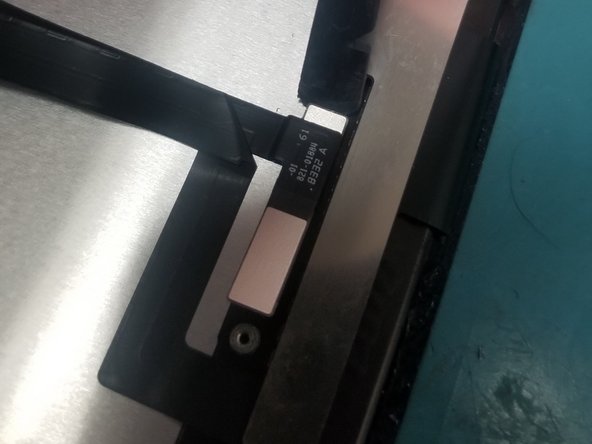
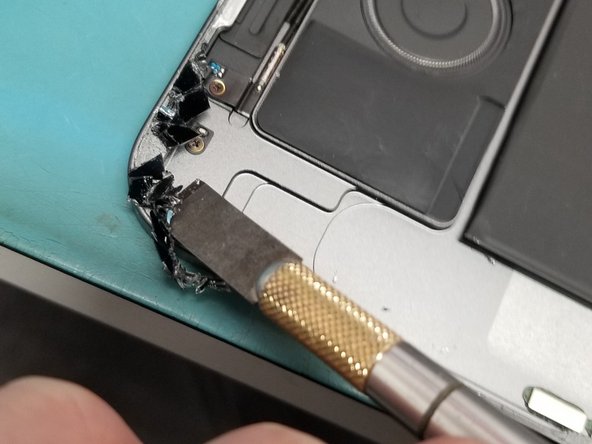
    • Remove all 3 ribbon cables from logic board with flat headed spudger!

  9. iPad Pro 12.9" 3rd Gen Screen Replacement: step 9, image 1 of 3 iPad Pro 12.9" 3rd Gen Screen Replacement: step 9, image 2 of 3 iPad Pro 12.9" 3rd Gen Screen Replacement: step 9, image 3 of 3
    • Just a touch of heat don't melt the thing off remove the face ID sensor from Old Screen.

    • Damaging Proximity sensor could effect True Tone with 3rd Party Parts

    • Gently use a tool to get under glued down connection on glass frame of screen!

  10. iPad Pro 12.9" 3rd Gen Screen Replacement: step 10, image 1 of 3 iPad Pro 12.9" 3rd Gen Screen Replacement: step 10, image 2 of 3 iPad Pro 12.9" 3rd Gen Screen Replacement: step 10, image 3 of 3
    • Remove Bracket off old screen you and move it to new screen

    • Transfer Cables and Bracket to new screen

  11. iPad Pro 12.9" 3rd Gen Screen Replacement: step 11, image 1 of 3 iPad Pro 12.9" 3rd Gen Screen Replacement: step 11, image 2 of 3 iPad Pro 12.9" 3rd Gen Screen Replacement: step 11, image 3 of 3
    • Place Screen without adhesive test your screen and face ID

    • After running test take

  12. iPad Pro 12.9" 3rd Gen Screen Replacement: step 12, image 1 of 2 iPad Pro 12.9" 3rd Gen Screen Replacement: step 12, image 2 of 2
    • Clean Edges with flat ended metal tool to remove broken glass

    • Clean desk of glass on table get ready to remove Proximity sensor from old screen!

    • Do not clamp recommend to use flat and heavy object

    • Broken glass on the frame will crack your new screen

Conclusion

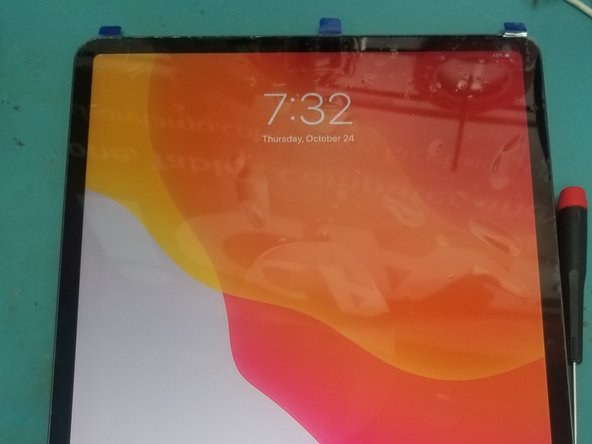
To reassemble your device, follow these instructions in reverse order.

Mark D Schlossman

Member since: 09/25/19

7,176 Reputation

9 Guides authored

0 Guide Comments

Add Comment

View Statistics:

Past 24 Hours: 0

Past 7 Days: 0

Past 30 Days: 3

All Time: 99