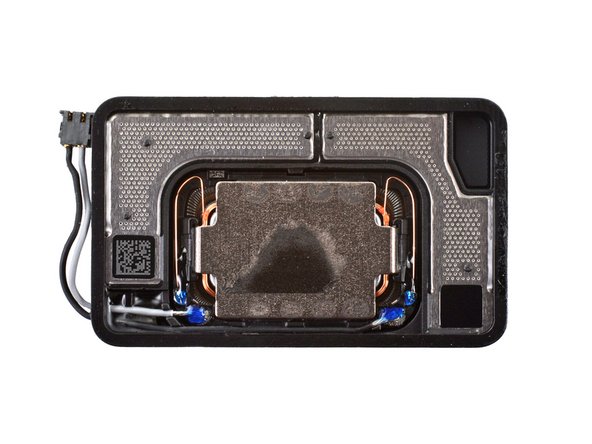
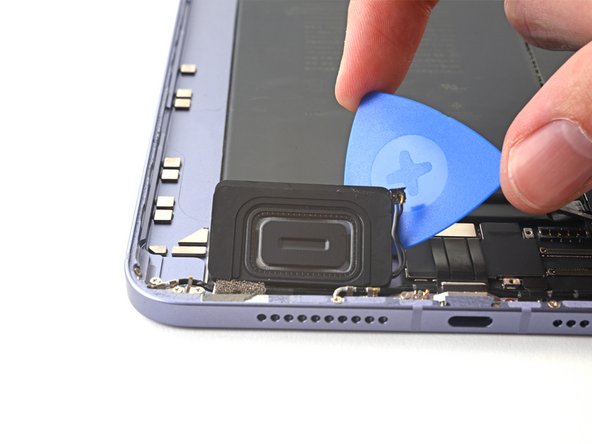
iPad Mini 6 Bottom Speaker Replacement

Prerequisite Only
This guide is only intended to be used as a prerequisite for other guides. It's incomplete by itself.
  1. iPad Mini 6 Bottom Speaker Replacement, Disconnect the bottom speaker: step 1, image 1 of 2 iPad Mini 6 Bottom Speaker Replacement, Disconnect the bottom speaker: step 1, image 2 of 2
    • The next six steps will show how to remove the bottom speaker.

    • Use the point of spudger to pry up and disconnect the bottom speaker's cable.

    • Be very careful when performing this step; apply equal force to both cords to prevent any damage to the connector.

  2. iPad Mini 6 Bottom Speaker Replacement, Heat the bottom speaker: step 2, image 1 of 1
    • Apply a heated iOpener to the bottom-left edge of the device to loosen the bottom speaker's adhesive.

  3. iPad Mini 6 Bottom Speaker Replacement, Bottom speaker information: step 3, image 1 of 2 iPad Mini 6 Bottom Speaker Replacement, Bottom speaker information: step 3, image 2 of 2
    • While you're waiting for the adhesive to loosen, note the following:

    • Adhesive is located around the perimeter of the speaker.

    • Insert a pick 2 mm to separate this adhesive.

    • Adhesive is also located in the center of the speaker.

    • Insert a pick 9 mm to separate this adhesive.

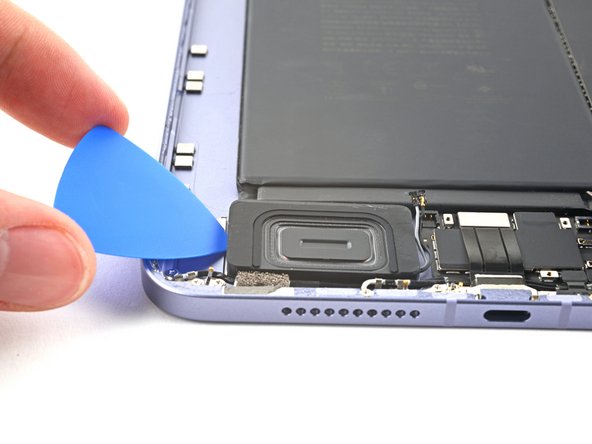
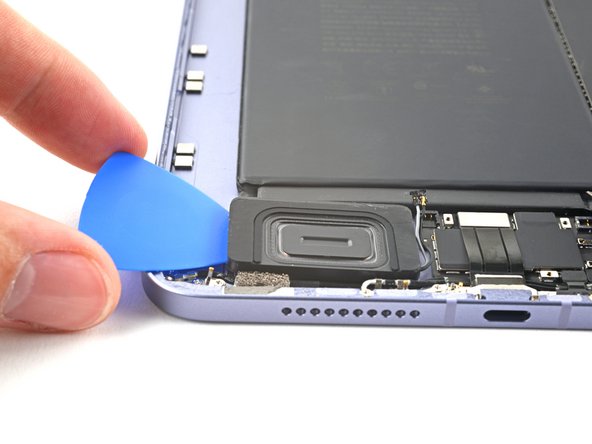
  4. iPad Mini 6 Bottom Speaker Replacement, Separate the bottom speaker's adhesive: step 4, image 1 of 3 iPad Mini 6 Bottom Speaker Replacement, Separate the bottom speaker's adhesive: step 4, image 2 of 3 iPad Mini 6 Bottom Speaker Replacement, Separate the bottom speaker's adhesive: step 4, image 3 of 3
    • Insert an opening pick between the bottom speaker and the frame.

    • Insert the pick at least 9 mm to separate the center adhesive.

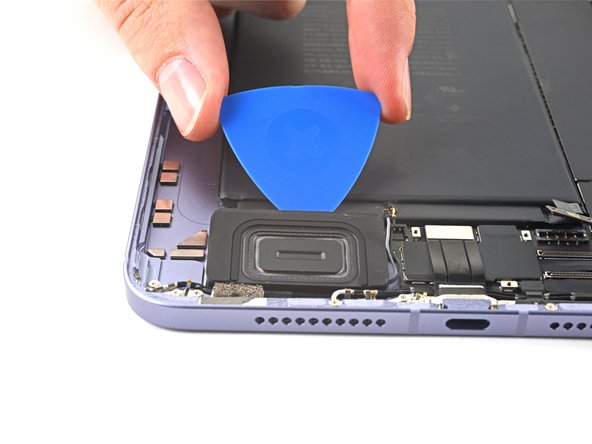
  5. iPad Mini 6 Bottom Speaker Replacement: step 5, image 1 of 3 iPad Mini 6 Bottom Speaker Replacement: step 5, image 2 of 3 iPad Mini 6 Bottom Speaker Replacement: step 5, image 3 of 3
    • Slice along the perimeter of the bottom speaker to separate the adhesive.

  6. iPad Mini 6 Bottom Speaker Replacement, Remove the bottom speaker: step 6, image 1 of 3 iPad Mini 6 Bottom Speaker Replacement, Remove the bottom speaker: step 6, image 2 of 3 iPad Mini 6 Bottom Speaker Replacement, Remove the bottom speaker: step 6, image 3 of 3
    • At this point, the perimeter of the speaker should be separated from the frame. If there's still resistance around the edges of the speaker, use an opening pick to cut the adhesive again.

    • Pry up with the opening pick to completely separate the bottom speaker from the frame.

    • Remove the bottom speaker.

Conclusion

To reassemble your device, follow these instructions in reverse order.

Alex Diaz-Kokaisl

Member since: 01/16/22

124,236 Reputation

581 Guides authored

Team

iFixit Member of iFixit

Staff

135 Members

17,198 Guides authored

0 Comments

Add Comment

View Statistics:

Past 24 Hours: 0

Past 7 Days: 0

Past 30 Days: 0

All Time: 31