Introduction
Prerequisite only guide to install the digitizer in an iPad 10.
What you need
-
-
-
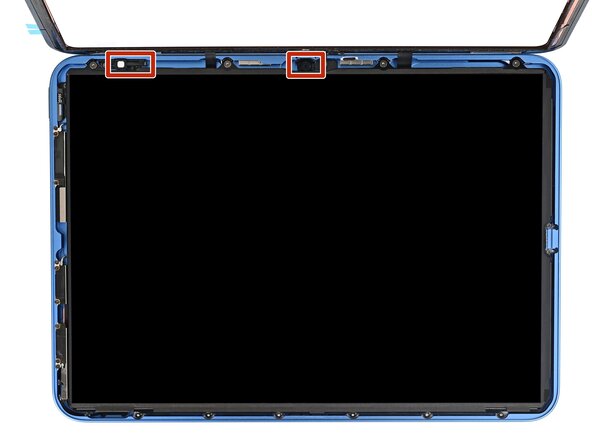
Don't touch the ambient light sensor or selfie camera along the top edge of the iPad while cleaning the frame.
-
Use a hair dryer or heat gun to heat a roughly 3 inch (~8 cm) section of the frame edge.
 Ask FixBot
-
-
-
Use an opening tool to scrape the old adhesive into a ball on the section of the frame you heated.
-
Use tweezers to remove the balled up adhesive.
-
Repeat this heating and scraping process until most of the old adhesive is removed from the frame.
-
-
Tool used on this step:Adhesive Cleanup Kit (Set of 12)$7.99
-
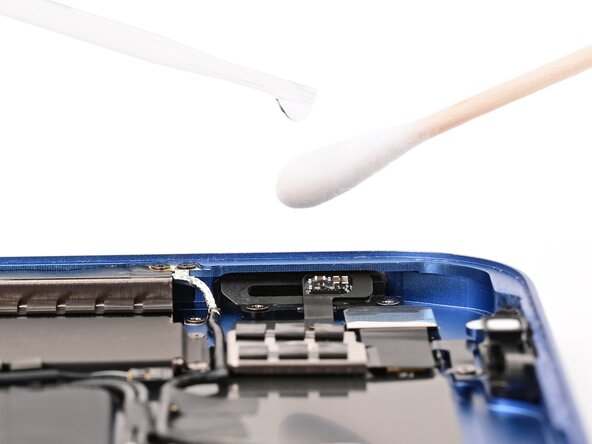
Apply a bit of isopropyl alcohol to a cotton swab or lint-free cloth and clean the frame until it's free of adhesive residue.
-
Alternatively, use our adhesive cleanup kit.
-
-
-
Repeat this process to clean the adhesive off the digitizer bezel. Use tweezers to get any large pieces off before using the opening tool.
-
-
-
Before removing any liners, align each adhesive strip over the digitizer to see where it goes. It's easiest to align the strip on the edge with the camera cutout.
-
-
-
Remove the large liners from one of the long adhesive strips. The adhesive is now exposed.
-
-
-
Install one of the large adhesive strips to the back of the digitizer.
-
Check the adhesive to make sure it doesn't overhang the edge of the digitizer glass. If it does, remove it and start over with new adhesive.
-
-
-
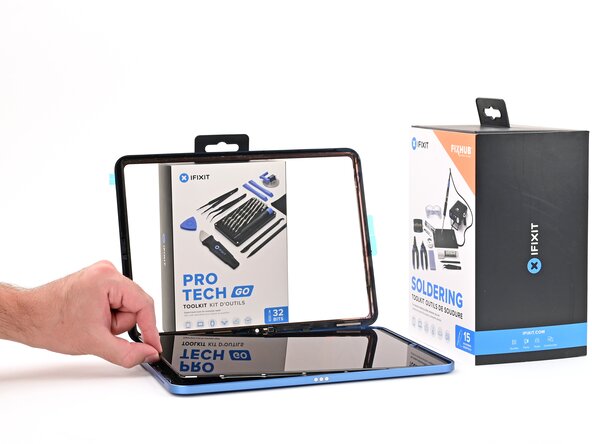
Set the digitizer on the frame of the iPad, so the cables can reach their connectors on the board.
-
Lean the digitizer against a large, sturdy object to keep it upright.
-
-
-
-
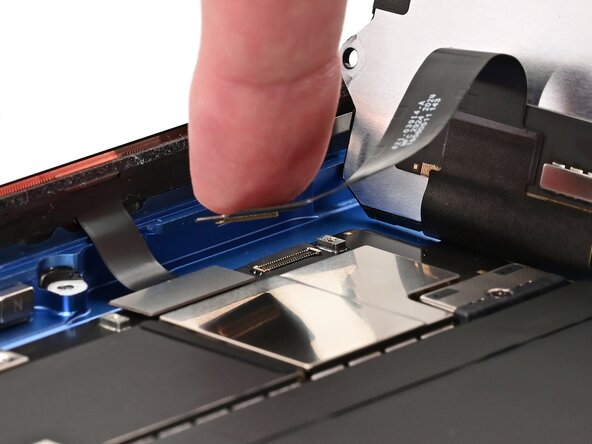
Use your finger or the flat end of a spudger to connect the three digitizer press connectors to their respective sockets on the board.
-
-
-
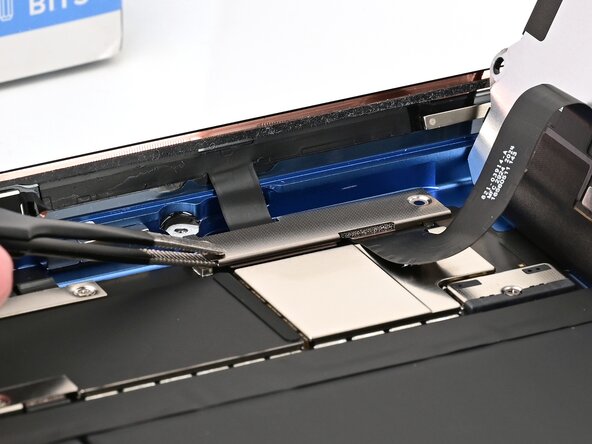
Set the two digitizer connector covers over their respective connectors on the board.
-
-
-
Use a JIS 00 screwdriver to install the four 1.1 mm‑long screws securing the digitizer connector covers.
-
-
-
Set the screen on the iPad, so the screen cable connector can reach its socket on the board.
-
-
-
Use your finger to connect the screen connector to its socket on the board.
-
Press the screen cable down so it sits flat onto the board.
-
-
-
Set the display connector cover into place, aligned with its screw posts.
-
-
-
Use a JIS 00 screwdriver to install the two 1.1 mm‑long screws securing the display connector cover.
-
-
-
Use a Torx Plus 2IP screwdriver to install the ten screws securing the iPad display:
-
Four 3.5 mm‑long screws
-
Six 3.2 mm‑long screws
-
In cellular models, use a JIS 00 screwdriver to remove the additional screws along the right edge.
-
-
-
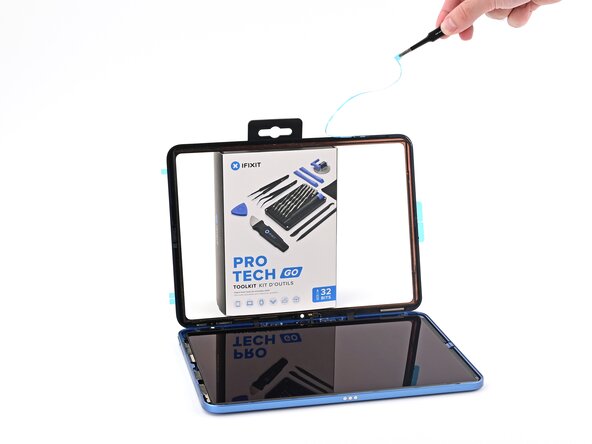
Use tweezers or your fingers to remove the top blue liner off the iPad digitizer adhesive.
-
-
-
Use tweezers or your fingers to remove the blue liner on the left edge of the digitizer adhesive.
-
-
-
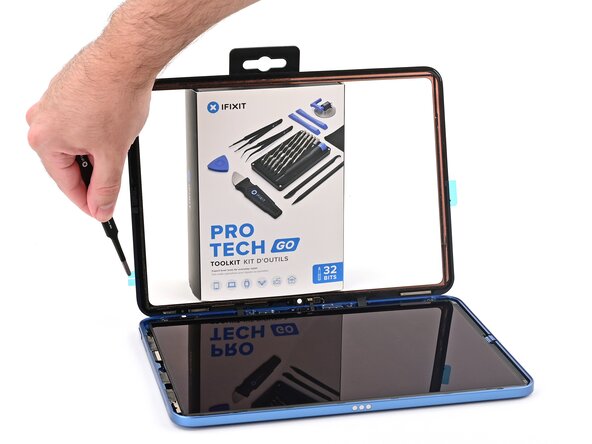
Lower the digitizer until you can access the final blue liner.
-
Use tweezers or your fingers to peel the final blue liner off the last adhesive strip.
-
-
-
Lower the digitizer into place.
-
Press along the edges of the digitizer so it sits flush into the iPad frame.
-
-
-
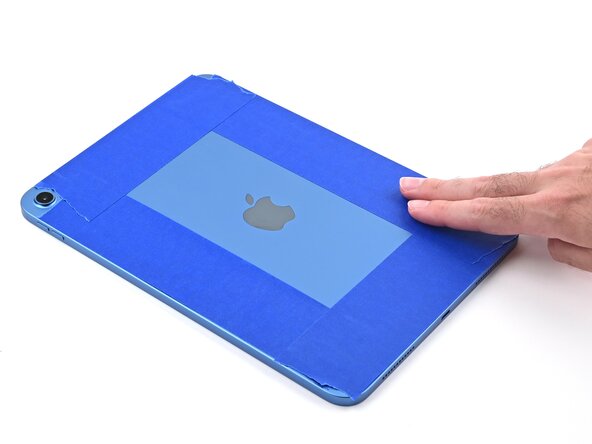
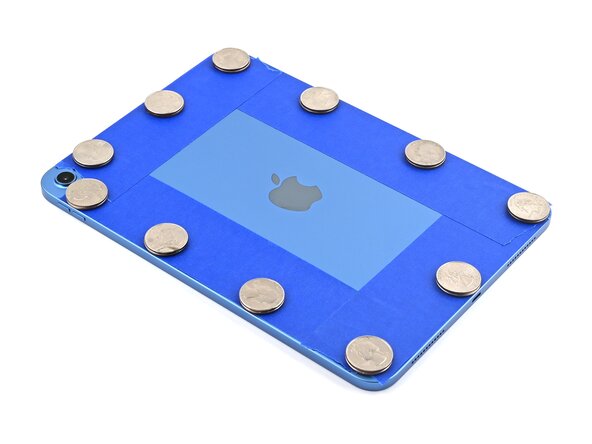
Place the iPad screen-side-down on a soft, flat surface.
-
Apply painter's tape to the back to protect its finish.
-
-
-
Place evenly spaced layers of coins or similarly thick objects on the tape along the edges of the back glass.
-
Stack them to a consistent height taller than the camera bump.
-
-
-
Stack multiple books or other heavy objects on the iPad.
-
Leave the objects in place for at least thirty minutes. The lighter the objects, the longer they should be left. Ideally, leave them stacked overnight.
-
-