Introduction
Hier wird gezeigt, wie du den RAM austauschen oder einbauen kannst.
What you need
-
-
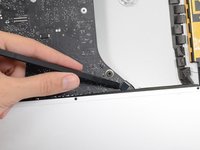
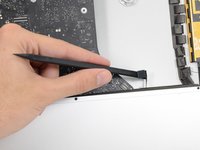
Beginne an der linken Seite des Displays, auf der Seite der Ein-/Aus-Taste, und schiebe das iMac Opening Tool zwischen Das Glaspanel und das Rückgehäuse.
-
Arbeite vorsichtig! Das Glas bricht leicht, wenn es zu stark belastet wird. Erwärme die Kanten mit einem Haartrockner und löse das Klebeband ab, wenn die Raumtemperaturen niedrig sind.
-
-
Tool used on this step:Plastic Cards$2.99
-
Beginne an der oberen rechten Ecke des iMacs und schiebe eine Kunststoffkarte zwischen Display und Rahmen.
-
-
-
-
Entferne folgende fünf Kreuzschlitzschrauben, welche die untere Displayhalterung befestigen:
-
Vier 3,2 mm Schrauben
-
Eine 1,7 mm Schraube
-
-
-
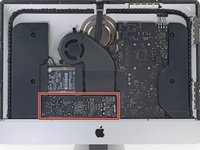
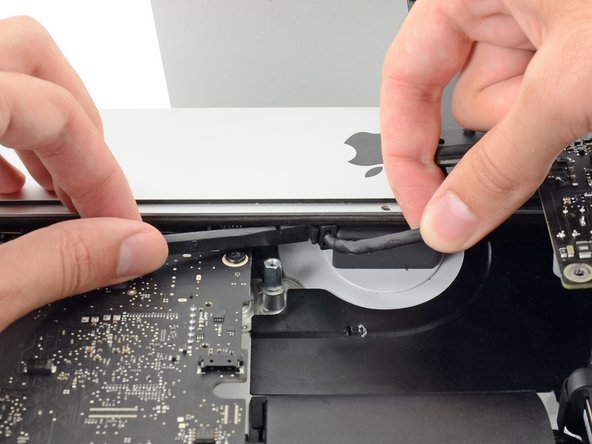
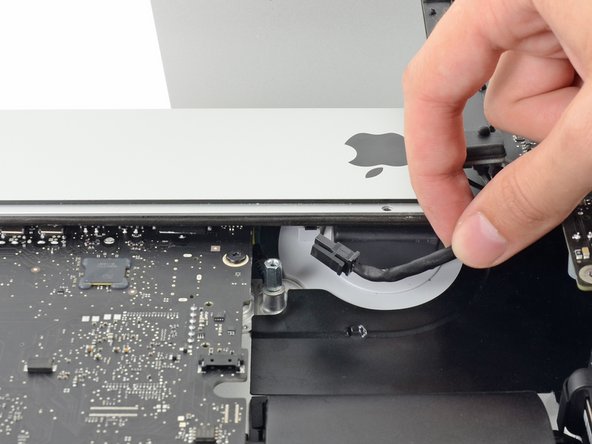
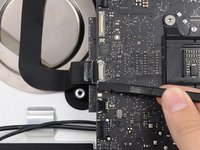
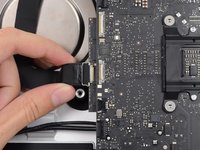
Löse den Stecker am Kabel des rechten Lautsprechers von seinem Sockel auf dem Logic Board.
-
Ziehe den Stecker nach unten, um ihn aus dem Sockel zu lösen.
-
-
-
Entferne folgende Torx T10 Schrauben, welche die Festplattenhalterung am Rückgehäuse befestigen:
-
Zwei 21 mm Schrauben an der linksseitigen Festplattenhalterung
-
Eine 9 mm Schraube
-
Eine 27 mm Schraube
-
-
-
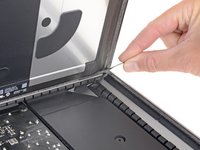
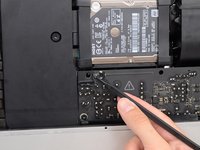
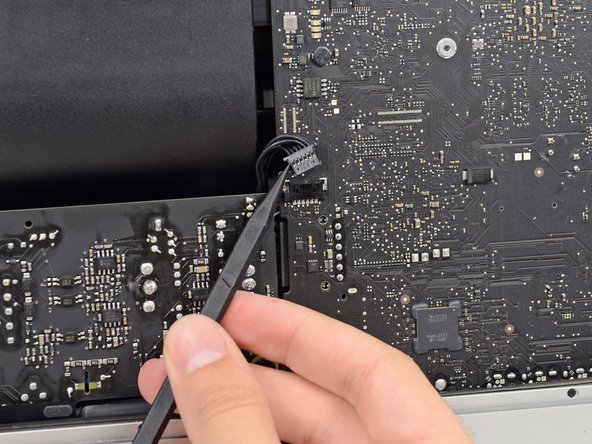
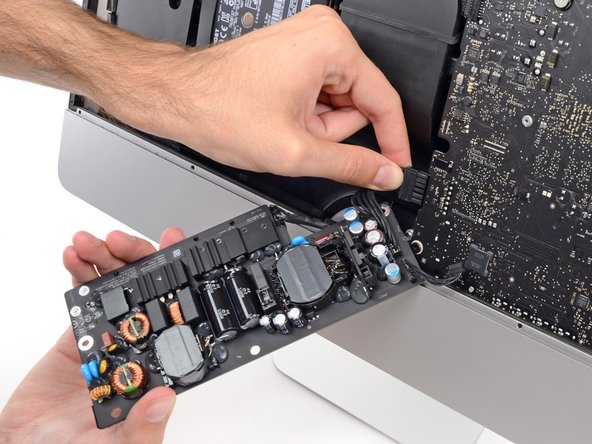
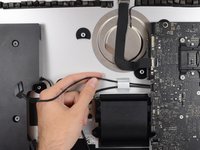
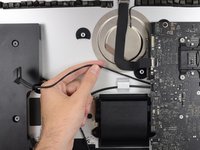
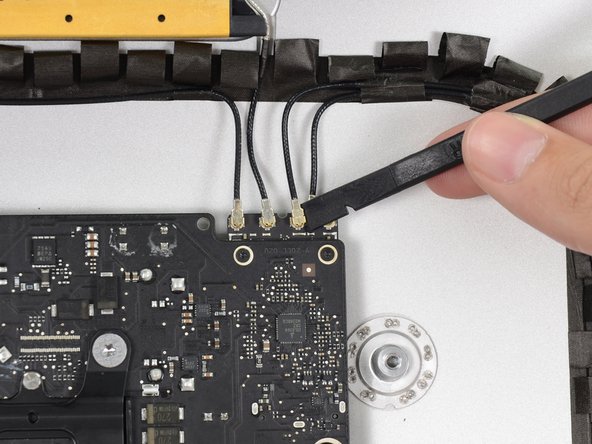
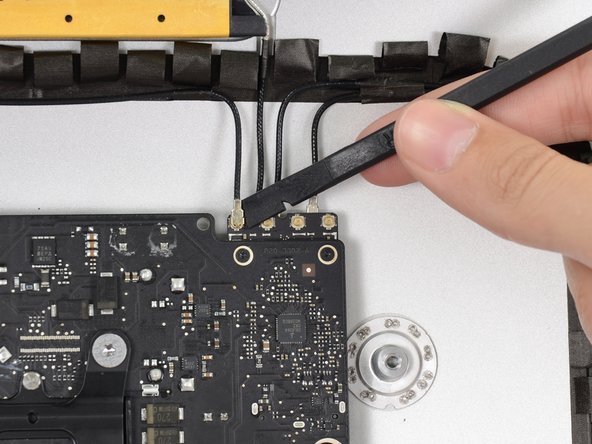
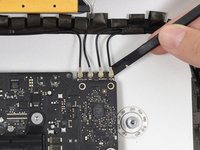
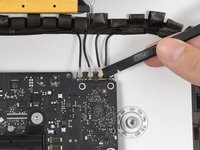
Drücke mit der Spudgerspitze abwechselnd auf jeder Seite des Steckers am Kabel zum Netzschalter und lasse ihn vorsichtig aus dem Sockel "herauswandern".
-
-
-
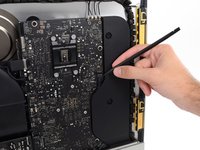
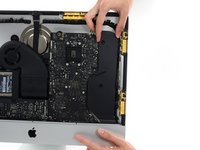
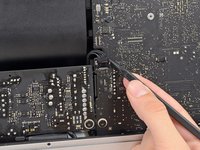
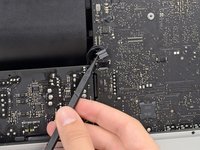
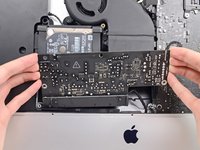
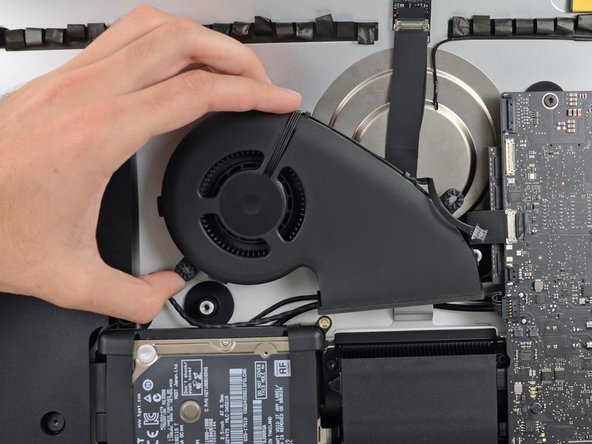
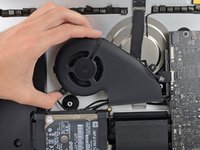
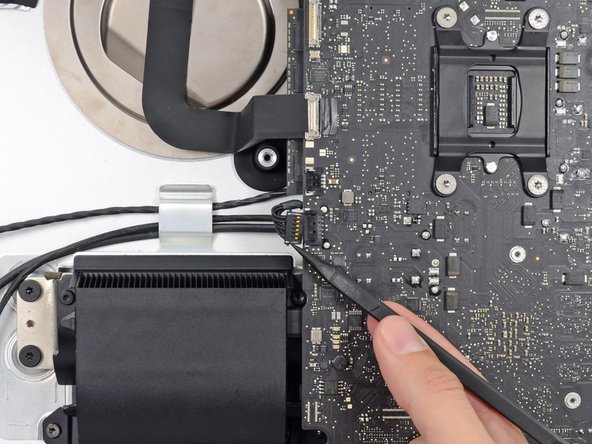
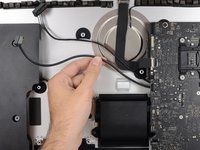
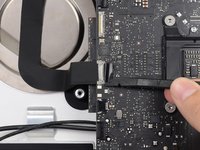
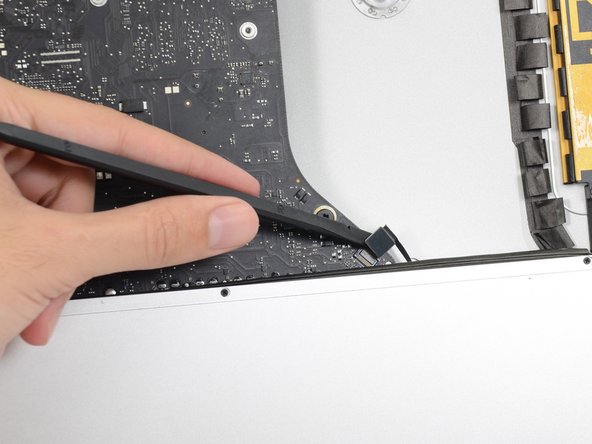
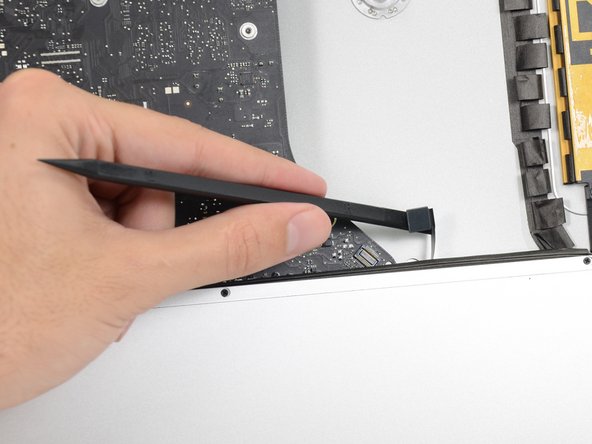
Ziehe vorsichtig den Stecker des Lüfterkabels gerade aus seinem Sockel auf dem Logic Board.
-
-
-
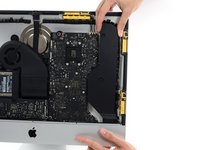
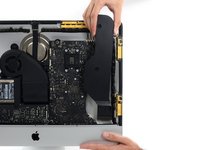
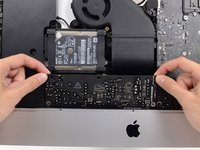
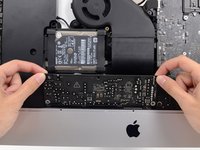
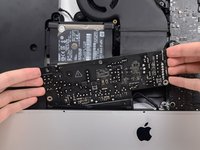
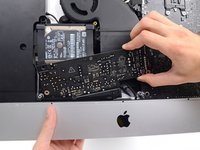
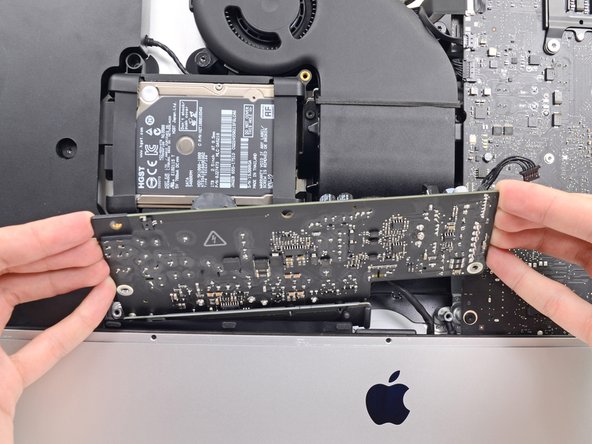
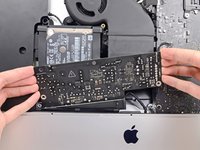
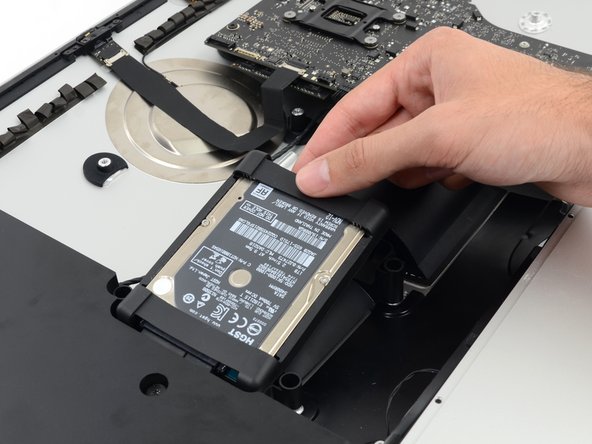
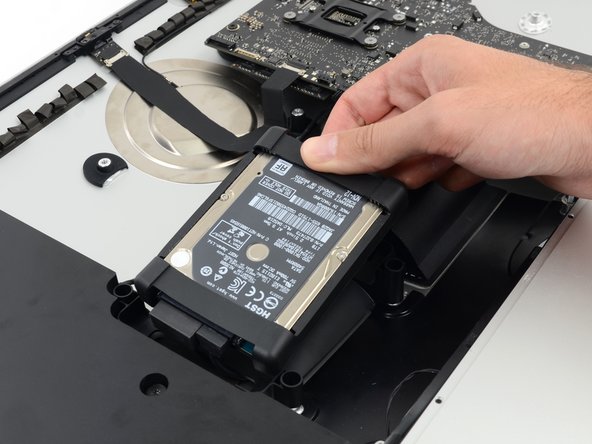
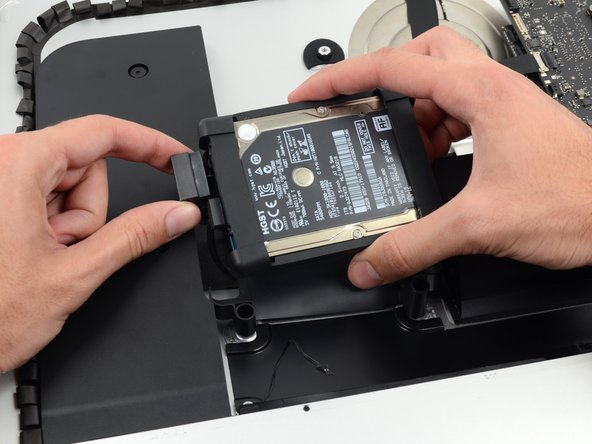
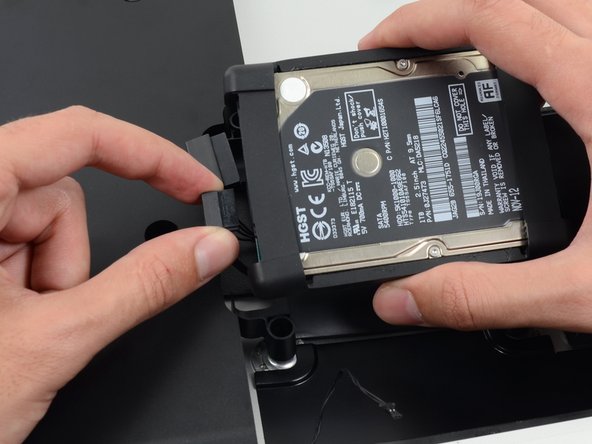
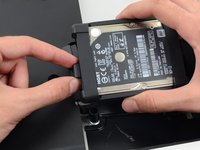
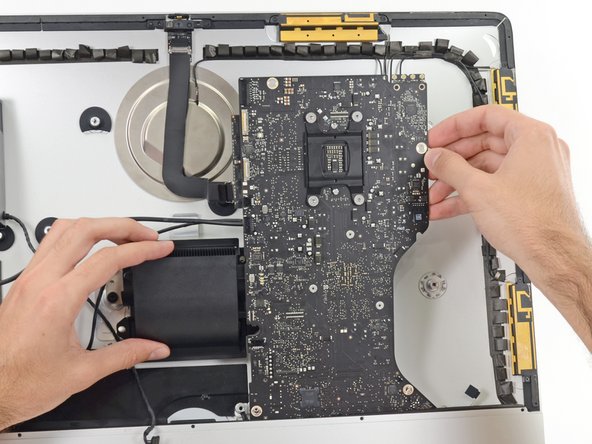
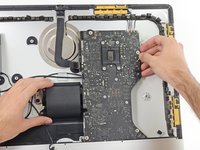
Hebe die Festplatte am Rand, der am nächsten vom Logic Board ist, hoch und ziehe sie leicht aus ihrem Sitz.
-
-
-
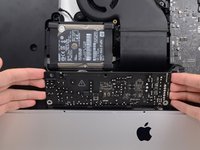
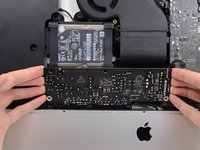
Entferne die einzelne 7,2 mm Torx T10 Schraube, welche den Festplatteneinschub am Rückgehäuse befestigt.
-
-
-
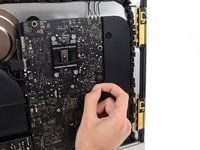
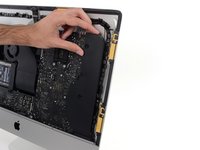
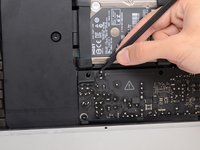
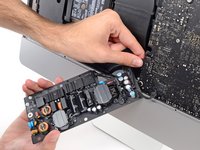
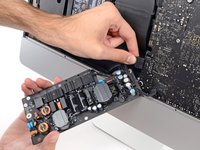
Drücke abwechselnd mit der Spudgerspitze an jeder Seite des Steckers vom linken Lautsprecherkabel und lasse so den Stecker "herauswandern".
-
-
-
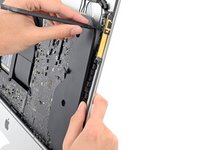
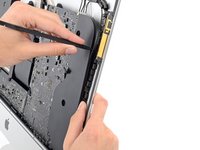
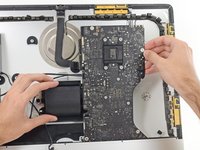
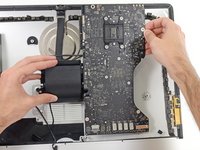
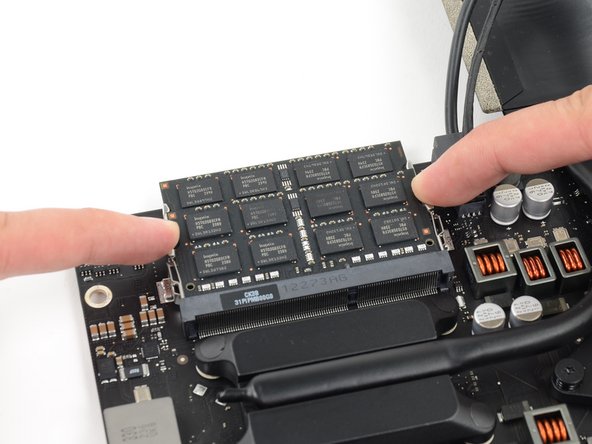
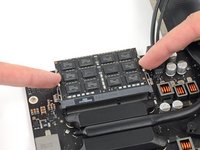
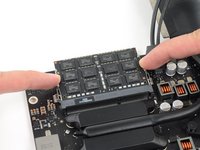
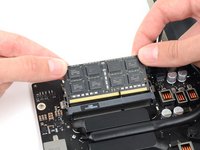
Löse die Rasten auf jeder Seite des RAM Riegels, indem du diese gleichzeitig wegdrückst.
-
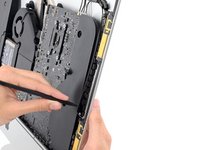
Fasse den Riegel in der oberen linken und rechten Ecke an und ziehe ihn sorgfältig gerade aus seinem Sockel.
-


Um dein Gerät wieder zusammenzusetzen, folge den Schritten in umgekehrter Reihenfolge. Benutze unsere Anleitung für Klebestreifen , um das Displayglas wieder einzukleben.
Cancel: I did not complete this guide.
142 other people completed this guide.
Special thanks to these translators:
100%

These translators are helping us fix the world! Want to contribute?
Start translating ›


19 Guide Comments
I used the iMac Opening Tool just as shown starting in step 2 to separate the tape. DISASTER! The screen cracked! I used the tool slowly and carefully and despite this, the screen cracked. I should have simply used a guitar pick. That said, I decided to see if I could upgrade the 8GB RAM to 16GB RAM WITHOUT removing the logic board all performing all of these steps. I found I could simply remove the FAN assembly as shown in step 43. This makes enough room to reach behind the logic board and unclip the 2 memory modules. I installed 2 8GB modules (1600MHz DDR3L SO-DIMM PC12800 204 Pin) without much trouble. I used a plastic stick to reach behind the logic board and unclip the existing memory modules, then carefully inserted the new ones and clipped them into place. This is much easier than performing all of these steps.
Hi There, I am interested in going in and upgrading my RAM to 16. Did you do all the steps ups to 43? Remove the power supply? Did you remove the hard Drive? I take it you had to do step 53 as well and remove the iSight camera cable first? I may try it your way, I hate to have to unplug 98% of everything to do this. Thanks for the tip.
I added extra RAM by following step 1-23, then skipping to do just 41-43 and then reach the RAM from the back of the logic board. It was difficult to reach but possible.
Mikael -
Wow, thanks. That was much easier. I unscrewed the corner Torx screw holding the mobo down for just a touch of flex.
Used a couple of screw drivers to pull the tabs out
It helps if you have done a bunch of memory upgrades so you have a feel for how to get the chips in.
cyadmark -
Thanks for the tips here.I used a guitar pick and some credit cards as suggested, and to worked fine. I also followed Mikael’s suggestion :
“I added extra RAM by following step 1-23, then skipping to do just 41-43 and then reach the RAM from the back of the logic board. It was difficult to reach but possible.”
which worked fine for me too. Thanks for the suggestion. Have ordered tools & adhesive from ifixit anyway cos the site & its community showed me how to do it all anyway