Free Shipping on Domestic Orders $75+

eufy Clean RoboVac G32 Pro Power Control Buttons Replacement

What you need

    1. eufy Clean RoboVac G32 Pro Power Control Buttons Replacement, Rolling Brush: step 1, image 1 of 1
      • Make sure your device is turned off.

      • Flip the device upside down on a flat surface.

      Ask FixBot

      Add Comment

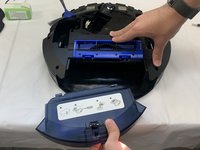
    2. eufy Clean RoboVac G32 Pro Power Control Buttons Replacement: step 2, image 1 of 1
      • Press the clips at the bottom of the device that are indicated by the downward facing arrows.

      • Take off the rolling brush cover.

      Ask FixBot

      Add Comment

    3. eufy Clean RoboVac G32 Pro Power Control Buttons Replacement: step 3, image 1 of 1
      • Pull the rolling brush up on the right side. Remove the rolling brush.

      Ask FixBot

      Add Comment

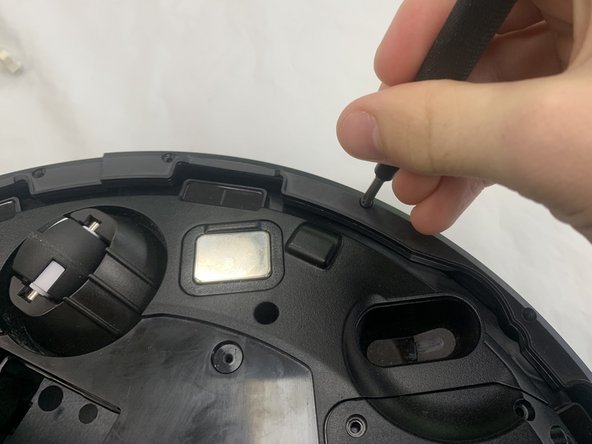
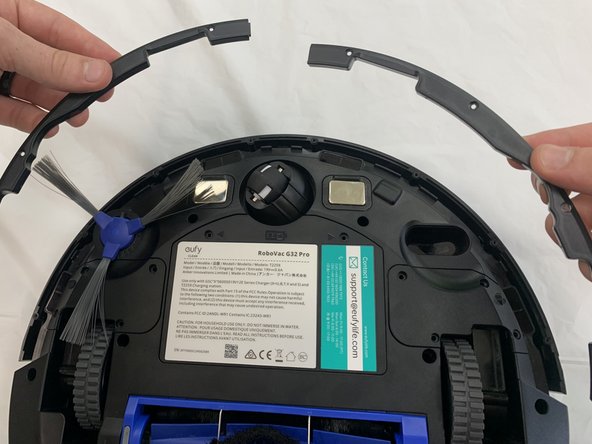
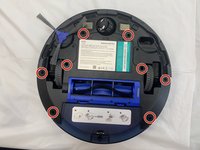
    1. eufy Clean RoboVac G32 Pro Power Control Buttons Replacement, Bump Sensor: step 4, image 1 of 3 eufy Clean RoboVac G32 Pro Power Control Buttons Replacement, Bump Sensor: step 4, image 2 of 3 eufy Clean RoboVac G32 Pro Power Control Buttons Replacement, Bump Sensor: step 4, image 3 of 3
      • Orient the device so the underside is facing up.

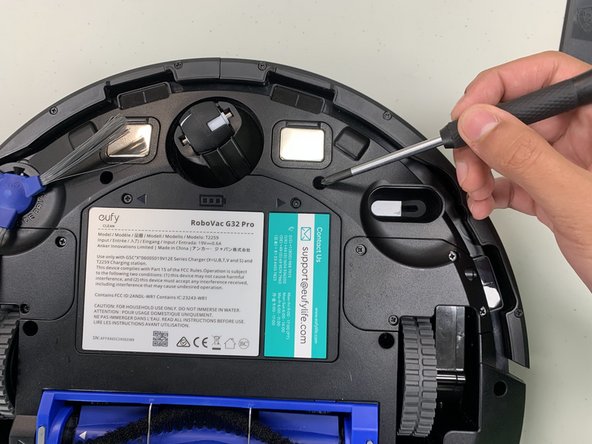
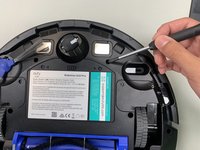
      • Remove the eight 9.3 mm screws securing the bumper brackets using a Phillips #1 screwdriver.

      • Remove the bumper brackets.

      Ask FixBot

      Add Comment

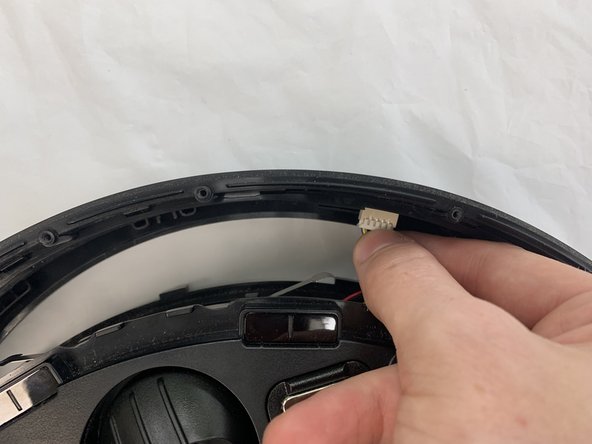
    2. eufy Clean RoboVac G32 Pro Power Control Buttons Replacement: step 5, image 1 of 2 eufy Clean RoboVac G32 Pro Power Control Buttons Replacement: step 5, image 2 of 2
      • Lift the bumper off of the device gently.

      • Use your fingers to disconnect the 8 pin connector.

      Ask FixBot

      Add Comment

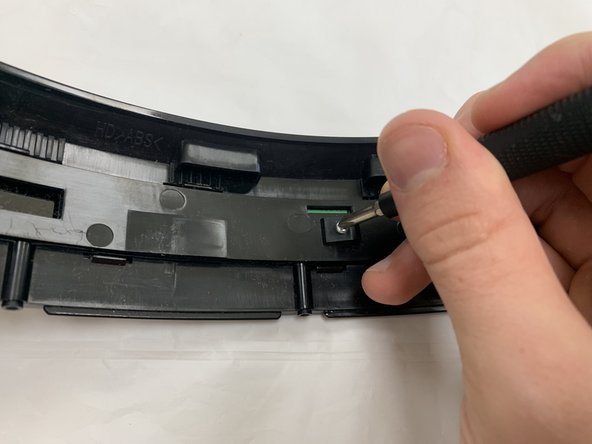
    3. eufy Clean RoboVac G32 Pro Power Control Buttons Replacement: step 6, image 1 of 2 eufy Clean RoboVac G32 Pro Power Control Buttons Replacement: step 6, image 2 of 2
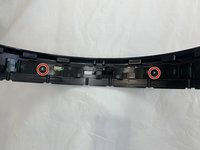
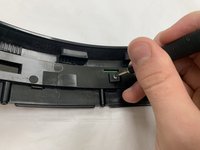
      • Remove the two 10 mm screws using a Philips #1 screwdriver.

      Ask FixBot

      Add Comment

    4. eufy Clean RoboVac G32 Pro Power Control Buttons Replacement: step 7, image 1 of 1
      • Lift the bump sensor off using your fingers.

      Ask FixBot

      Add Comment

    1. eufy Clean RoboVac G32 Pro Power Control Buttons Replacement, Power Control Buttons: step 8, image 1 of 2 eufy Clean RoboVac G32 Pro Power Control Buttons Replacement, Power Control Buttons: step 8, image 2 of 2
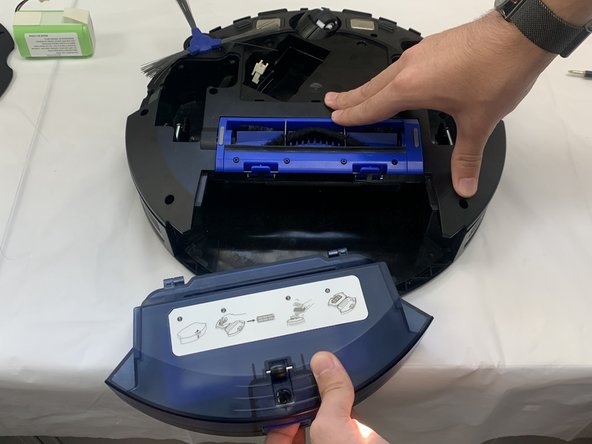
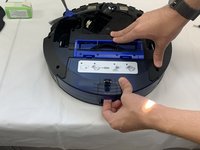
      • Remove the dust collector by grabbing under the lip and pulling it out.

      Ask FixBot

      Add Comment

    2. eufy Clean RoboVac G32 Pro Power Control Buttons Replacement: step 9, image 1 of 1
      • Remove the two 5.5 mm screws using a Philips #1 screwdriver.

      Ask FixBot

      Add Comment

    3. eufy Clean RoboVac G32 Pro Power Control Buttons Replacement: step 10, image 1 of 2 eufy Clean RoboVac G32 Pro Power Control Buttons Replacement: step 10, image 2 of 2
      • Remove the eight 14 mm screws using a Philips #1 screwdriver.

      Ask FixBot

      Add Comment

    4. eufy Clean RoboVac G32 Pro Power Control Buttons Replacement: step 11, image 1 of 1
      • Lift the bottom housing towards the front.

      Ask FixBot

      Add Comment

    5. eufy Clean RoboVac G32 Pro Power Control Buttons Replacement: step 12, image 1 of 2 eufy Clean RoboVac G32 Pro Power Control Buttons Replacement: step 12, image 2 of 2
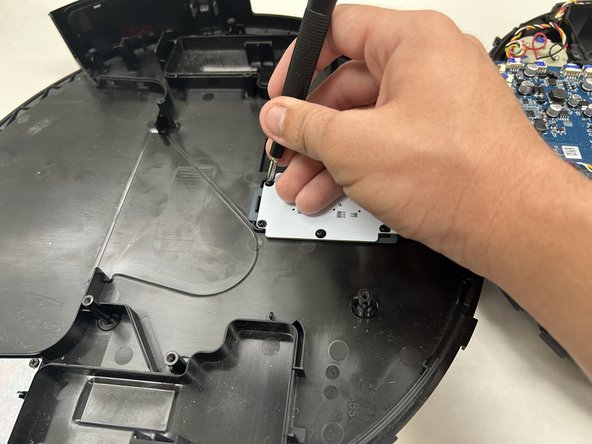
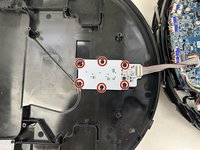
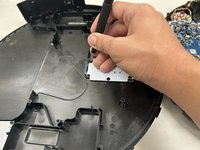
      • Remove the six 5.5 mm screws securing the button board with a Phillips #1 screwdriver.

      Ask FixBot

      Add Comment

    6. eufy Clean RoboVac G32 Pro Power Control Buttons Replacement: step 13, image 1 of 1
      • Grab the 8 pin connector with your hands and firmly pull it away from the board.

      • Remove the board.

      Ask FixBot

      Add Comment

Conclusion

To reassemble your device, follow the above steps in reverse order.
Take your e-waste to an R2 or e-Stewards certified recycler.
Repair didn’t go as planned? Try some basic troubleshooting or ask our Answers community for help.

Cancel: I did not complete this guide.

Gabe Moore

Member since: 09/19/24

133 Reputation

1 Guide authored

0 Guide Comments

Add Comment

View Statistics:

Past 24 Hours: 1

Past 7 Days: 5

Past 30 Days: 16

All Time: 271