
Xbox Wireless Headset Microphone Replacement

Marvin and 4 other contributors
Last updated on Dec 14, 2025
Views: 4.3K
View statistics:
- Past 24 Hours:
- 8
- Past 7 Days:
- 81
- Past 30 Days:
- 368
- All Time:
- 4,302
Comments: 7
2 comments on steps, 5 guide comments.
Go to guide commentsCompleted: 0 1
No one has marked this guide "completed." Will you be the first?
1 person has marked this guide "completed." It's you — great job!
Favorites: 0 1
No one has favorited (and subscribed to) this guide. Will you be the first?
1 person has favorited (and subscribed to) this guide — and that's you!
Action Shots
Be an action hero! This guide needs images that better demonstrate how to perform specific actions.
Bullets!
Better coordination with markups and the color/type of bullets will help make this guide more clear!
Introduction
Go to step 1 ↓This guide covers the removal and replacement of a defective microphone on the Xbox Wireless Headset. This repair requires use of a soldering iron.
Be careful when soldering as the iron gets very hot and can burn you.
Use an iron rest, do not just lay it on your work surface, that can lead to damage to you, your device and more.
Fumes produced are toxic so work in a well-ventilated area or use an extractor fan if available.
What you need
Tools


-
-
-
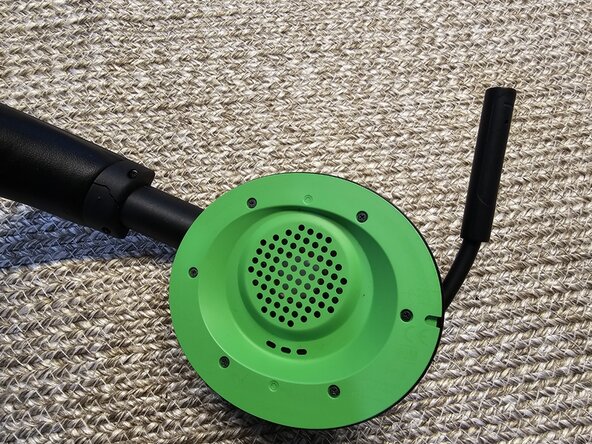
Remove the left ear pad from the headset. On this type ear pad you can grasp the pad itself and pull away from the center, then lift it slightly, this disengages the soft, flexible plastic of the pad from the rigid plastic it is held under that keeps it in place.
-
The pad may then pull off easily, or you may need to hold it with the thumb and forefinger of your other hand to keep it from slipping back into place while, moving an inch or so away from where you are holding it you repeat the action of pulling it outward and lifting one or more times until it is freed.
-
As an analogy; until a photo can be added for clarification, think of it like a button. The 'button' is the part of the earphone we are removing the pad from. The back of the ear-pad has a 'button-hole' held under the 'button' like your shirt. It's elastic enough that we can pull it like this to 'unbutton' it.
 Ask FixBot
-
-
-
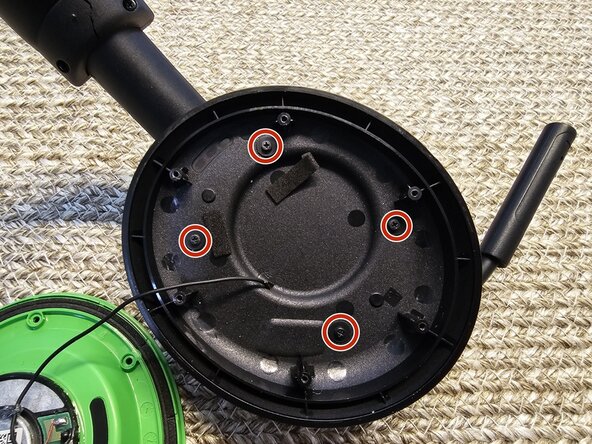
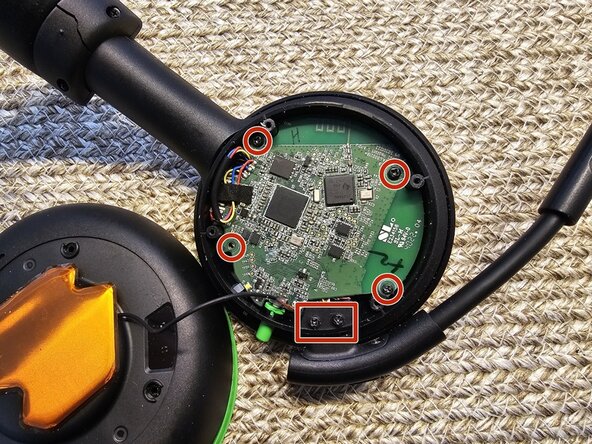
Remove all screws with your Phillips 0 and Phillips 00. There are 16 screws altogether red circles and two in the red rectangle
-
-
-
-
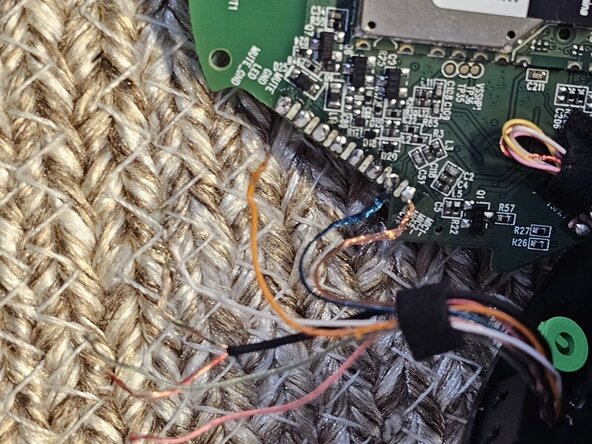
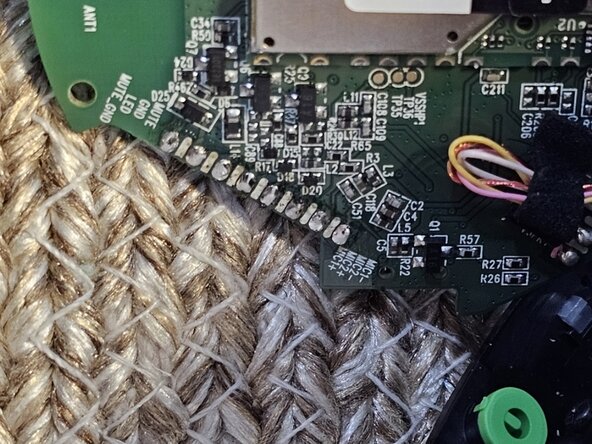
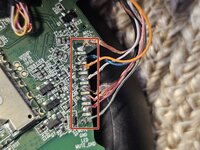
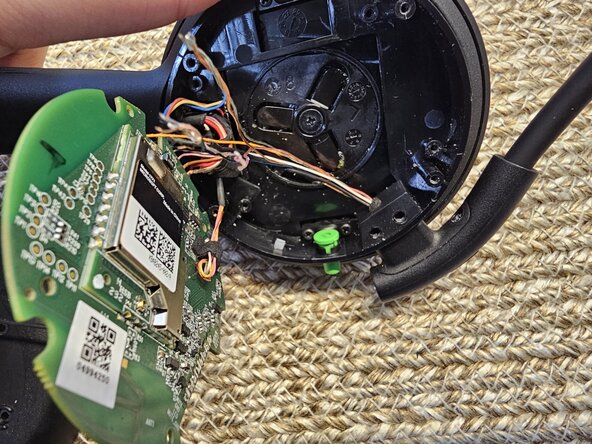
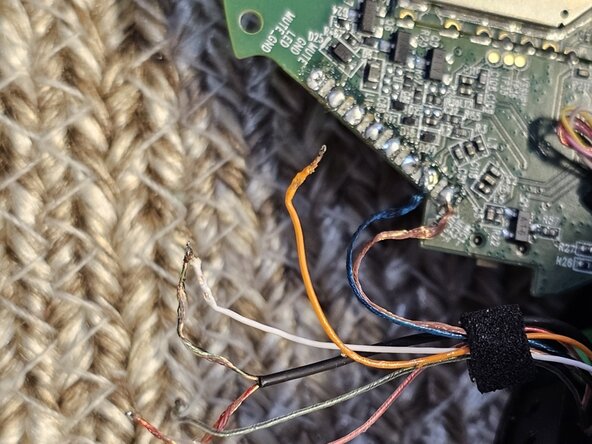
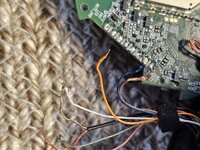
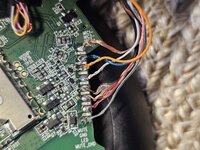
Before proceeding farther take a good, clear photo of the PCB where the wires are all connected (Red Rectangle) Or carefully note down which wires go where. You will need this to complete the repair and reassemble the device.
-
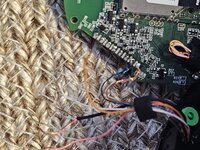
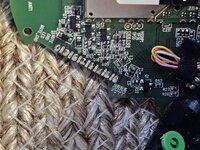
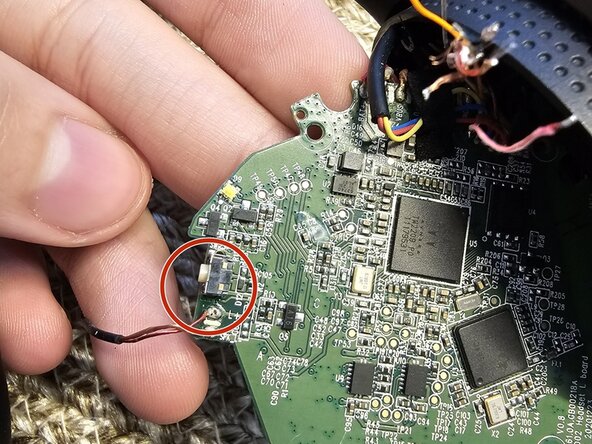
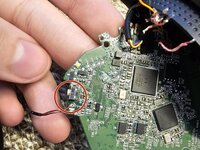
Once you are prepared to replace them properly, remove the wires: Use a soldering iron to desolder each wire of the microphone.
-
-
-
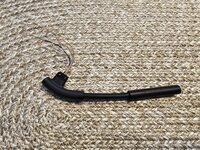
Now, take your new microphone and solder each wire to the circuit board using your Soldering kit (Use the photo you took as a guide in connecting the wires).
-
-
-
Now, turn on the headset and check that the microphone works, if so, carefully reassemble your device.
-
If the microphone doesn't work, go back to the beginning of this step and check again
-
-







To reassemble your device, follow these instructions in reverse order. Take your e-waste to an R2 or e-Stewards certified recycler.

Team

Duquesne University, Team 4-5, Luchini Spring 2025 Member of Duquesne University, Team 4-5, Luchini Spring 2025
DUQ-LUCHINI-S25S4G5
1 Member
12 Guides authored
5 Guide Comments
Where can I buy a replacement microphone for the Xbox headset?
Same question here, I couldn't find one on eBay
I am also looking for a replacement microphone for our XBox headphones. Mine looks the same as pictured in this article but only has a 2 wire set up.
Maybe there ?
https://www.aliexpress.com/i/10050080554...
