Introduction
Use this guide to remove or replace the back housing on your Xbox Series X|S Controller (model 1914).
The back housing may need to be replaced if it's cracked, or you may be installing a new, customized one. The back housing is sometimes also called rear panel, backplate, back cover, or back shell.
What you need
-
-
Use your fingers to slide up and remove the battery cover.
 Ask FixBot
-
-
-
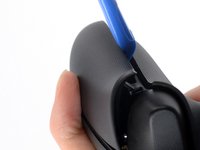
Insert an opening tool between the left handle cover and the bottom inner edge of the back housing.
-
-
-
Slide the opening tool along the inner edge of the left handle cover and pry intermittently to release the plastic clips.
-
-
-
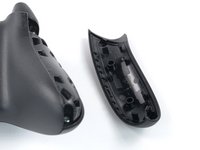
Pry up the middle inner edge of the handle cover with the opening tool to release the remaining clips.
-
Remove the left handle cover.
-
-
-
-
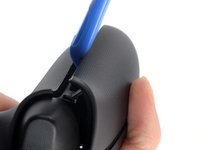
Insert an opening tool between the right handle cover and the bottom inner edge of the back housing.
-
-
-
Slide the opening tool along the inner edge of the right handle cover and pry intermittently to release the plastic clips.
-
-
-
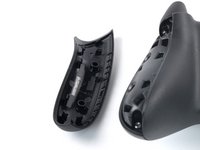
Pry up the middle inner edge of the handle cover with the opening tool to release the remaining clips.
-
Remove the right handle cover.
-
-
Tool used on this step:Tweezers$4.99
-
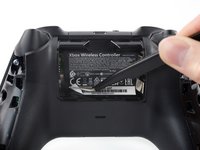
Use a pair of tweezers or your fingers to peel back the sticker to reveal the screw.
-
-
-
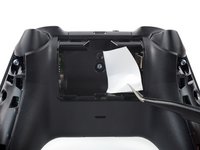
Use a T8R Torx Security driver to remove the five 9.3 mm-long screws securing the top housing, three near the top and two at the bottom.
-
-
-
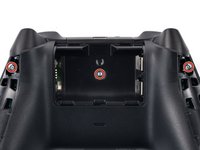
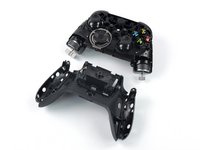
Insert the flat end of a spudger into the rectangular gap between the midframe assembly and back housing, nearest the left bumper.
-
Twist the spudger to partially release the midframe assembly.
-
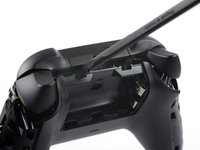
Repeat this prying procedure on the gap near the right bumper to completely release the midframe assembly.
-
-
-
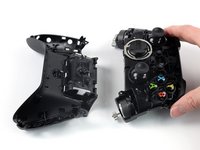
Lift up and remove the midframe assembly.
-
Only the back housing remains.
-


To reassemble your device, follow these instructions in reverse order.
Take your e-waste to an R2 or e-Stewards certified recycler.
Repair didn’t go as planned? Try some basic troubleshooting, or ask our Answers community for help.
Cancel: I did not complete this guide.
12 other people completed this guide.

