Introduction
The Whirlwind FX Atom 60% Gaming Keyboard, also sold as the Whirlwind FX Atom or Atom 60%, is a compact wired mechanical keyboard with a 60% layout, detachable USB-C cable, Gateron mechanical switches, and per-key RGB lighting compatible with SignalRGB. A clearly documented manufacturer model number is not consistently listed in public sources, so the device is best identified by its product name, compact layout, branding, and switch variant.
This guide shows how to repair a key with a switch that is no longer lighting up. The switch beneath each key provides that key’s individual backlighting and helps maintain the keyboard’s full RGB lighting effects.
You may need this guide if one or multiple keys no longer work. Before beginning this repair, it is a good idea to confirm that the problem is not caused by lighting settings or software by checking Whirlwind FX troubleshooting in SignalRGB and Device Colors Incorrect or Not Matching.
Before starting, unplug the keyboard and completely disconnect the USB-C cable. Work on a clean, static-safe surface and use ESD-safe tools when handling the PCB. Take care when opening the case or working near the switch contacts and LED components, since excessive force can damage the board, lift solder pads, or crack plastic parts.
Caution: Replacing the key switches requires a soldering iron. Follow this guide for soldering and desoldering instructions. Be careful, as soldering irons become extremely hot and can cause burns, and always work in a well-ventilated area to avoid inhaling fumes.
What you need
-
-
-
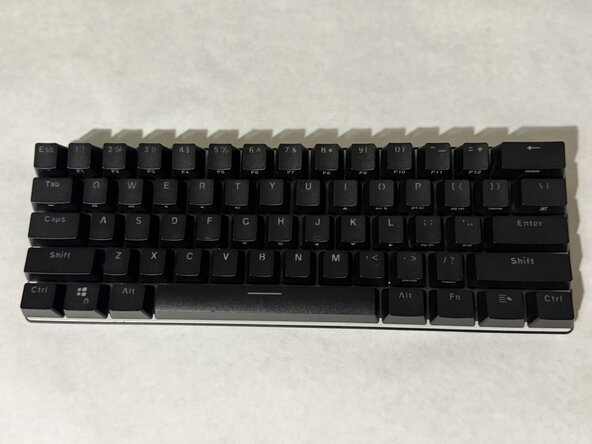
Test your keyboard out and identify which keys are not functioning.
-
Take a photo and mark any faulty switches for reference.
 Ask FixBot
-
-
-
-
Flip the PCB over so the bottom is facing up.
-
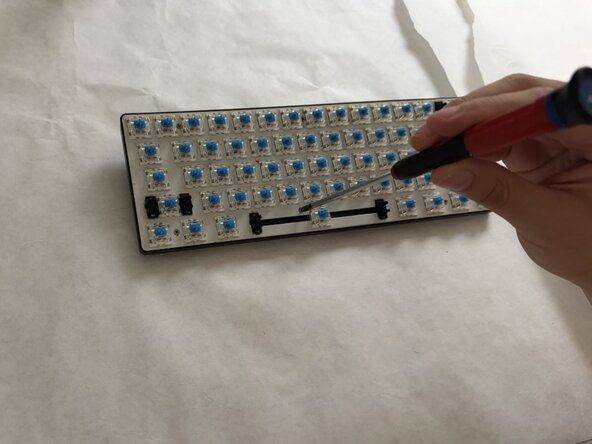
Desolder the faulty switches.
-
Heat your solder iron to 360 to 390 degree Celsius.
-
Place the tip of the soldering iron on both the switch pin and the PCB pad, and wait for the solder to melt the metal.
-
Remove any molten solder using a solder sucker or desoldering braid.
-
Use tweezers to carefully pull out faulty switch.
-
-
-
Insert new Gateron Blue switches into the correct position on the PCB.
-
Ensure that the pins are properly aligned and inserted.
-
-
-
To solder the new switches, heat the soldering iron.
-
Place the iron wire onto the side of the pins.
-
Apply solder until it forms a small cone shape around the pin.
-
Remove soldering iron and allow the pin to cool off.
-
-
-
Place the PCB back in the chassis.
-
Reinstall all six M2 x 6 mm Phillips head screws.
-
Press all keycaps back into their original spots.
-
-
-
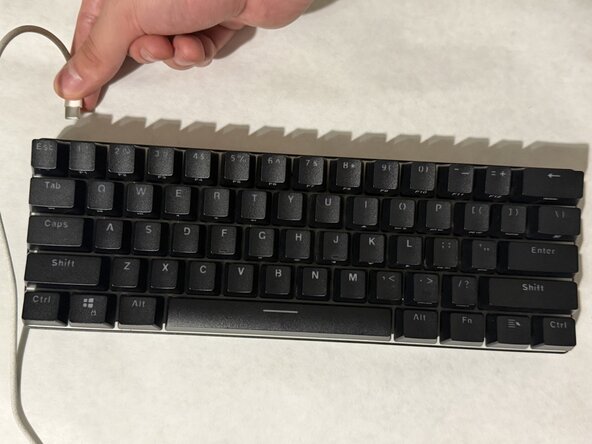
Plug in the keyboard back into a connected cable.
-
Test all keycaps to ensure that each key works correctly.
-
-
-
Final Notes
-
Make sure the PCB is secure inside the keyboard chassis.
-
Check if all the keycaps are fully on.
-
-






To reassemble your device, follow these instructions in reverse order. Take your e-waste to an R2 or e-Stewards certified recycler.
Cancel: I did not complete this guide.
One other person completed this guide.

Team

CSU Los Angeles, Team 7-8, Grodsky Spring 2026 Member of CSU Los Angeles, Team 7-8, Grodsky Spring 2026
CSULA-GRODSKY-S26S7G8
3 Members
2 Guides authored
