Introduction
Every violin player faces the task of changing the bridge. With very few detachable pieces on a violin, changing the bridge is one of the most essential tasks for a violin player to know. This task includes loosening the strings, removing the old bridge, prepping the new bridge with markings for strings, setting the new bridge, and retightening the strings.
What you need
-
-
Identify two sides of your violin. The violin bridge has one side that is higher than the other. The lower side is the E-string side.
-
E-string side
-
-
-
Loosen the strings gently starting with the G-string and the E-string, then the D-string and the A-string.
-
G-string
-
E-string
-
D-string
-
A-string
-
-
-
-
Mark the New bridge: Use a pencil or other marking tool to add 4 light marks where the 4 strings sit on the top of the new bridge.
-
-
-
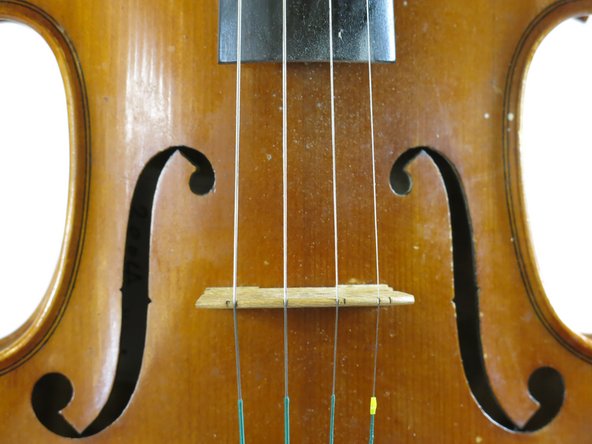
Place the new bridge between the center of the f-holes of your violin.
-
f-holes
-
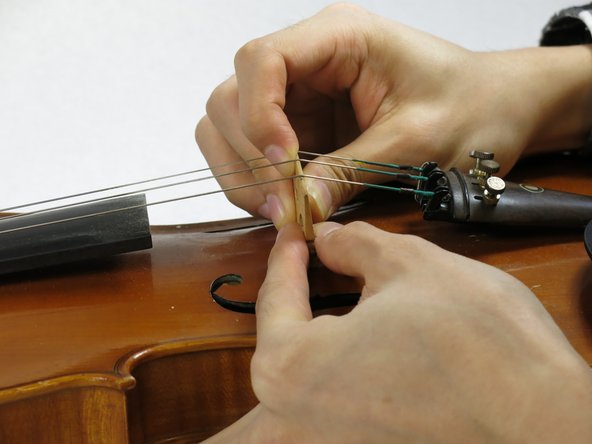
Put the strings on your new bridge, align them with the marks you made in step 4.
-
-
-
Hold the bridge in one hand and tighten the strings in the reverse order you loosened them. That is, tighten the A-string and D-string first, and then, tighten the E-string and G-string. Tighten until each string matches its rough standard pitch (violin tuner suggested).
-
After tightening all four strings, play a little to test the string placement. If the distance between the strings is not comfortable for performance (as noted in step 4), repeat step 2-6 and adjust the distance between the strings on the bridge again to find the proper distance.
-
-
-
Finally, make any last adjustments to the bridge. Ensure that it is nearly perpendicular to the violin body. Also make sure that the feet of the bridge sit flat on the body of your violin.
-


Team

DePaul University, Team S1-G6, Dush Fall 2017 Member of DePaul University, Team S1-G6, Dush Fall 2017
DPU-DUSH-F17S1G6
2 Members
1 Guide authored