Introduction
In this guide, you will learn how to remove and install the speaker of your alarm clock. The process consists of removing the front screen, followed by taking the hardware out of the housing and detaching the power cord. The next step consists of removing the top plastic from the motherboard, being sure to not fully remove the two. You would then take the speaker in the plastic frame and gently pop it out of its housing.
What you need
-
-
On the bottom of the clock locate and unscrew the single 2mm Phillips screw from bottom of the clock.
-
-
-
Using a moderate amount of force, position the screwdriver in the crack between the front screen and the main body of the clock (as shown) and push the screen away from the main body of the clock.
-
-
-
Get a firm grip on the outside of the clock and a firm grip on the hardware on the inside of the the clock like so and pull the hardware out from the outside of the clock.
-
-
-
Using your fingers, pull the power cord connector, outlined in the picture with a red rectangle straight up to disconnect from the alarm clock.
-
-
-
Just as before, pull the speaker plug directly up to remove the plug from the motherboard.
-
-
-
Applying a bit of pressure at each of the contact points (illustrated by red circles), disconnect the display from the plastic housing.
-
-
-
Flip the motherboard over and push in each of the black clips to disconnect the plastic frame from the motherboard.
-
Proceed to remove the plastic frame gently, being cautious to not fully break the two apart.
-
-
-
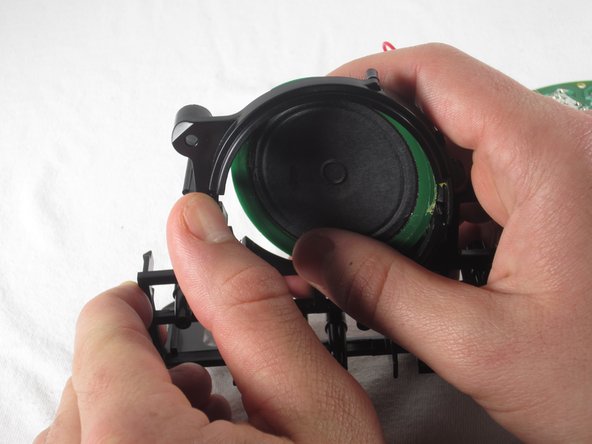
Flip over the motherboard and grab hold of the plastic frame.
-
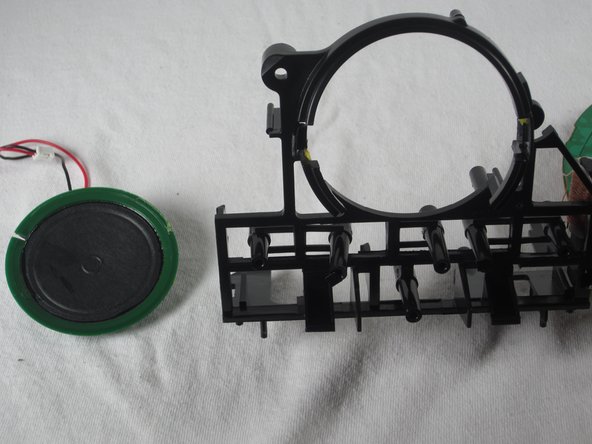
With a small amount of force, push on the plastic clips, away from you, to eject the speaker from its plastic housing.
-


Team

Cal Poly, Team 5-15, Forte Winter 2013 Member of Cal Poly, Team 5-15, Forte Winter 2013
CPSU-FORTE-W13S5G15
5 Members
5 Guides authored