Introduction
Follow this guide to replace the motherboard in a Valve Index VR headset.
Power off and unplug your Index before you begin your repair.
What you need
-
-
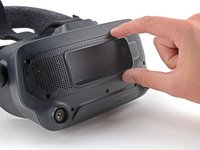
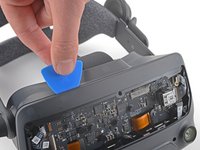
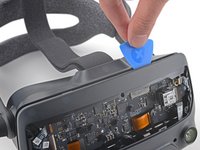
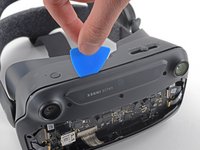
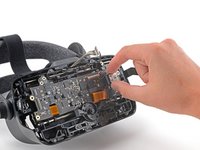
Use your hand to pull the front cover straight off of the front of the headset.
-
-
-
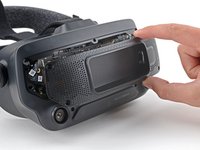
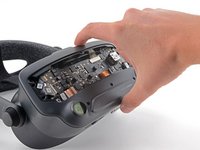
Use a T5 Torx screwdriver to remove the four 5.4 mm screws securing the motherboard cover to the headset.
-
-
-
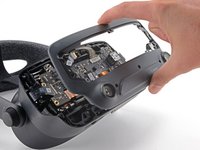
Use a T5 Torx screwdriver to remove the following eight screws from the front fascia:
-
Four 6.3 mm screws with fine threads
-
Four 6.0 mm screws with coarse threads
-
-
-
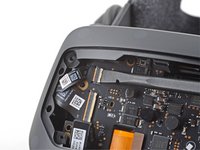
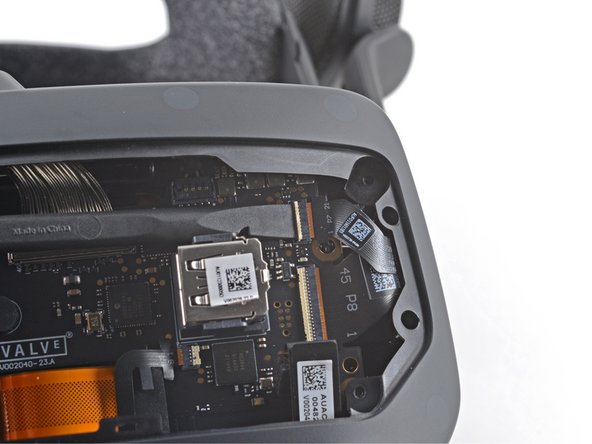
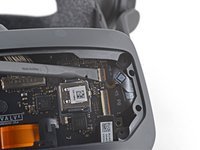
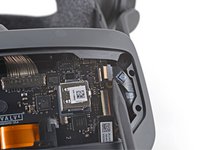
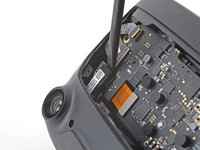
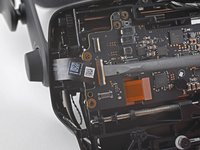
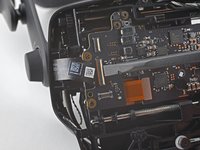
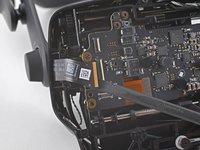
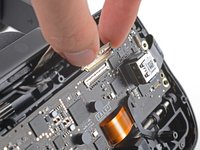
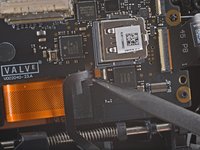
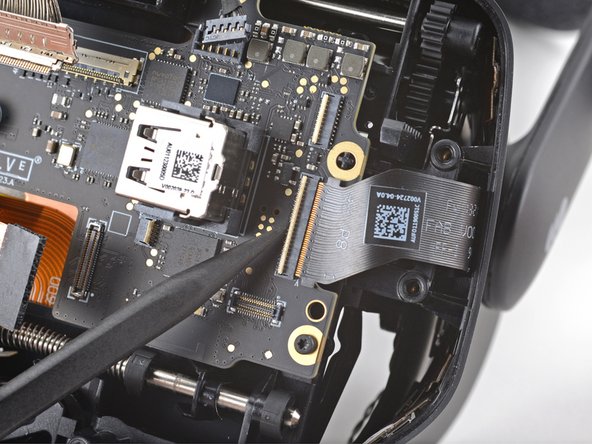
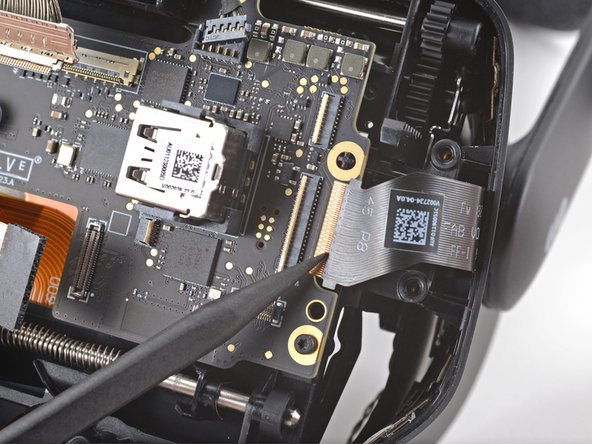
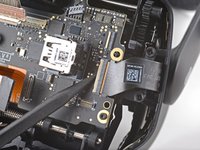
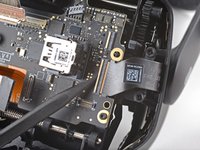
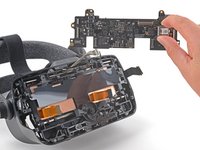
Use a spudger to unlock the ZIF connector at the top-left corner of the motherboard.
-
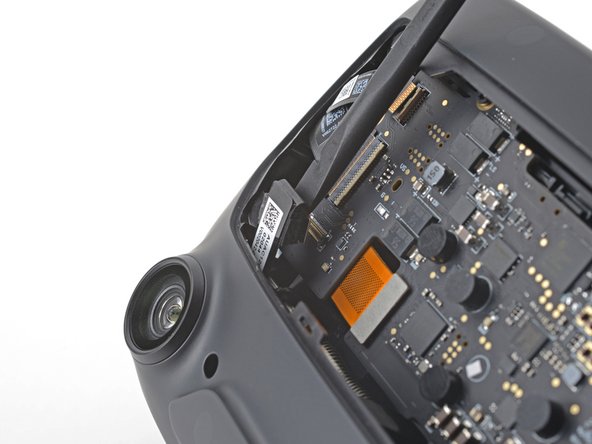
Disconnect the FPC ribbon cable from the motherboard.
-
-
-
-
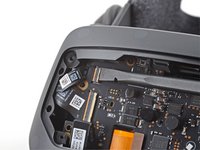
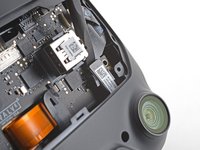
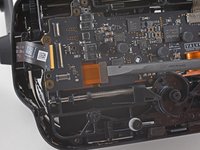
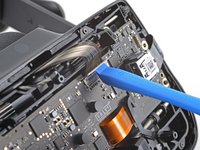
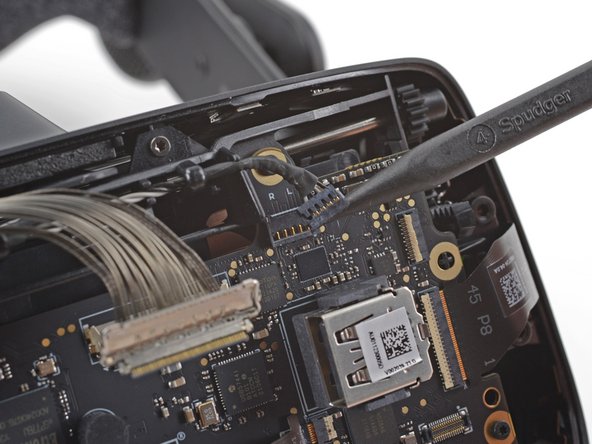
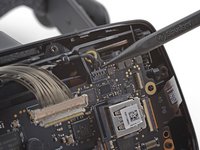
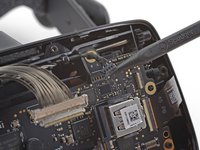
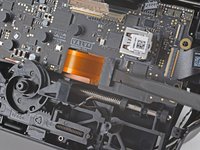
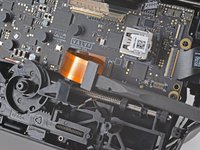
Note the seven cables that must be disconnected in the following steps before the motherboard can be removed.
-


Compare your new replacement part to the original part—you may need to transfer remaining components or remove adhesive backings from the new part before installing.
To reassemble your device, follow the above steps in reverse order.
Take your e-waste to an R2 or e-Stewards certified recycler.
Repair didn’t go as planned? Try some basic troubleshooting, or ask our Valve Index Answers community for help.
Cancel: I did not complete this guide.
One other person completed this guide.

5 Guide Comments
Where can I buy the motherboard? It doesn't look like ifixit has them.
I have this same question.
Same question ,where do i get a replacement main board
Same question ,where do i get a replacement main board