Introduction
This video shows how to replace and reassemble Sony Xperia Z5 LCD display.
What you need
Video Overview
-
-
Heat the back cover to soften the adhesive sticker.
-
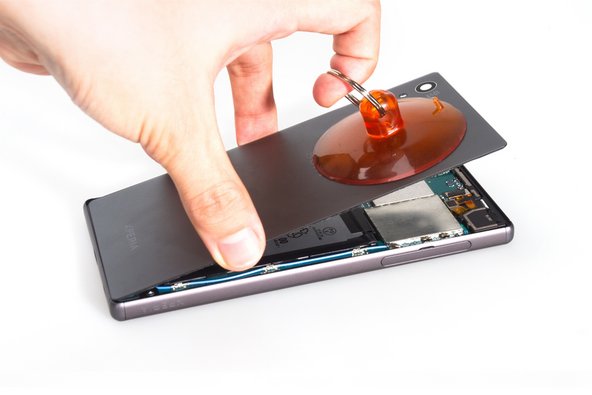
Place the suction cup and insert metal opening tool to open a gap from top side.
-
-
-
Insert the guitar pick and slide it to cut the adhesive sticker underneath.
-
Remove back cover.
-
-
-
Release battery connector.
-
Pull off the adhesive tape underneath the battery.
-
Pry up battery.
-
-
-
Release rear camera connector, front camera connector, audio jack connector and main flex connector on the motherboard.
-
Twist off screws there.
-
Remove that rubber securing bracket.
-
-
-
-
Loosen side button contactors ( Attention: the fingerprint sensor is here, be careful to loosen it), then remove the whole main flex assembly.
-
-
-
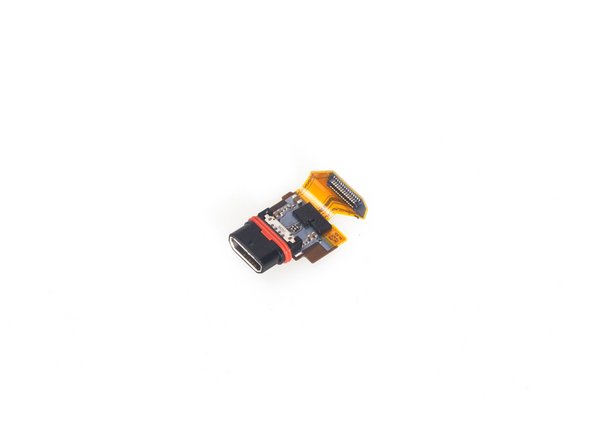
Release LCD screen flex connector, charging port connector, microphone connector here.
-
Remove motherboard.
-
-
-
The sticker underneath is strong, so use heat gun to soften it for a few minutes.
-
Remove LCD screen carefully.
-