Free Shipping on Domestic Orders $75+

Shark ION Robot 750 Sensor Replacement

What you need

    1. Shark ION Robot 750 Sensor Replacement, Outer Shell: step 1, image 1 of 3 Shark ION Robot 750 Sensor Replacement, Outer Shell: step 1, image 2 of 3 Shark ION Robot 750 Sensor Replacement, Outer Shell: step 1, image 3 of 3
      • Make sure the device is completely powered off before working.

      • Flip over the vacuum on a flat and uncluttered service with the bottom facing upwards.

      • Remove all seven 9.1mm Torx T15 screws from the device’s front bumper.

      • Remove the nine 9.1mm Torx T6 bolts from outer shell.

      Ask FixBot

      Add Comment

    2. Shark ION Robot 750 Sensor Replacement: step 2, image 1 of 2 Shark ION Robot 750 Sensor Replacement: step 2, image 2 of 2
      • Slightly pull front bumper to expose internal wiring.

      • Unplug the device’s front bumper wiring and completely remove front bumper.

      Ask FixBot

      Add Comment

    3. Shark ION Robot 750 Sensor Replacement: step 3, image 1 of 2 Shark ION Robot 750 Sensor Replacement: step 3, image 2 of 2
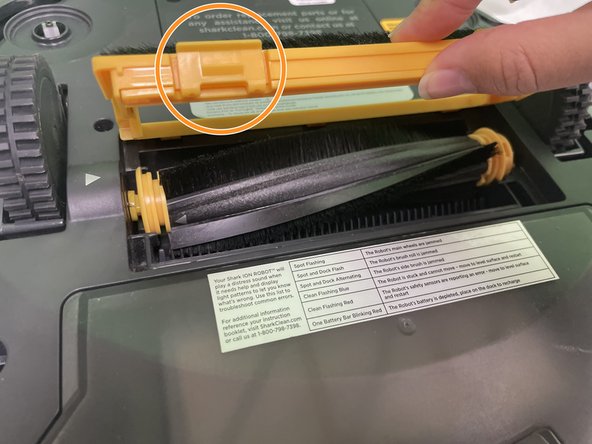
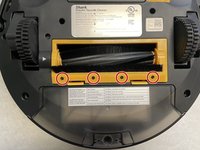
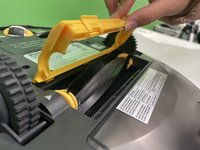
      • Remove the four 9.5mm Torx T6 bolts on the yellow brush frame.

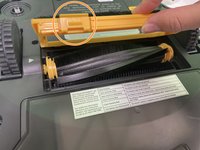
      • Gently depress the two tabs on the frame, then lift the frame to remove it.

      Ask FixBot

      Add Comment

    4. Shark ION Robot 750 Sensor Replacement: step 4, image 1 of 2 Shark ION Robot 750 Sensor Replacement: step 4, image 2 of 2
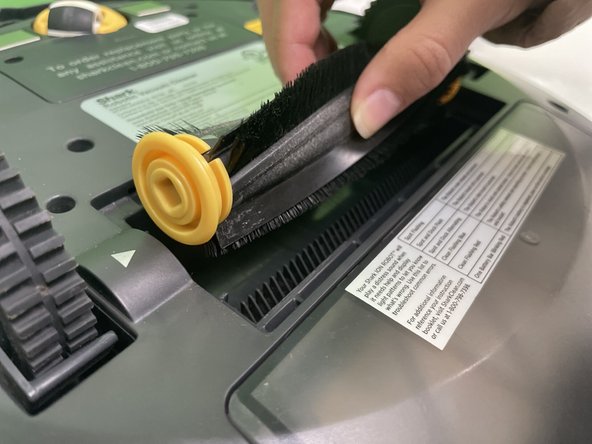
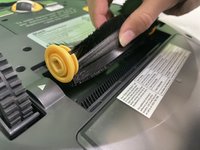
      • Pick up the brush and remove it from the vacuum.

      • Push the brush to your right and lift it.

      Ask FixBot

      Add Comment

    5. Shark ION Robot 750 Sensor Replacement: step 5, image 1 of 3 Shark ION Robot 750 Sensor Replacement: step 5, image 2 of 3 Shark ION Robot 750 Sensor Replacement: step 5, image 3 of 3
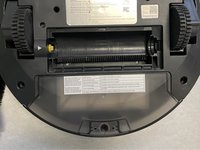
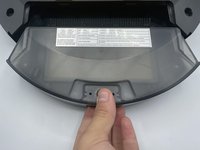
      • Press and hold the dust bin removal button to slide out the dust bin.

      Ask FixBot

      Add Comment

    6. Shark ION Robot 750 Sensor Replacement: step 6, image 1 of 1
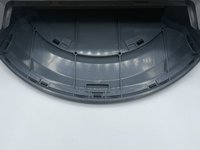
      • Lift the outer shell to expose the Shark’s interior.

      Ask FixBot

      Add Comment

    1. Shark ION Robot 750 Sensor Replacement, Sensors: step 7, image 1 of 2 Shark ION Robot 750 Sensor Replacement, Sensors: step 7, image 2 of 2
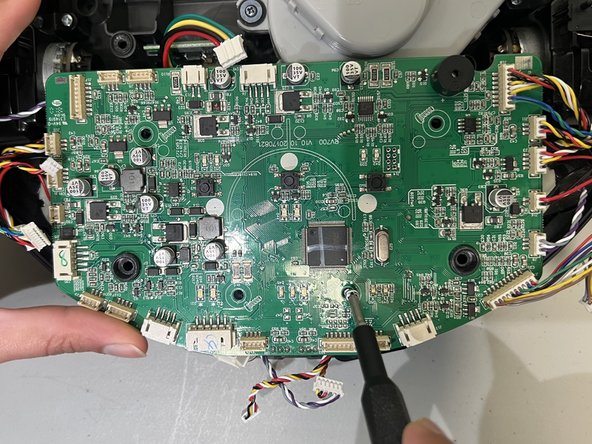
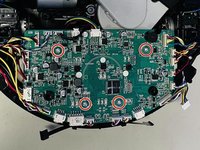
      • Use a Phillips #1 screwdriver to remove the four 11.5 mm screws from the main circuit board.

      Ask FixBot

      Add Comment

    2. Shark ION Robot 750 Sensor Replacement: step 8, image 1 of 2 Shark ION Robot 750 Sensor Replacement: step 8, image 2 of 2
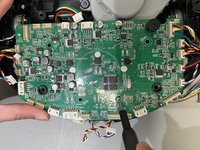
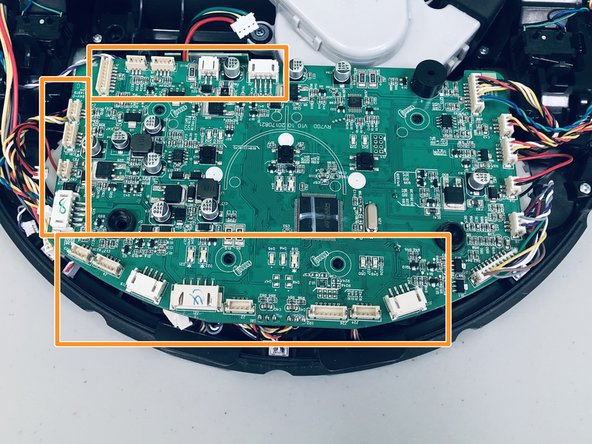
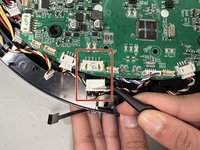
      • Use a spudger or tweezers to disconnect the white cable connector from the socket on the motherboard.

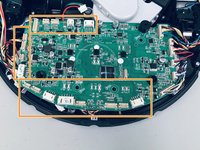
      • Detach the 17 connectors from the motherboard.

      • For helpful details on disconnecting different types of connectors, check out the Recognizing & Disconnecting Cable Connectors guide.

      • Don't pull on the cables as they might get damaged and affect the function of the vacuum.

      Ask FixBot

      Add Comment

    3. Shark ION Robot 750 Sensor Replacement: step 9, image 1 of 1
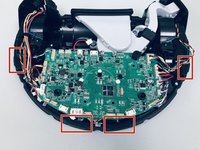
      • Pull the outer case away from the robot vacuum to reveal the sensors.

      Ask FixBot

      Add Comment

    4. Shark ION Robot 750 Sensor Replacement: step 10, image 1 of 3 Shark ION Robot 750 Sensor Replacement: step 10, image 2 of 3 Shark ION Robot 750 Sensor Replacement: step 10, image 3 of 3
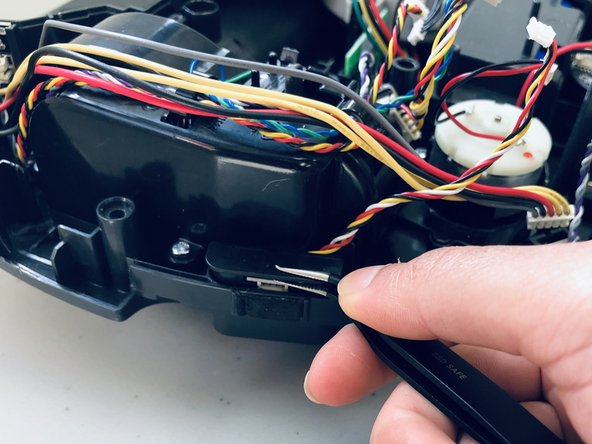
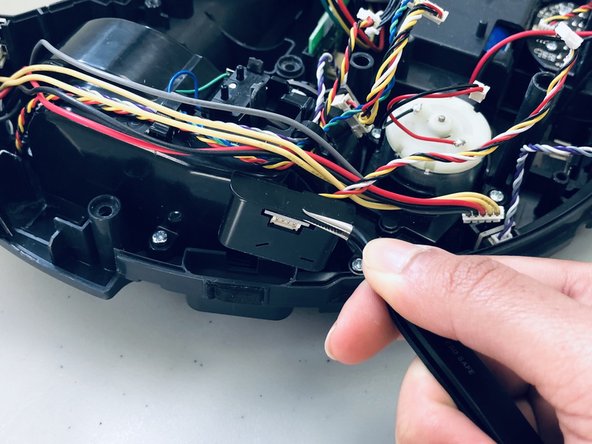
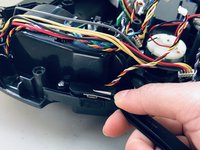
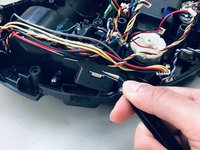
      • Insert the tweezer between the sensor lid and lower shell.

      • Gently lift each sensor up and out using the tweezer.

      Ask FixBot

      Add Comment

Conclusion

To reassemble your device, follow these instructions in reverse order. Take your e-waste to an R2 or e-Stewards certified recycler.

Cancel: I did not complete this guide.

Asmitha D

Member since: 02/08/24

109 Reputation

1 Guide authored

0 Guide Comments

Add Comment

View Statistics:

Past 24 Hours: 2

Past 7 Days: 11

Past 30 Days: 47

All Time: 816