Introduction
Use this guide to replace or remove the L1 and R1 bumpers on your Scuf Reflex controller.
What you need
-
-
Before starting repairs, turn off your device and unplug any cables.
-
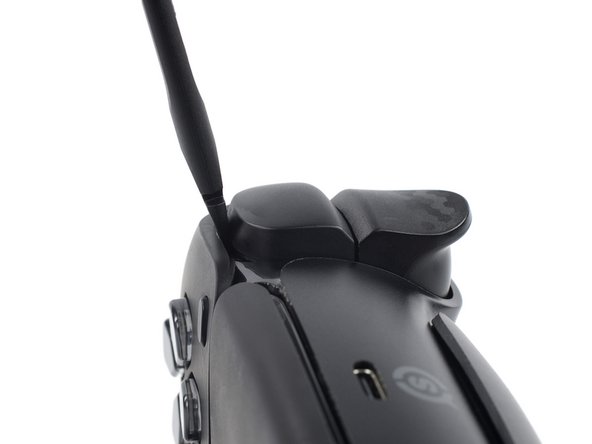
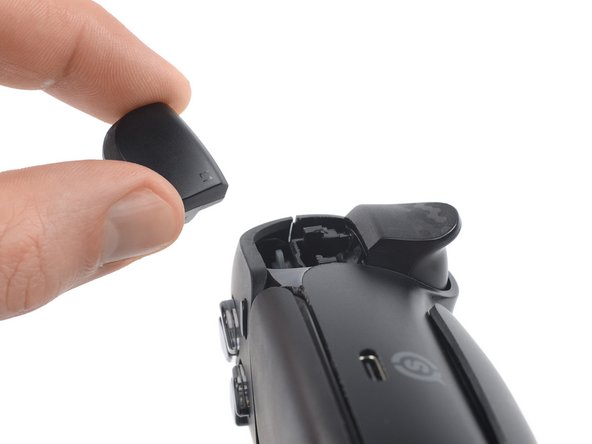
Insert the flat end of a spudger between the faceplate and the R1 bumper.
-
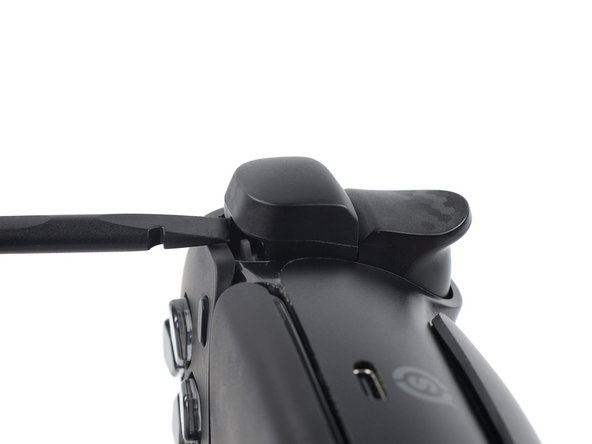
Pry up with the spudger to release the clips securing the bumper.
-
-
-
-
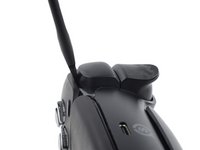
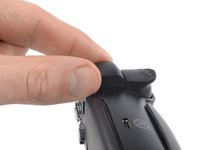
Insert the flat end of a spudger between the faceplate and the L1 bumper.
-
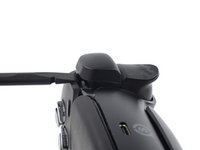
Pry up with the spudger to release the clips securing the bumper.
-


To reassemble your device, follow the instructions in reverse order.
Repair didn’t go as planned? Try some basic troubleshooting, or ask our Answers community for help.
Cancel: I did not complete this guide.
5 other people completed this guide.

