Introduction
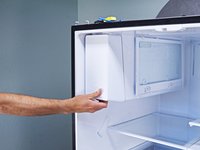
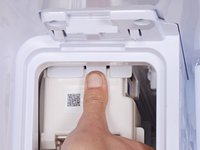
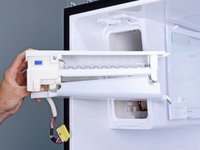
This guide shows how to remove and replace the icemaker auger assembly in your Samsung refrigerator.
The auger assembly fills the icemaker with water and spins the auger to push ice to the door dispenser. The assembly consists of a motor, ice flap solenoid, water tube heating element, and thermistor. If you try to dispense ice and don't hear a motor whirring, you may need to replace the auger assembly.
This guide will work for most Samsung Refrigerators. This guide is based on a model RF28R7201SG Refrigerator. If you have a different model, you may encounter some minor disassembly differences, but the overall repair process will be the same.
What you need
-
-
Unplug your refrigerator before you begin your repair.
-
Condenser fan motor
-
Compressor motor and thermal overload device
-
Water supply valve assembly
-
-
-
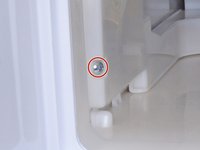
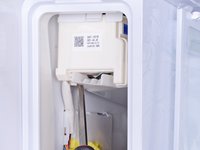
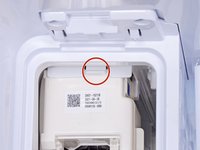
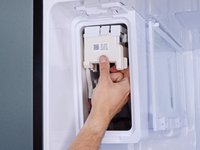
Remove the wire harness screw securing the cable cover panel.
-
-
-
-
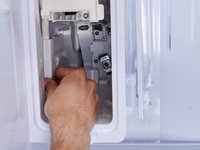
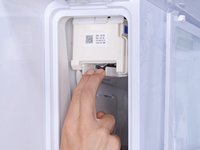
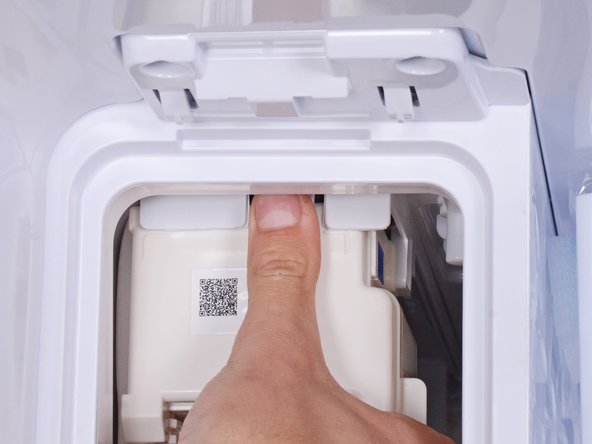
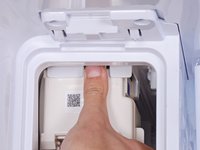
Use your fingers to slide the cable cover panel towards the front of the refrigerator to unlatch it.
-
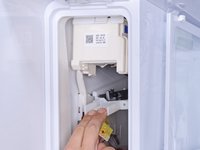
Remove the cable cover panel.
-
-
-
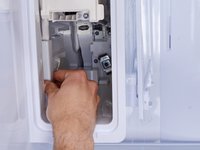
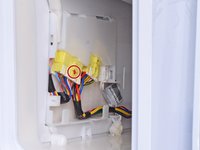
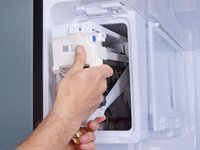
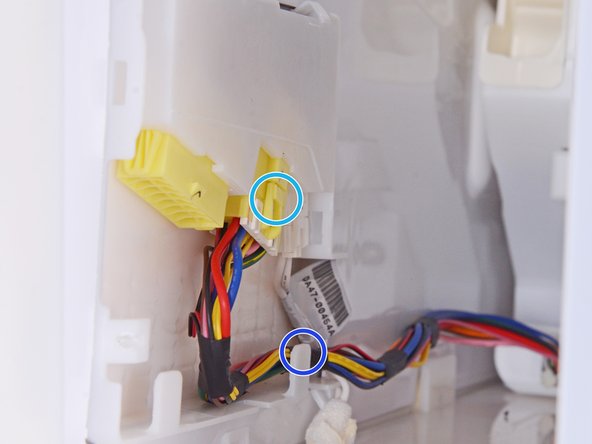
Disconnect the left-most yellow connector:
-
Squeeze the locking tab with your fingers.
-
Rock the connector gently side to side to disconnect it.
-
Use your fingers or a screwdriver to guide the wire harness out of the wall clips.
-
-
-
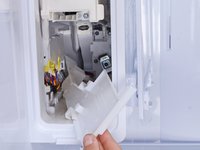
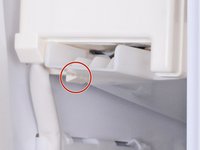
A plastic clip holds the air tunnel flap in place.
-
Use a flathead screwdriver to pry and loosen the air tunnel flap from the plastic clip.
-
-
-
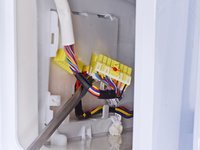
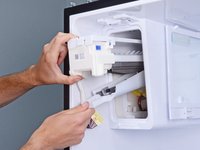
Disconnect the auger wiring connector:
-
Squeeze the locking tab with your fingers
-
Rock the connector side to side to loosen and disconnect it
-
Guide the wiring harness out of the retaining tabs.
-
-
-
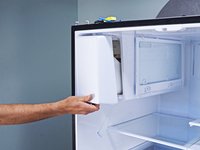
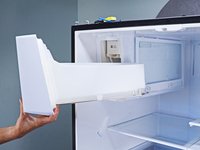
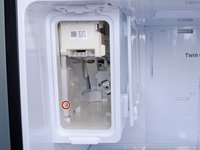
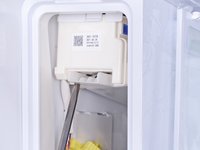
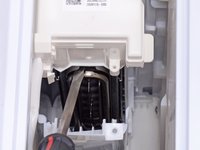
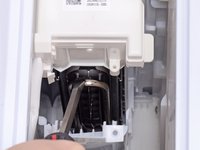
While lifting the clip with a flathead screwdriver, pull the metal head of the auger assembly to separate it from the chassis.
-


To reassemble your device, follow these instructions in reverse order.
Take your e-waste to an R2 or e-Stewards certified recycler.
Repair didn’t go as planned? Ask our Answers Community for help.

Team

1 Guide Comment
GOOD MORNING NICO! My Samsung Refrigerator is a unit built in about 2012. In STEP 9, you show a screw that needs removal to slide out the air tunnel. It appears that my model is a one - piece design. It does NOT have the screw. Any ideas how to proceed?
TOM