Introduction
This guide shows how to remove and replace the control panel in your Samsung refrigerator.
The control panel contains the buttons to change the refrigerator settings, as well as a display for current settings. The panel can become damaged and inoperative from prolonged moisture exposure.
This guide will work for most Samsung Refrigerators . This guide is based on a model RF28R7201SG Refrigerator. If you have a different model, you may encounter some minor disassembly differences, but the overall repair process will be the same.
What you need
-
-
Unplug your refrigerator before you begin your repair.
-
Condenser fan motor
-
Compressor motor and thermal overload device
-
Water supply valve assembly
 Ask FixBot
-
-
-
Open both French doors for the refrigerator compartment.
-
-
-
-
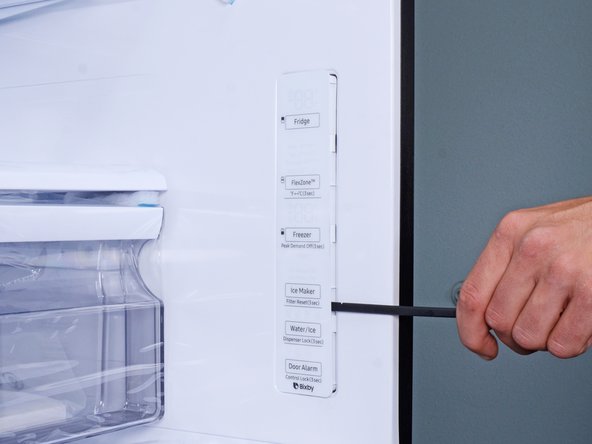
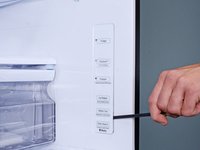
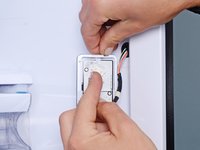
Insert a spudger into the seam along the right edge of the control panel.
-
Press the spudger in firmly and pry to loosen the panel.
-
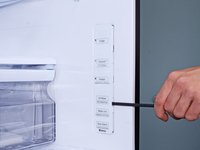
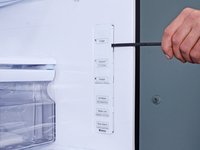
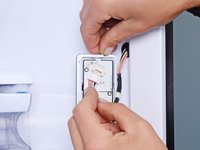
Use your spudger to slide and pry around the control panel to loosen it from the refrigerator wall.
-


To reassemble your device, follow these instructions in reverse order.
Take your e-waste to an R2 or e-Stewards certified recycler.
Repair didn’t go as planned? Ask our Answers Community for help.

Team
