Introduction
Due to its design, this model of Salter bathroom scale may have one or more broken cables inside the scale after some time of use.
This is caused by adhesive strips that age and lose their adhesive effect. This causes the cables to fall into areas that damage or completely cut the cables when the scale is used.
Symptoms with a new battery:
Scale starts, but after loading it just goes off
Scale does not start at all despite a new battery
What you need
-
-
Turn the scale over
-
Remove the battery from the battery compartment
-
Open the 4 screws with a triangular 2.0 screwdriver
-
Lift the cover (if necessary, use a flat-blade screwdriver or spudger to help at the corners)
-
Turn the scale back to the front side and remove the top side.
 Ask FixBot
-
-
-
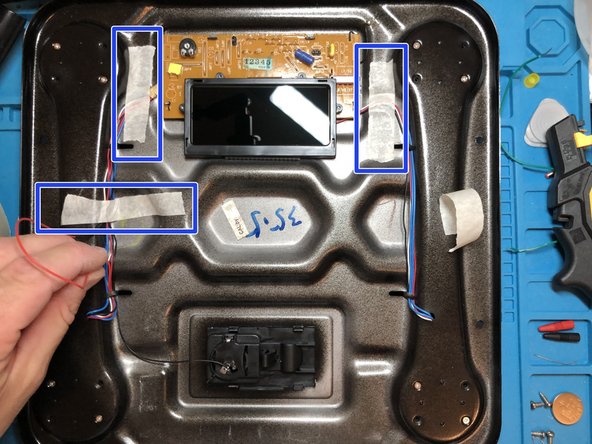
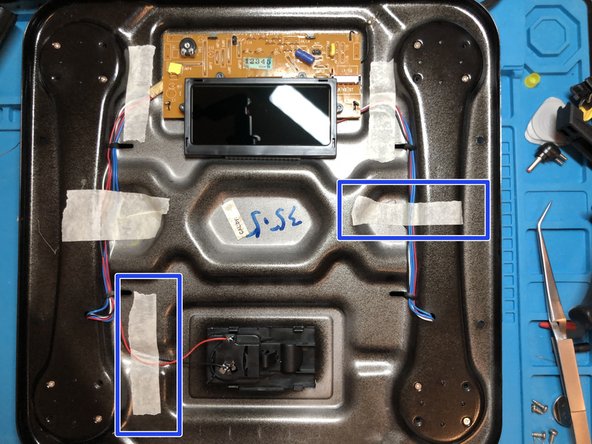
Adhesive strips are located at the marked points, under which defective cables could be located.
-
In my case the point of failure was quite obvious (marking, plus cable cut)
-
Here you can already see that these cables are also affected. If it is not so obvious, the cables should be checked for continuity.
-
-
-
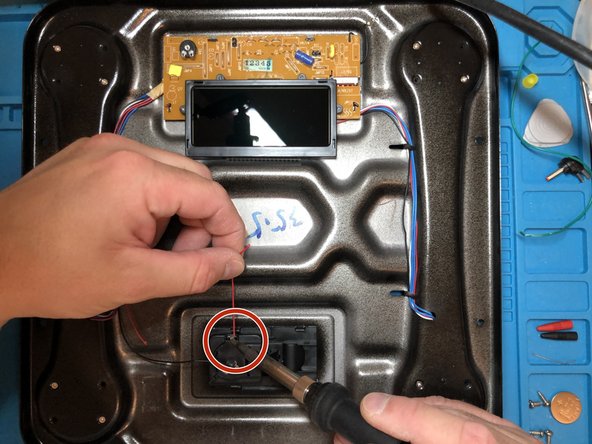
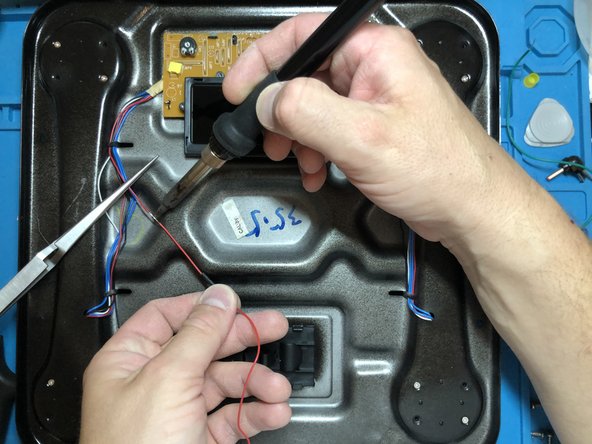
use a soldering iron to desolder the old cable at the battery compartment and remove it
-
shorten the remaining cable so that the newly soldered piece is not at a breaking point (bend)
-
-
-
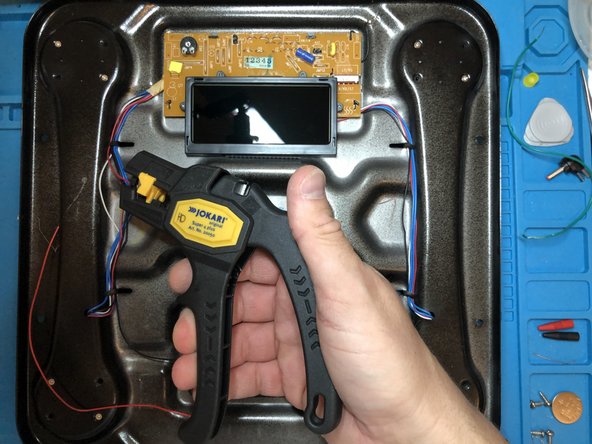
Set stripping pliers to 6mm
-
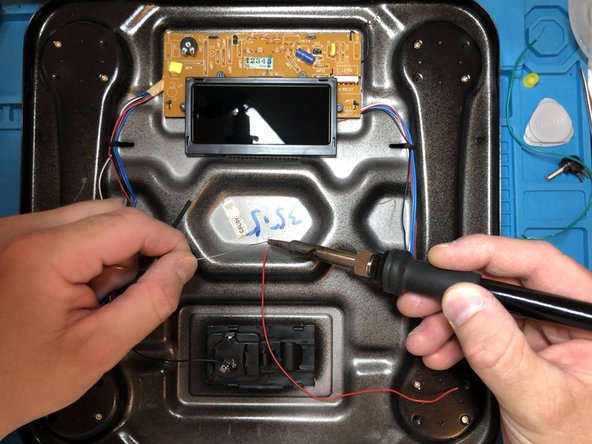
Strip the cable end of the still installed cable
-
Strip the cable end of the new cable
-
-
-
-
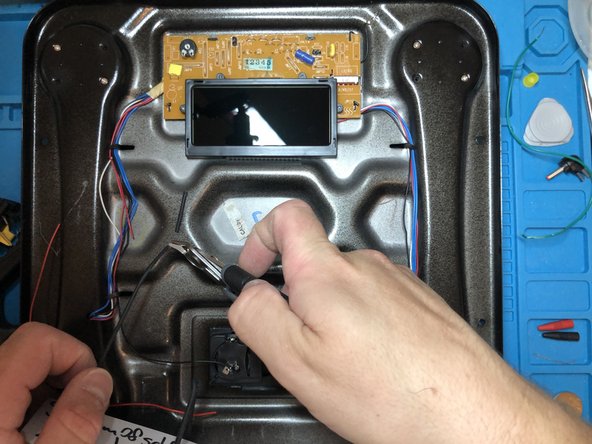
With a soldering iron and solder, tin both cable ends
-
-
-
Cut the 1mm heat shrink tubing 1:2 to a good length of approx. 2cm (so that the stripped contacts are covered)
-
Before soldering place the heat shrink tubing on one of the cables.
-
-
-
Move the shrink tubing over the solder joint
-
Shrink the shrink tubing with a hot air gun/hair dryer/lighter
-
-
-
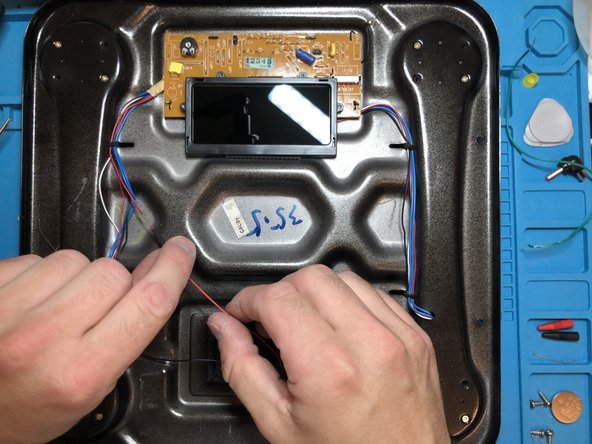
Place the cable in its original course again
-
Secure all critical points with masking tape (except for the last bend)
-
-
-
Shorten cable to the correct length
-
Strip cable to 6mm with wire strippers
-
tin cable with soldering iron and soldering tin
-
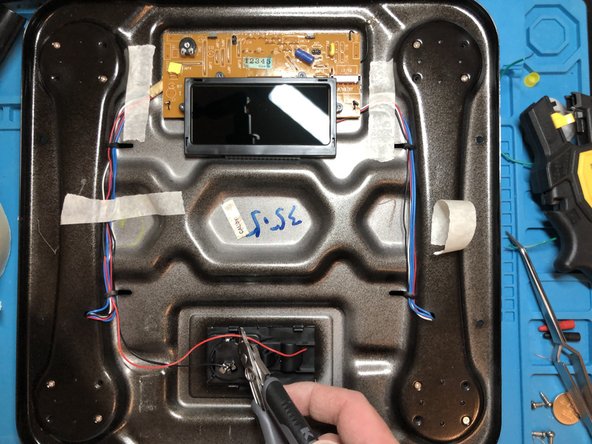
solder cable to the battery contact
-
if necessary shorten soldered cable after soldering
-
-
-
Fasten the cable in the last bend with masking tape
-
Turn the scale over
-
Insert the battery into the battery compartment
-
Turn the scale over
-
Test the scale by activating it (pressing down on it)
-


Work through the steps in reverse order to reassemble your device.
Cancel: I did not complete this guide.
2 other people completed this guide.
Special thanks to these translators:
100%

These translators are helping us fix the world! Want to contribute?
Start translating ›
