Introduction
If your Roborock Q5 Max Plus isn’t holding a charge like it used to, it might be time to replace the battery. Over time, rechargeable lithium-ion batteries degrade, leading to reduced runtime or unexpected shutdowns. This guide will walk you through safely replacing the battery in your Roborock Q5 Max Plus, helping you restore your robot vacuum to peak performance. Power off the device and disconnect it from the charging dock before beginning.
What you need
-
-
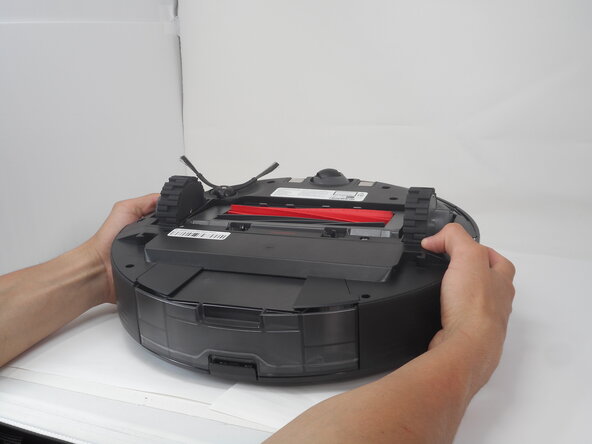
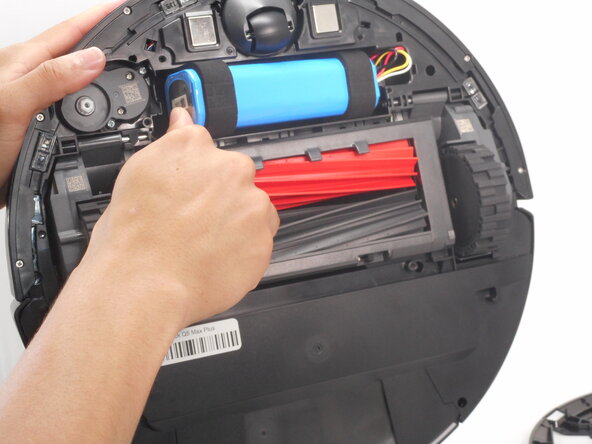
Carefully flip the Roborock upside down on a soft surface (e.g., towel) to avoid scratches.
-
Turn off the vacuum using the main switch underneath.
-
-
-
-
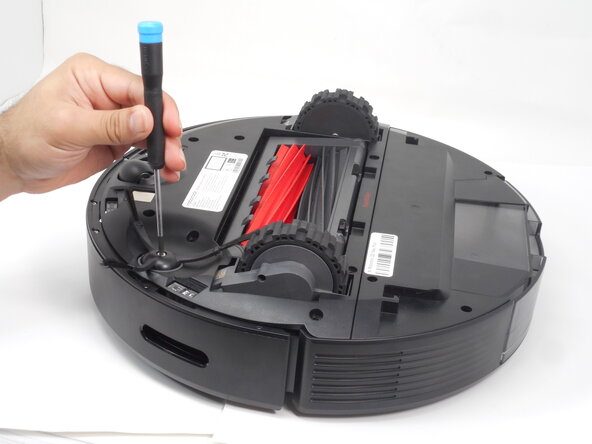
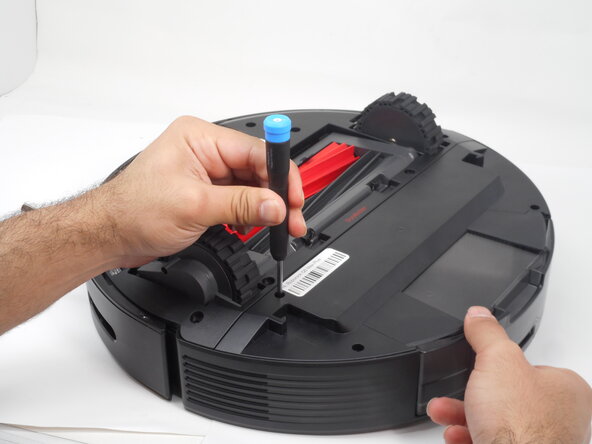
Use a Phillips #1 screwdriver to remove the eight 14 mm screws that secure the bottom shell.
-


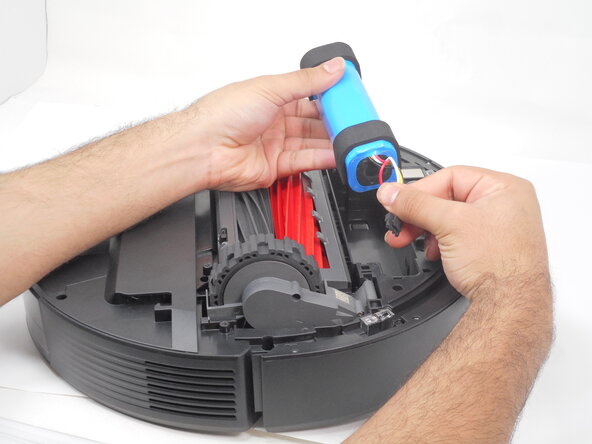

To reassemble your device, follow the above steps in reverse order.
Take your e-waste to an R2 or e-Stewards certified recycler.
Repair didn’t go as planned? Try some basic troubleshooting or ask our Answers community for help.
Team

University of Memphis, Team 3-1, Sneed Spring 2025 Member of University of Memphis, Team 3-1, Sneed Spring 2025
UM-SNEED-S25S3G1
4 Members
5 Guides authored