Free Shipping on Domestic Orders $75+

Right Joy-Con 2 Back Cover Removal

Prerequisite Only
This is a prerequisite-only guide! This guide is part of another procedure and isn’t meant to be used alone.
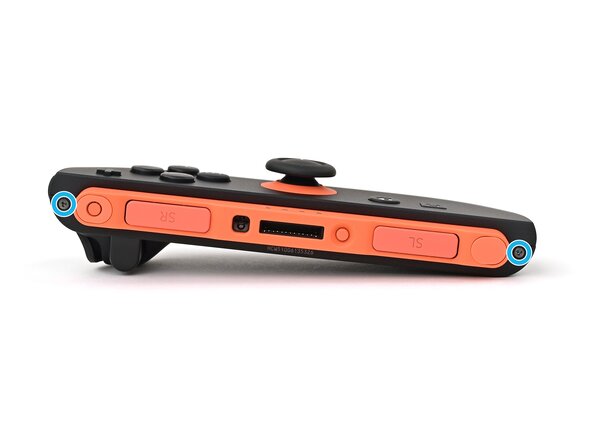
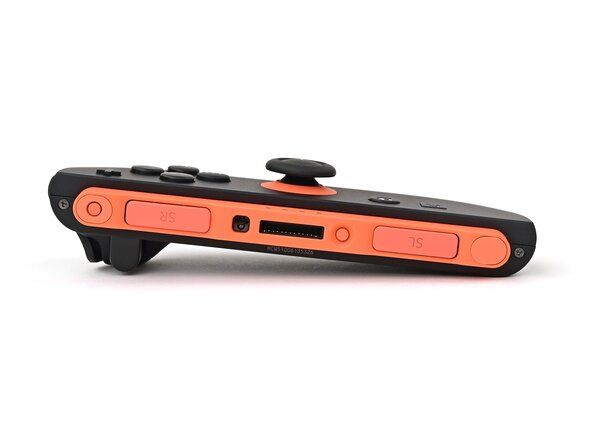
    1. Right Joy-Con 2 Back Cover Removal, Remove the left edge screws: step 1, image 1 of 2 Right Joy-Con 2 Back Cover Removal, Remove the left edge screws: step 1, image 2 of 2
      • Use a tri-point Y00 driver to remove the two 3.1 mm‑long black screws on the left edge of the controller.

      Ask FixBot

      Add Comment

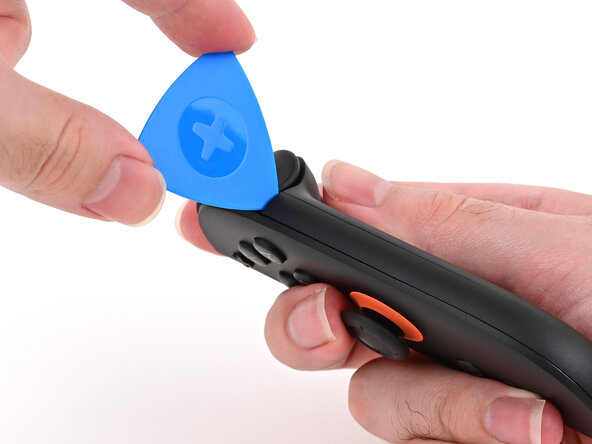
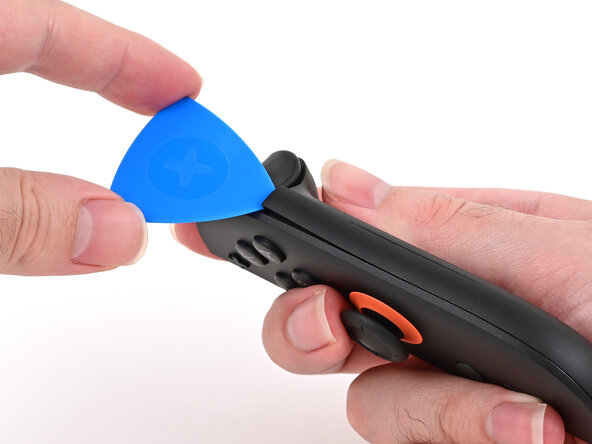
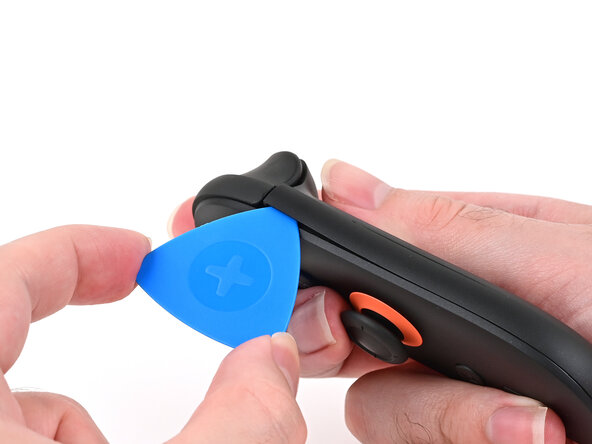
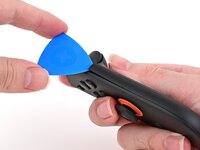
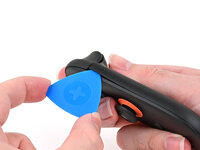
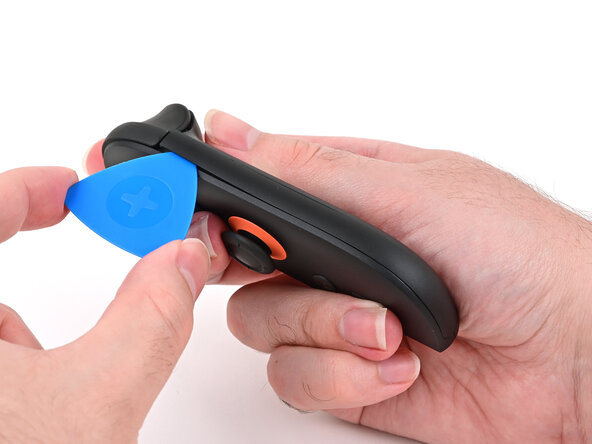
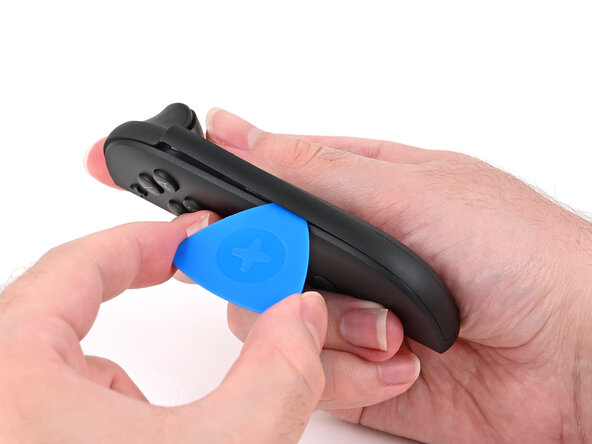
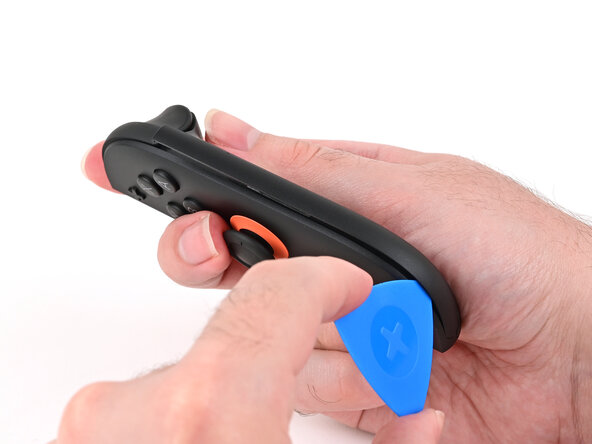
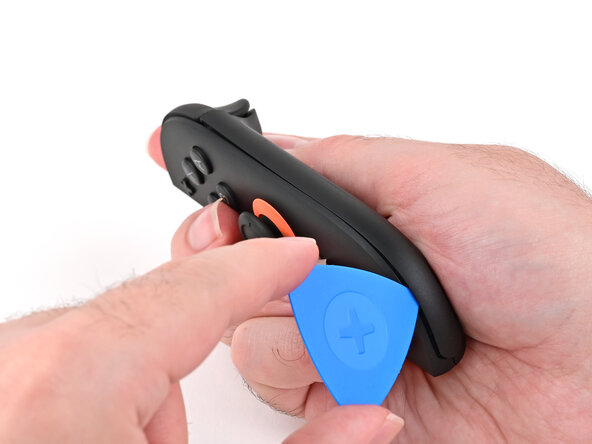
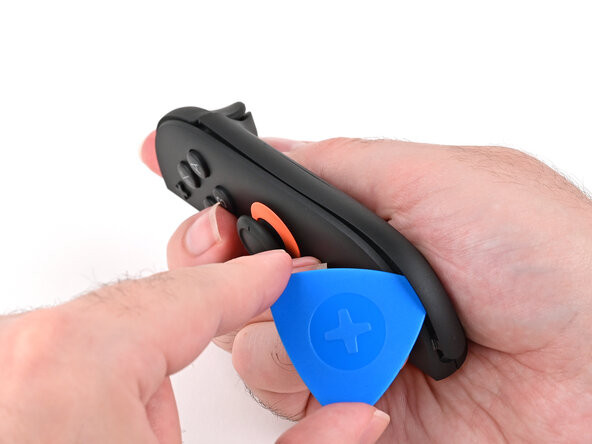
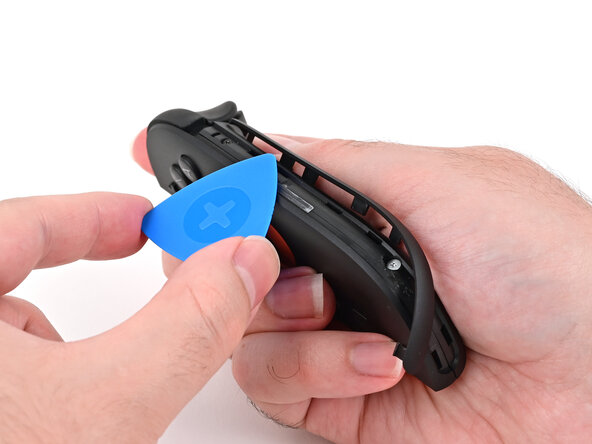
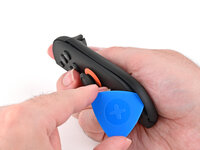
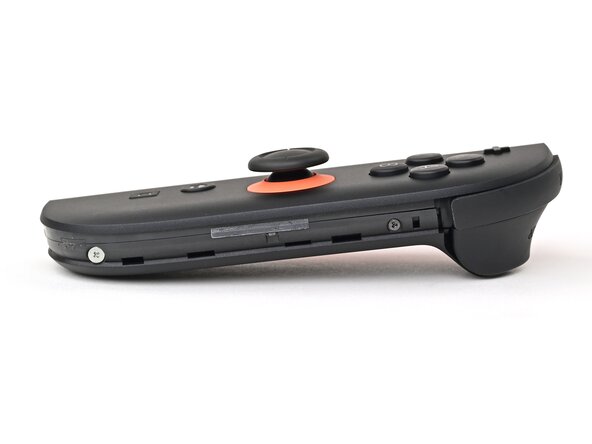
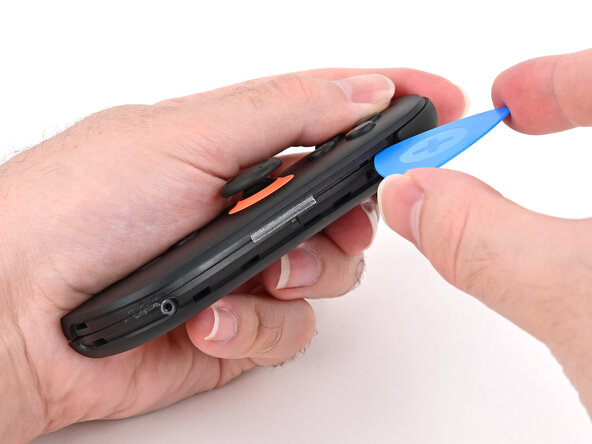
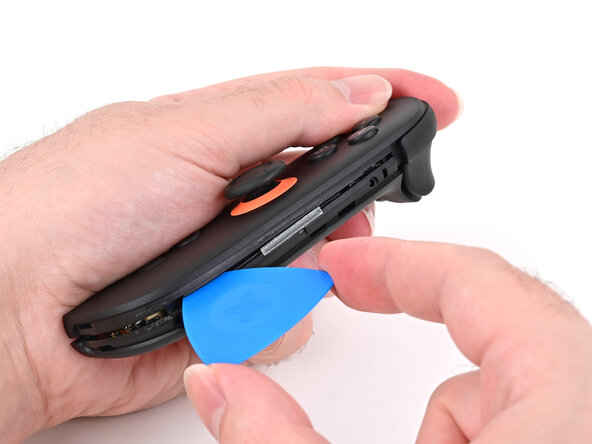
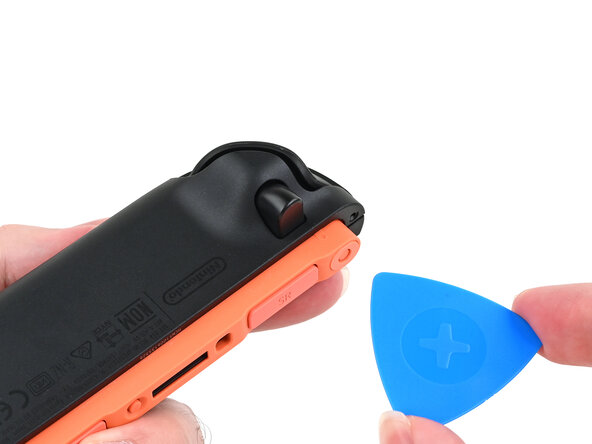
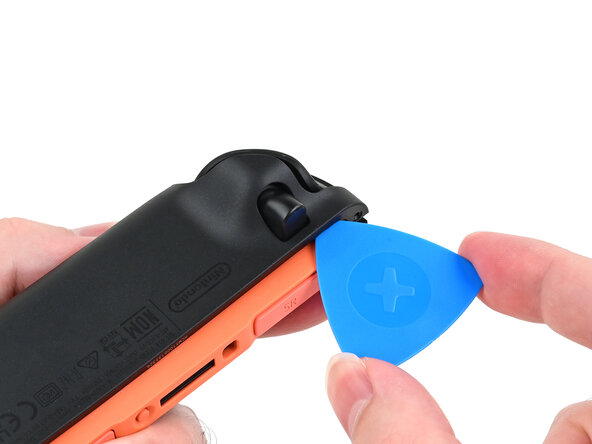
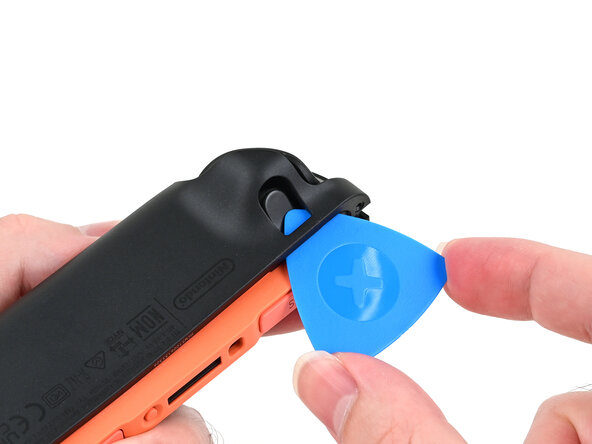
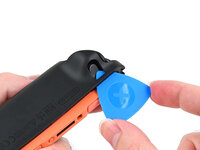
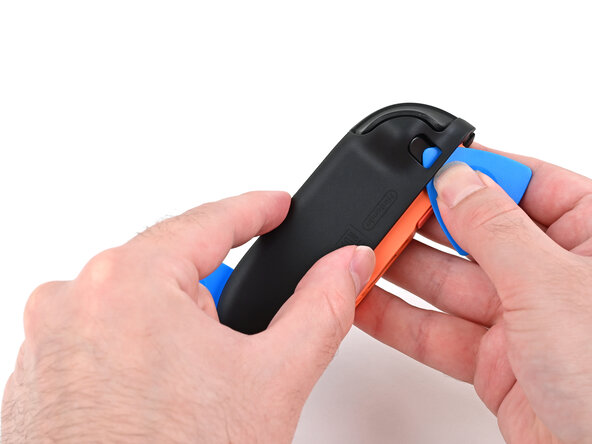
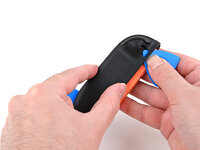
    2. Right Joy-Con 2 Back Cover Removal, Insert an opening pick: step 2, image 1 of 3 Right Joy-Con 2 Back Cover Removal, Insert an opening pick: step 2, image 2 of 3 Right Joy-Con 2 Back Cover Removal, Insert an opening pick: step 2, image 3 of 3
      • Insert an opening pick into the gap underneath the bumper button on the right side of the controller, with a point of the pick pointing downwards.

      • Pry up to slightly lift the plastic strip running across the right edge of the controller.

      • Slide the opening pick around to the front of the controller.

      Ask FixBot

      Add Comment

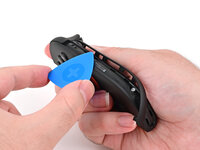
    3. Right Joy-Con 2 Back Cover Removal, Separate the plastic strip: step 3, image 1 of 3 Right Joy-Con 2 Back Cover Removal, Separate the plastic strip: step 3, image 2 of 3 Right Joy-Con 2 Back Cover Removal, Separate the plastic strip: step 3, image 3 of 3
      • Slide the opening pick down the plastic strip to separate the clips and adhesive securing it to the controller's body.

      Ask FixBot

      Add Comment

    4. Right Joy-Con 2 Back Cover Removal, Remove the plastic strip: step 4, image 1 of 3 Right Joy-Con 2 Back Cover Removal, Remove the plastic strip: step 4, image 2 of 3 Right Joy-Con 2 Back Cover Removal, Remove the plastic strip: step 4, image 3 of 3
      • Pry up on the bottom edge of the plastic strip with slow, steady force.

      • Repeat this prying action along the length of the strip until it's fully detached.

      Ask FixBot

      Add Comment

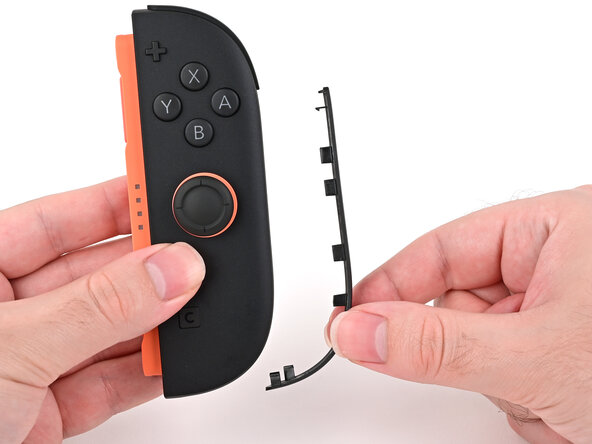
    5. Right Joy-Con 2 Back Cover Removal: step 5, image 1 of 1
      • Remove the plastic strip.

      Ask FixBot

      Add Comment

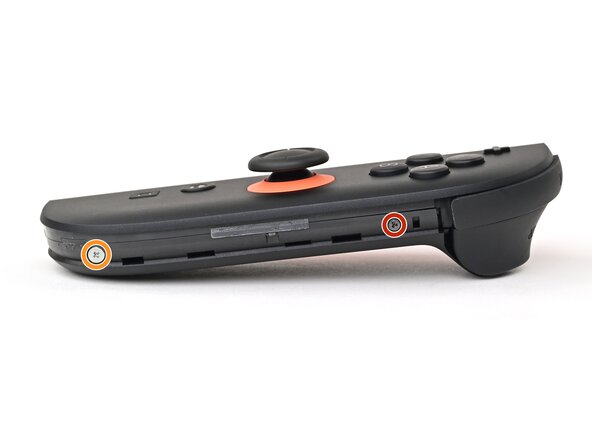
    6. Right Joy-Con 2 Back Cover Removal, Remove the right edge screws: step 6, image 1 of 2 Right Joy-Con 2 Back Cover Removal, Remove the right edge screws: step 6, image 2 of 2
      • Remove the two screws on the right edge of the controller:

      • One 3.1 mm‑long tri-point Y00 black screw

      • One 3.0 mm‑long JIS 00 silver screw

      • You can use a Phillips screwdriver in a pinch, but you risk damaging or stripping the screw. Push down firmly on the screwdriver and twist slowly. Often, switching drivers may help, even if they're the same size.

      Ask FixBot

      Add Comment

    7. Right Joy-Con 2 Back Cover Removal, Insert an opening pick: step 7, image 1 of 2 Right Joy-Con 2 Back Cover Removal, Insert an opening pick: step 7, image 2 of 2
      • Don't try to remove the back cover yet.

      • Insert an opening pick into the gap between the front and back halves of the controller on its right side.

      • Slide the pick down the controller to disengage the clips.

      • Leave the opening pick at the bottom of the controller's right edge, just before its curve.

      • The opening pick will fall out once the back cover is removed. If it falls out before then, put it back to keep the two halves separated.

      Ask FixBot

      Add Comment

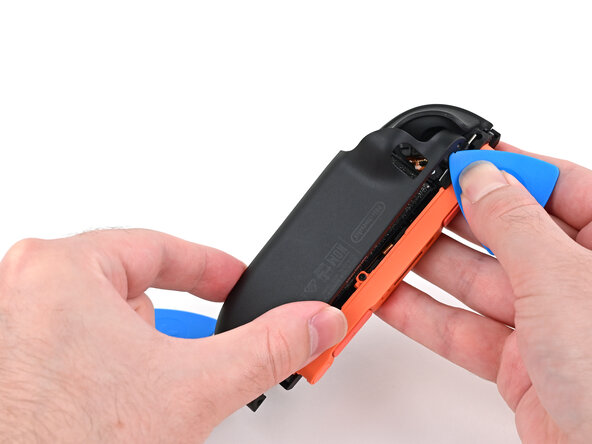
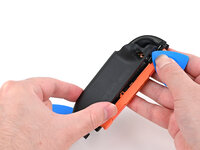
    8. Right Joy-Con 2 Back Cover Removal, Insert a second opening pick: step 8, image 1 of 3 Right Joy-Con 2 Back Cover Removal, Insert a second opening pick: step 8, image 2 of 3 Right Joy-Con 2 Back Cover Removal, Insert a second opening pick: step 8, image 3 of 3
      • Hold the controller upside-down.

      • Insert a point of another opening pick next to the release button towards the top of the controller.

      • Use the opening pick to press the release button through the gap.

      Ask FixBot

      Add Comment

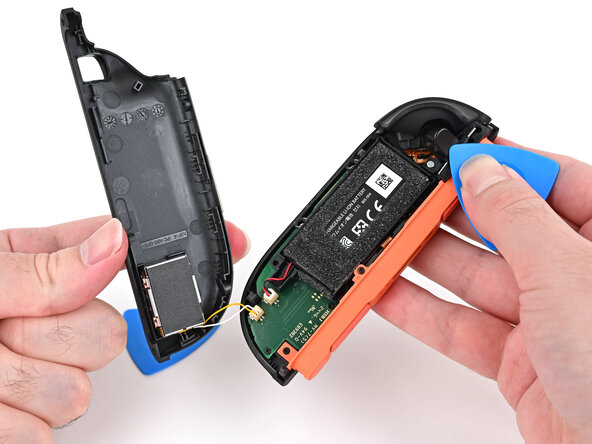
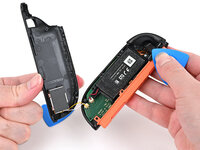
    9. Right Joy-Con 2 Back Cover Removal, Release the back cover: step 9, image 1 of 3 Right Joy-Con 2 Back Cover Removal, Release the back cover: step 9, image 2 of 3 Right Joy-Con 2 Back Cover Removal, Release the back cover: step 9, image 3 of 3
      • The back cover is connected to the controller by a cable at the bottom. Don't try to remove it completely yet.

      • While holding the release button with the opening pick, use your other hand to slide the back cover down to release the clips securing it to the controller's body.

      • Open the back cover.

      Ask FixBot

      Add Comment

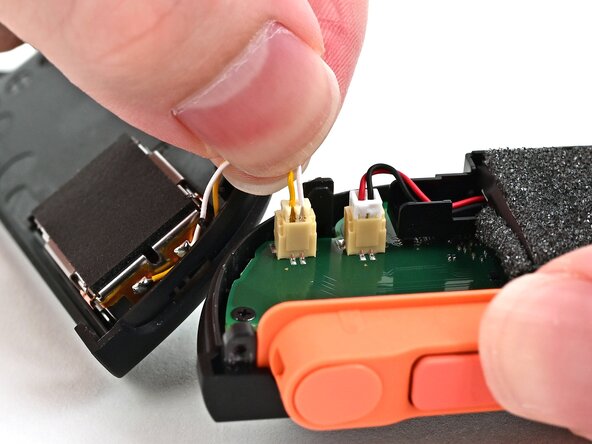
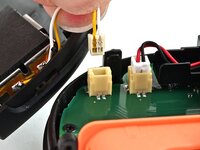
    10. Right Joy-Con 2 Back Cover Removal, Remove the back cover: step 10, image 1 of 3 Right Joy-Con 2 Back Cover Removal, Remove the back cover: step 10, image 2 of 3 Right Joy-Con 2 Back Cover Removal, Remove the back cover: step 10, image 3 of 3
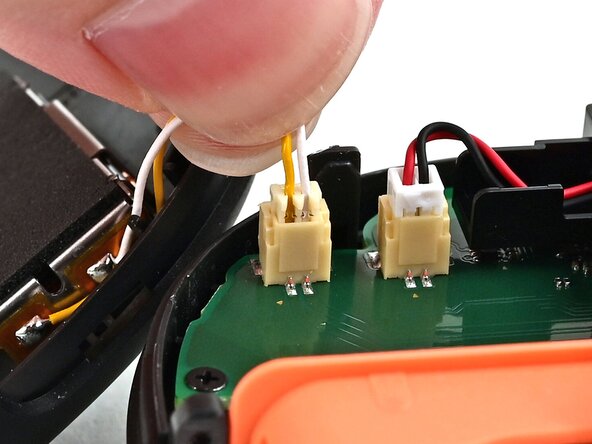
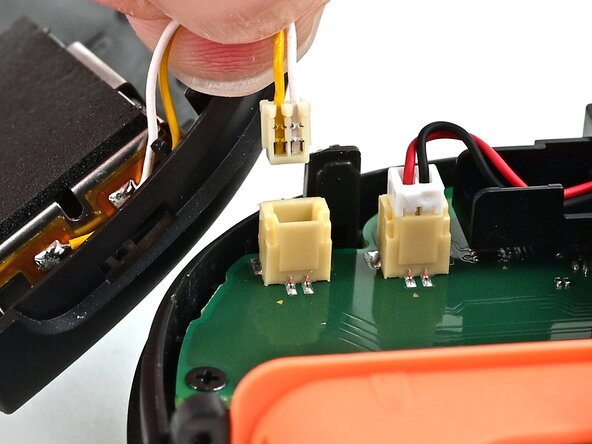
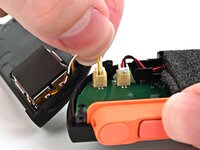
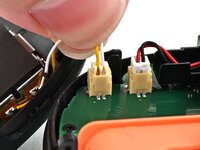
      • Firmly grasp the two wires (yellow and white) above the rumble motor connector, located at the bottom of the controller's board, and pull the beige connector out of its socket.

      • Pulling the cable won't damage it, but don't dig your nails into the plastic sheathing.

      • Remove the back cover.

      Ask FixBot

      Add Comment

Conclusion

To reassemble your device, follow these instructions in reverse order.

Cancel: I did not complete this guide.

Nick Schultz

Member since: 03/24/24

65,500 Reputation

343 Guides authored

0 Guide Comments

Add Comment

View Statistics:

Past 24 Hours: 0

Past 7 Days: 1

Past 30 Days: 6

All Time: 139