Introduction
These instructions may also help with other Nivona models and with coffee makers from Melitta, Siemens, and Miele—they are all made by the same manufacturer and have a very similar design.
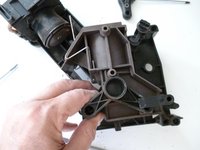
The gaskets and seals of this brewing unit are under much strain and have to be replaced from time to time.
The Nivona brewing unit (brewgroup) is identical with those of other brands, such as Bosch, Siemens or Melitta.
What you need
-
-
-
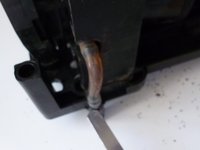
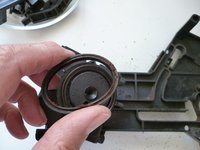
Remove the hose connecting the upper piston and the coffee outlet.
-
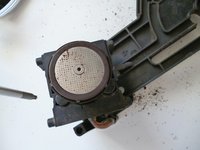
Remove the upper piston.
-
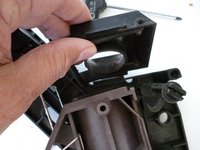
Remove the Torx T20 screw from the screen of the upper piston.
-
Take off the cover of the gasket and the gasket.
-
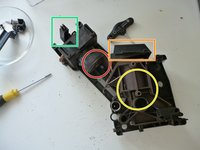
Replace the gaskets of the upper piston, the coffee outlet and water connector.
-
Clean thoroughly all parts. Use food-proof silicone grease to lubricate the gaskets.
-


Apply all steps in reverse order to re-assemble the device.
Cancel: I did not complete this guide.
3 other people completed this guide.
Special thanks to these translators:
100%


These translators are helping us fix the world! Want to contribute?
Start translating ›
1 Guide Comment
Hello all. I have a Nivona 572 cafearomatica and when i press the start button the pump
Does not stop in it goes wild. Any toughts?