Free Shipping on Domestic Orders $75+

Reshell Prereq

Prerequisite Only
This is a prerequisite-only guide! This guide is part of another procedure and isn’t meant to be used alone.

What you need

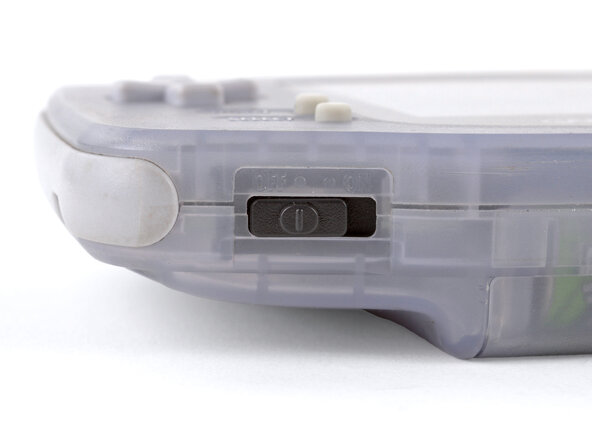
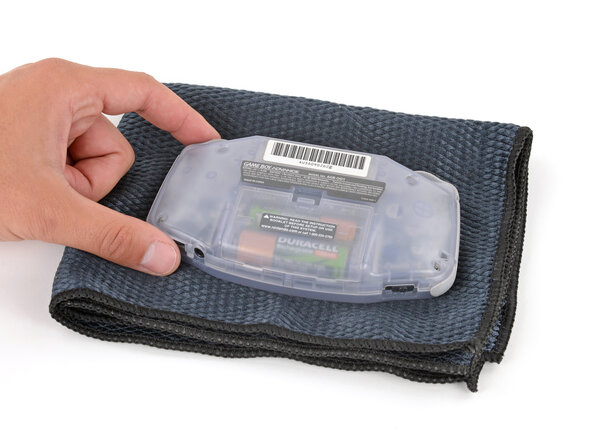
    1. Reshell Prereq, Prepare your Game Boy for disassembly: step 1, image 1 of 2 Reshell Prereq, Prepare your Game Boy for disassembly: step 1, image 2 of 2
      • Before working on your Game Boy, turn the power switch to the OFF position and unplug any cables.

      • If you have a game cartridge installed, remove it.

      • Since your Game Boy will be laying screen‑side down for most of your repair, consider placing it on a clean cloth for protection.

      Ask FixBot

      Add Comment

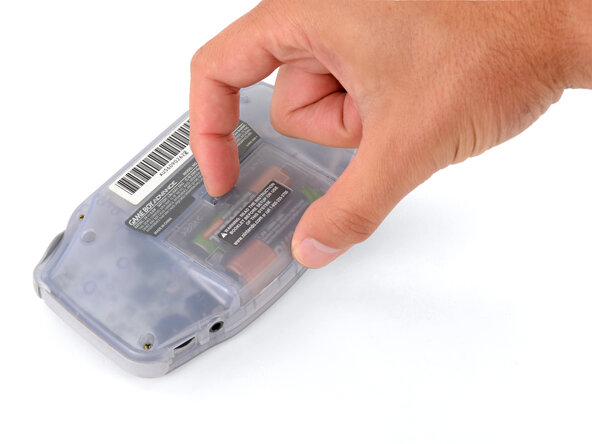
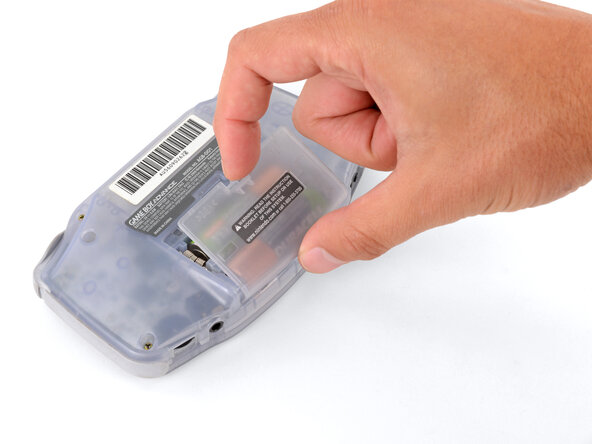
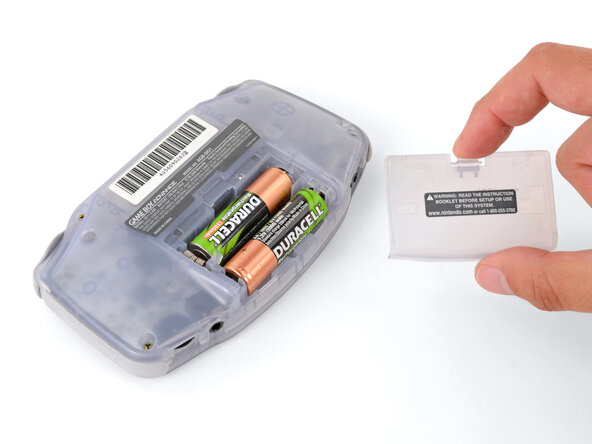
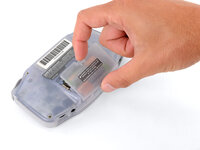
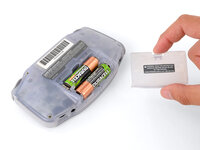
    2. Reshell Prereq, Remove the battery cover: step 2, image 1 of 3 Reshell Prereq, Remove the battery cover: step 2, image 2 of 3 Reshell Prereq, Remove the battery cover: step 2, image 3 of 3
      • Release the battery cover tab with your finger and swing the cover away from your Game Boy to remove it.

      Ask FixBot

      Add Comment

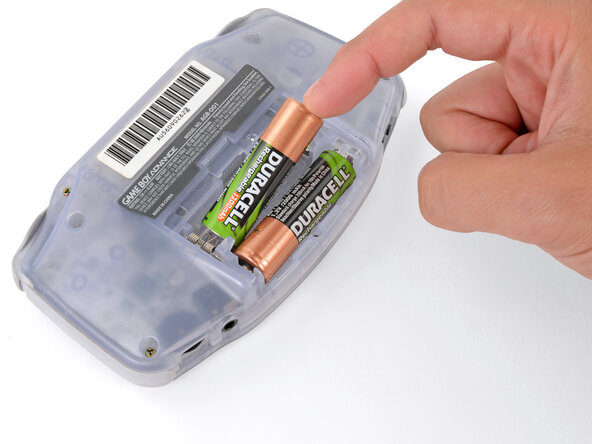
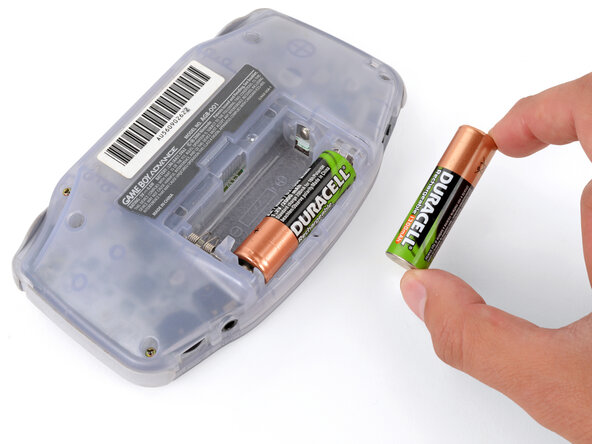
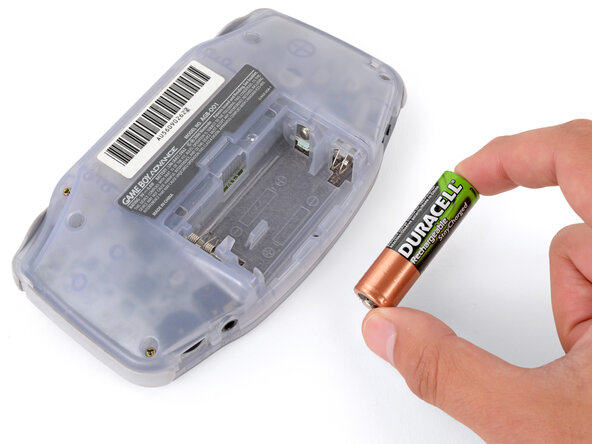
    3. Reshell Prereq, Remove the batteries: step 3, image 1 of 3 Reshell Prereq, Remove the batteries: step 3, image 2 of 3 Reshell Prereq, Remove the batteries: step 3, image 3 of 3
      Ask FixBot

      Add Comment

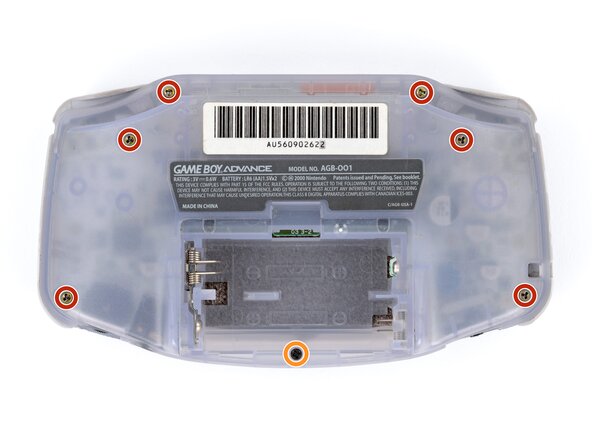
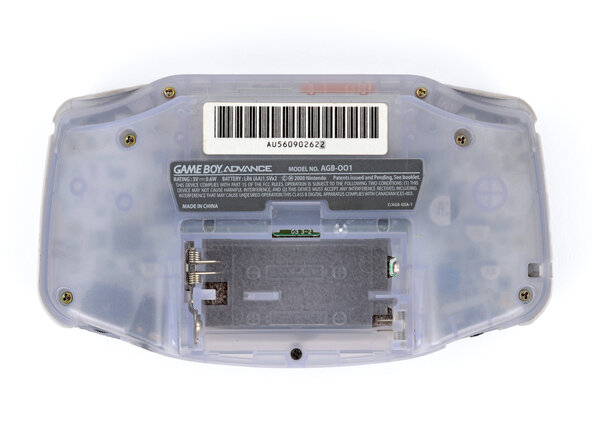
    4. Reshell Prereq, Remove the back shell screws: step 4, image 1 of 2 Reshell Prereq, Remove the back shell screws: step 4, image 2 of 2
      • Remove the seven screws securing the back shell:

      • Six 9.4 mm‑long tri‑point Y0 screws

      • One 8.5 mm‑long JIS 1 screw

      • You can try to use a non-iFixit Phillips driver in a pinch, but you risk damaging or stripping screws. Push down firmly on the driver and twist slowly.

      Ask FixBot

      Add Comment

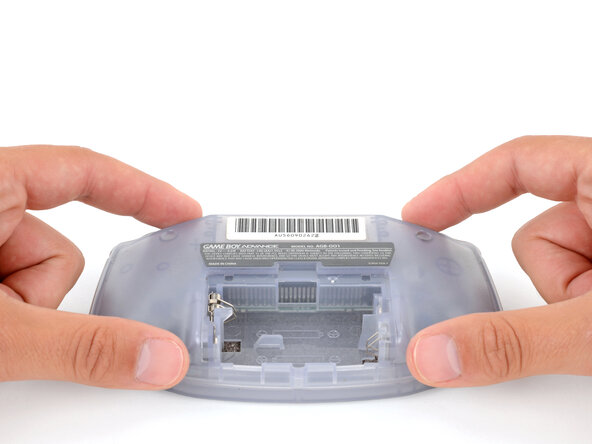
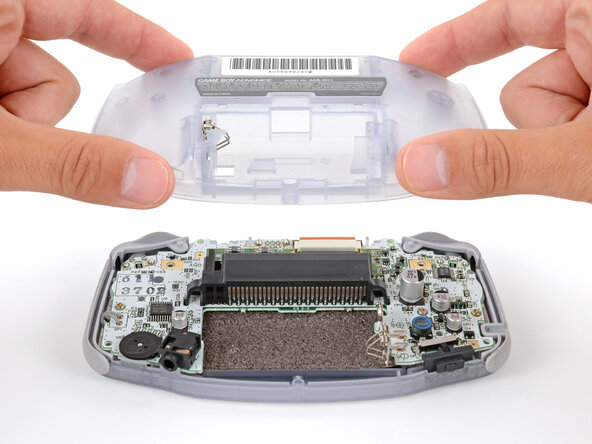
    5. Reshell Prereq, Remove the back shell: step 5, image 1 of 2 Reshell Prereq, Remove the back shell: step 5, image 2 of 2
      • Lift the back shell straight up and remove it.

      Ask FixBot

      Add Comment

    6. Reshell Prereq, Remove the shoulder buttons: step 6, image 1 of 3 Reshell Prereq, Remove the shoulder buttons: step 6, image 2 of 3 Reshell Prereq, Remove the shoulder buttons: step 6, image 3 of 3
      • Lift the shoulder buttons (aka L and R buttons) straight up to remove them.

      Ask FixBot

      Add Comment

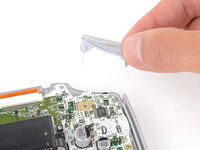
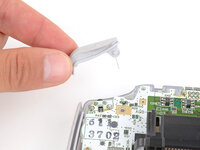
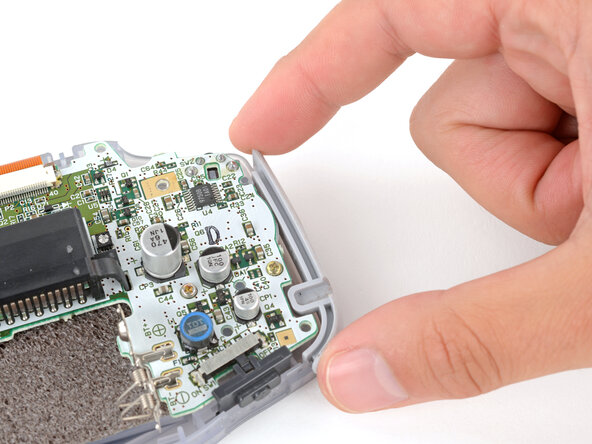
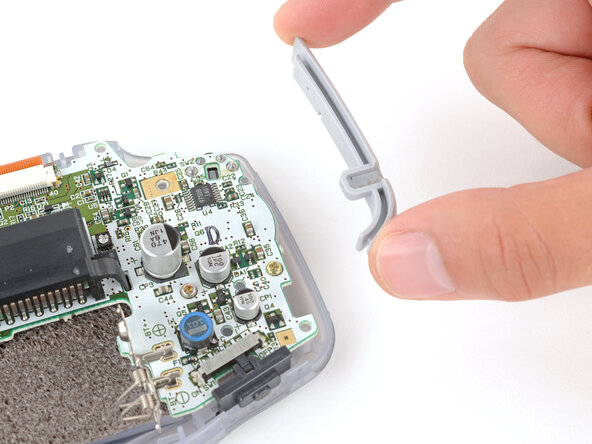
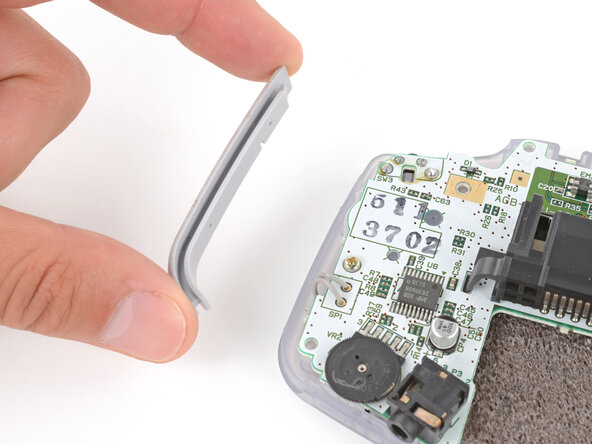
    7. Reshell Prereq, Remove the side bumpers: step 7, image 1 of 3 Reshell Prereq, Remove the side bumpers: step 7, image 2 of 3 Reshell Prereq, Remove the side bumpers: step 7, image 3 of 3
      • Lift and remove the side bumpers.

      Ask FixBot

      Add Comment

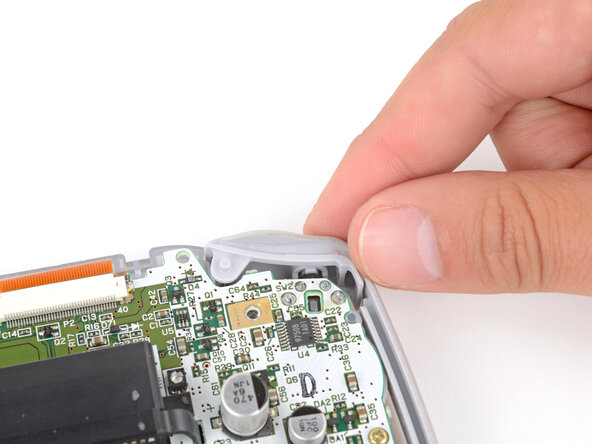
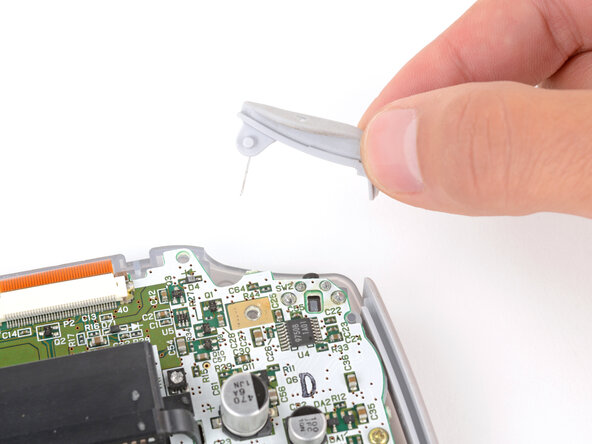
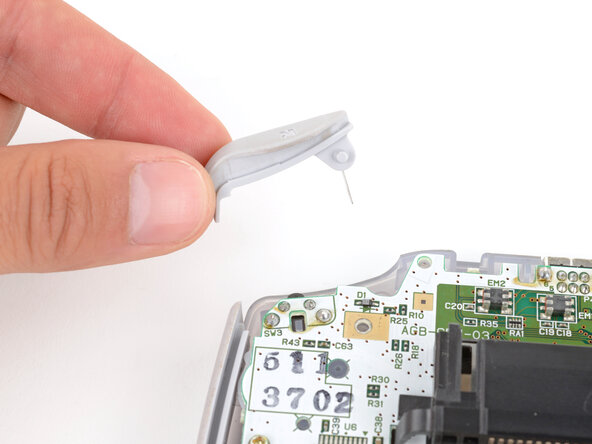
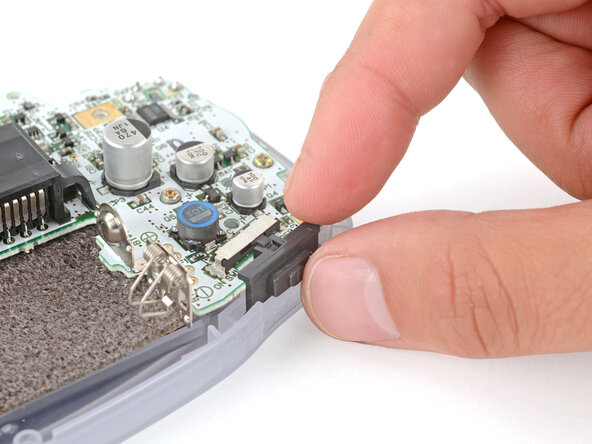
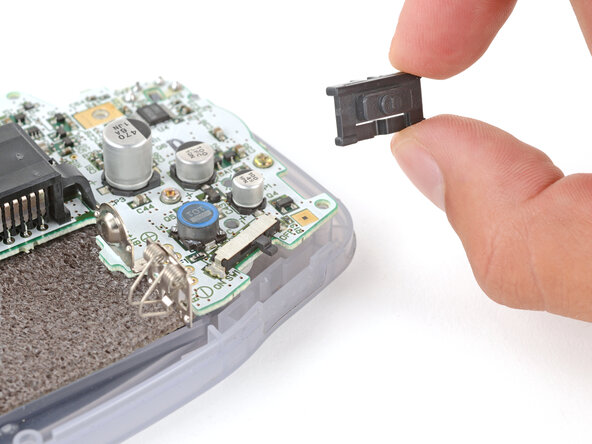
    8. Reshell Prereq, Remove the power switch cover: step 8, image 1 of 2 Reshell Prereq, Remove the power switch cover: step 8, image 2 of 2
      • Lift and remove the power switch cover.

      Ask FixBot

      Add Comment

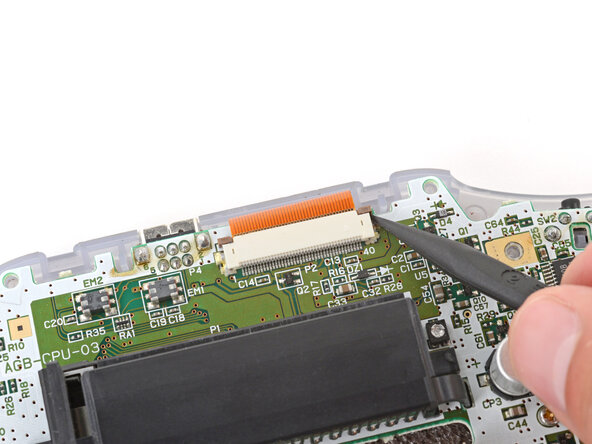
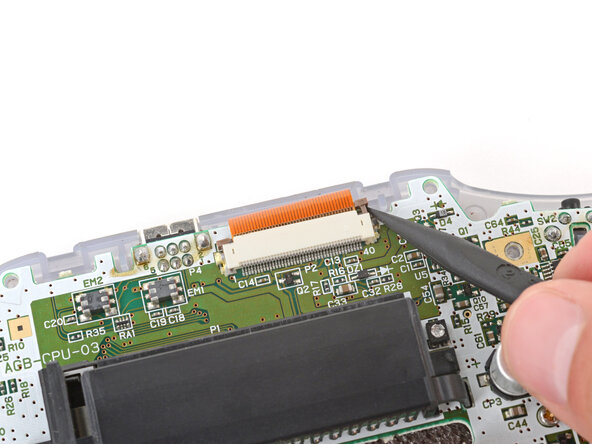
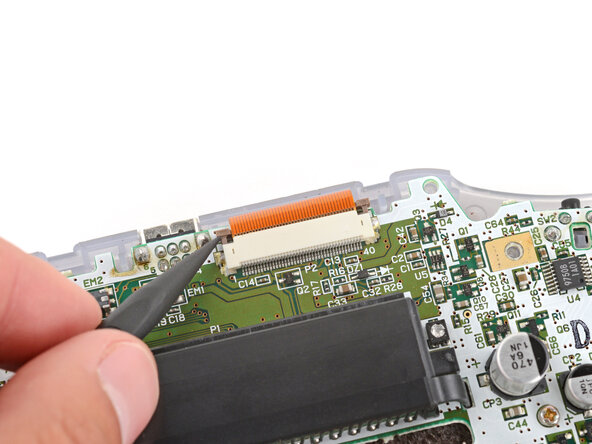
    9. Reshell Prereq, Disconnect the screen cable: step 9, image 1 of 3 Reshell Prereq, Disconnect the screen cable: step 9, image 2 of 3 Reshell Prereq, Disconnect the screen cable: step 9, image 3 of 3
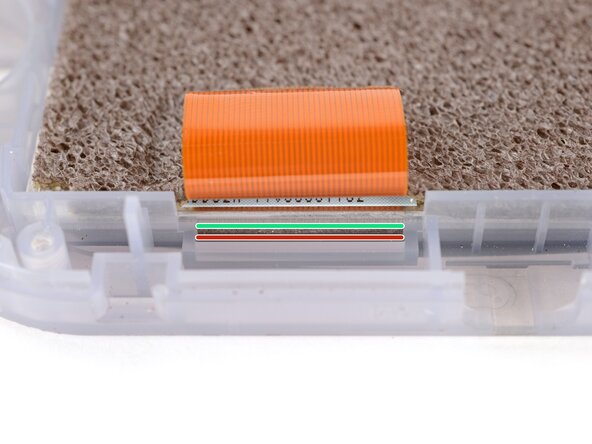
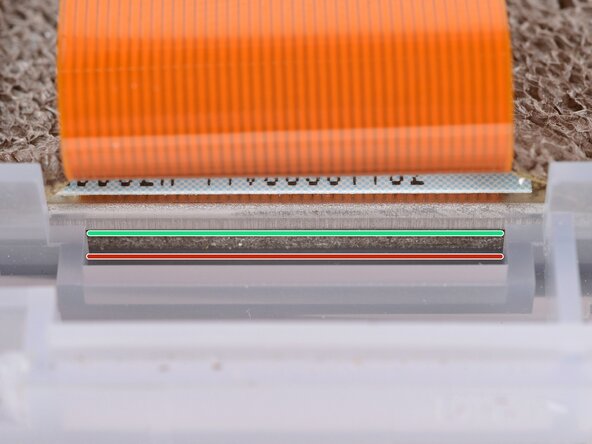
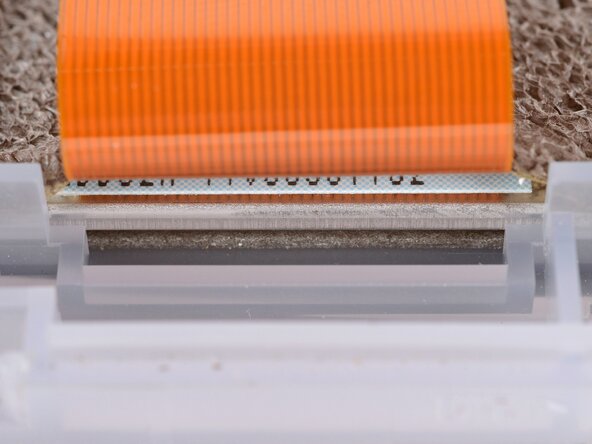
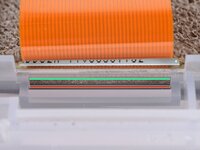
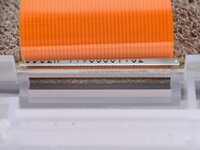
      • Use the point of a spudger to fully push up both locking tabs on either side of the screen cable connector.

      • You should feel the tab click into its unlocked position. Don't push too far, or the tab may slide completely out of the connector.

      Ask FixBot

      Add Comment

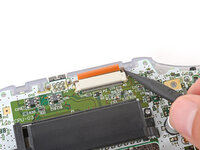
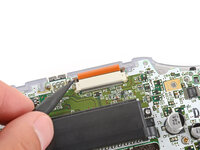
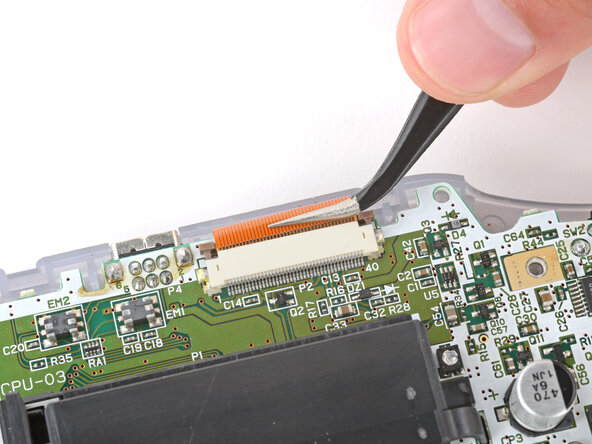
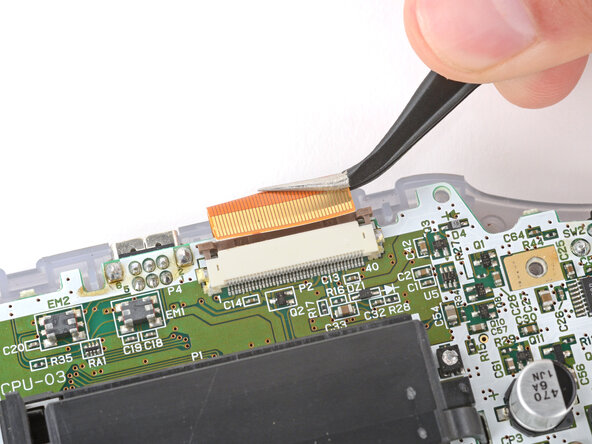
    10. Reshell Prereq: step 10, image 1 of 2 Reshell Prereq: step 10, image 2 of 2
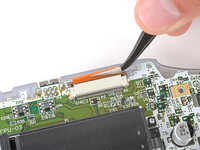
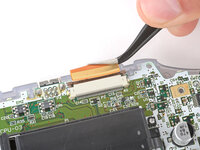
      • Use tweezers to slide the cable straight out of its socket.

      • The cable should come out with little to no force. If you feel resistance, the tab may not be fully unlocked.

      Ask FixBot

      Add Comment

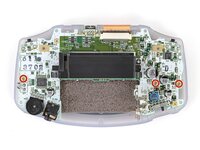
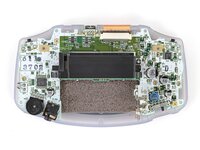
    11. Reshell Prereq, Remove the motherboard screws: step 11, image 1 of 2 Reshell Prereq, Remove the motherboard screws: step 11, image 2 of 2
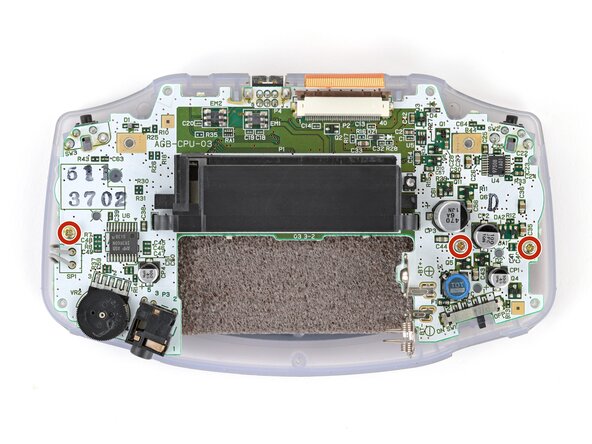
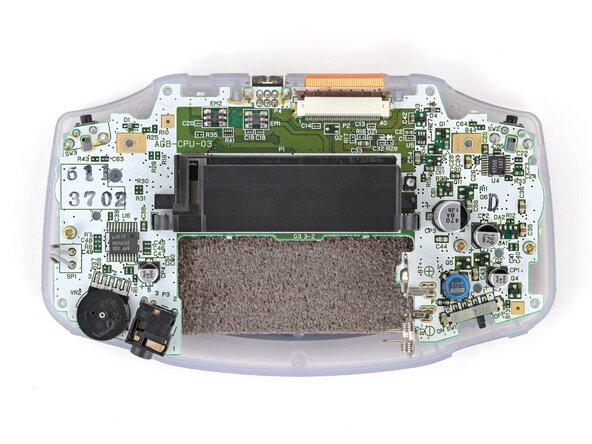
      • Use a JIS 1 screwdriver to remove the three 7 mm‑long screws securing the motherboard.

      Ask FixBot

      Add Comment

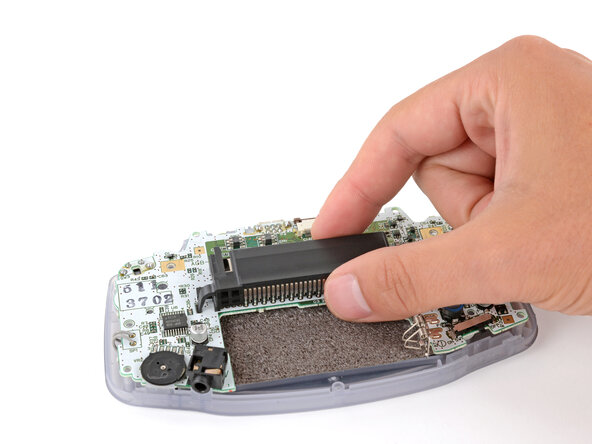
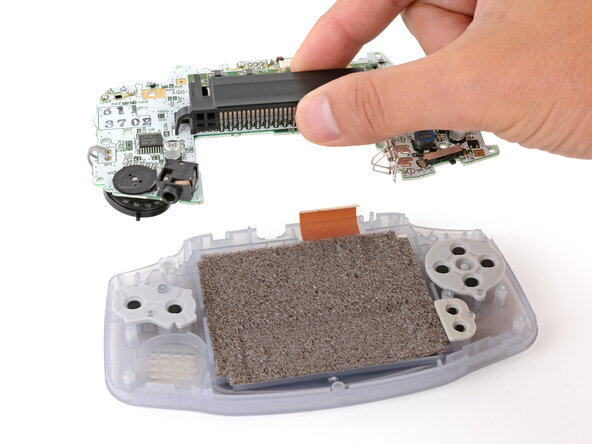
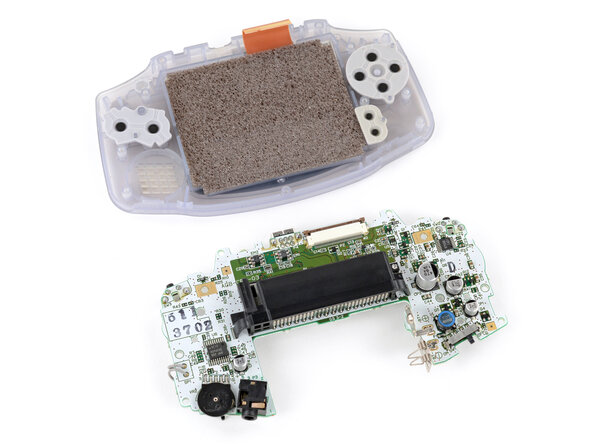
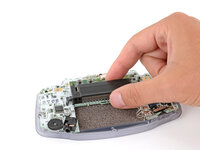
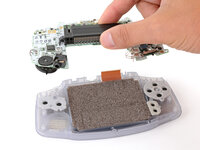
    12. Reshell Prereq, Remove the motherboard: step 12, image 1 of 3 Reshell Prereq, Remove the motherboard: step 12, image 2 of 3 Reshell Prereq, Remove the motherboard: step 12, image 3 of 3
      • Use your fingers to grip the cartridge reader and lift the motherboard straight up to remove it.

      Ask FixBot

      Add Comment

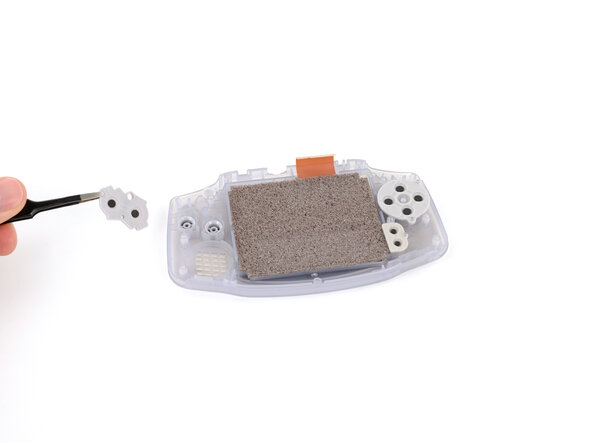
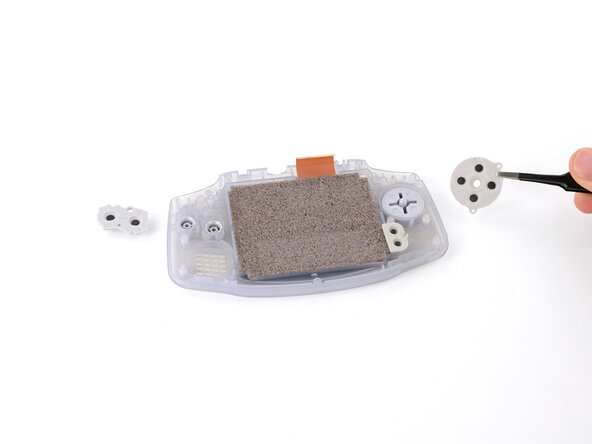
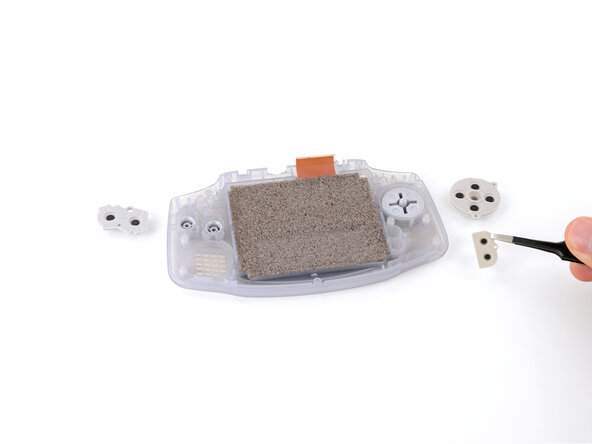
    13. Reshell Prereq, Remove the silicone pads: step 13, image 1 of 3 Reshell Prereq, Remove the silicone pads: step 13, image 2 of 3 Reshell Prereq, Remove the silicone pads: step 13, image 3 of 3
      • Use tweezers or your fingers to remove the silicone pads covering the action buttons (A and B), D‑pad, and Start/Select buttons.

      • If any of the pads are missing, they may be stuck to their corresponding spot on the motherboard.

      Ask FixBot

      Add Comment

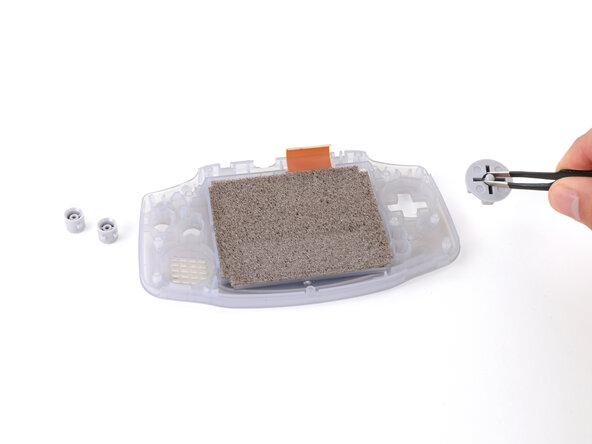
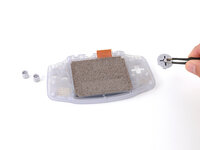
    14. Reshell Prereq, Remove the buttons: step 14, image 1 of 3 Reshell Prereq, Remove the buttons: step 14, image 2 of 3 Reshell Prereq, Remove the buttons: step 14, image 3 of 3
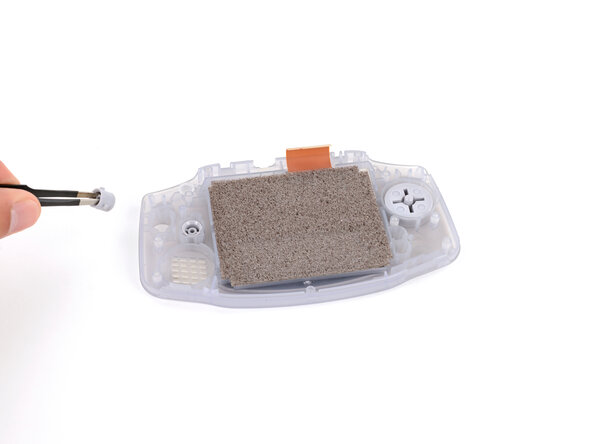
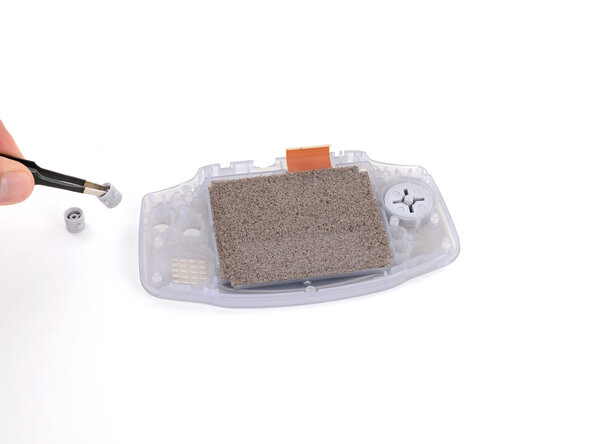
      • Use tweezers or your fingers to remove the action buttons (A + B) and D‑pad.

      • The Start/Select buttons are part of the silicone pad—there are no other buttons to remove.

      Ask FixBot

      Add Comment

    15. Reshell Prereq, Where to insert your tool: step 15, image 1 of 3 Reshell Prereq, Where to insert your tool: step 15, image 2 of 3 Reshell Prereq, Where to insert your tool: step 15, image 3 of 3
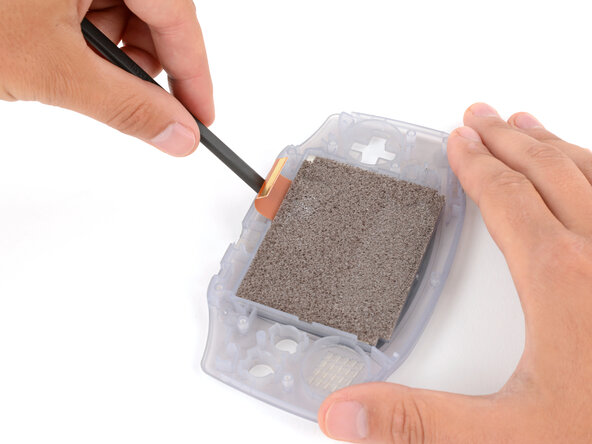
      • Before prying up the screen, note where you need to pry:

      • There's a seam between the screen and its gasket. Insert your tool here (under the screen) to give yourself the best chance of preserving the gasket.

      • There's a seam between the gasket and the shell. Don't insert your tool here, or you may damage the gasket.

      Ask FixBot

      Add Comment

    16. Reshell Prereq, Pry up the screen: step 16, image 1 of 3 Reshell Prereq, Pry up the screen: step 16, image 2 of 3 Reshell Prereq, Pry up the screen: step 16, image 3 of 3
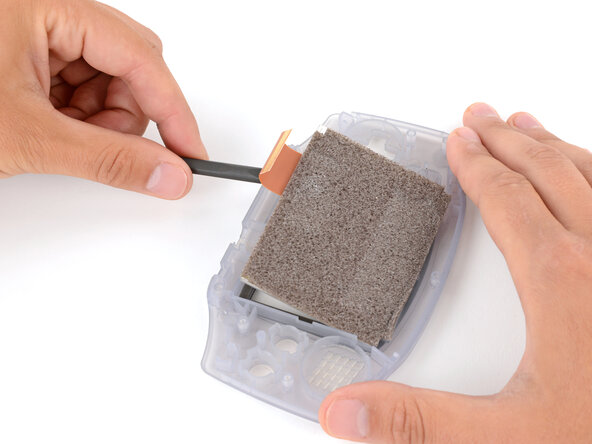
      • When removing the screen, be careful not to damage or stretch the adhesive gasket that secures it to the shell.

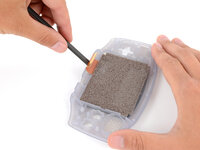
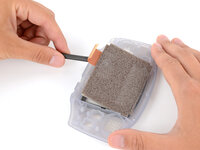
      • Insert the flat end of a spudger under the screen and pry the screen up. Apply constant, steady pressure to allow the screen adhesive to separate.

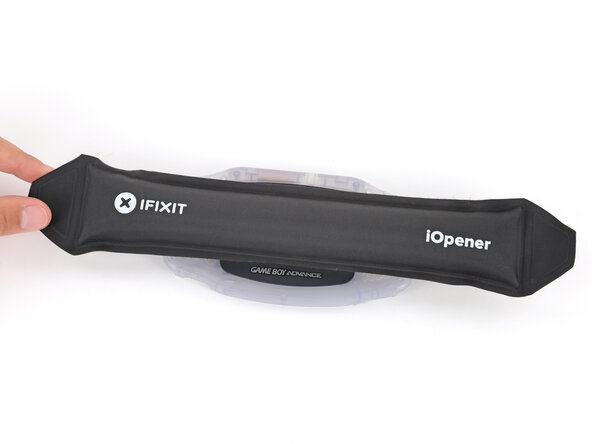
      • If the screen isn't budging, flip your Game Boy over and lay a heated iOpener on the screen for two minutes to soften the adhesive. Alternatively, you can use a hair dryer on the Low heat setting—be careful not to overheat your device, or you may warp the plastic.

      Ask FixBot

      Add Comment

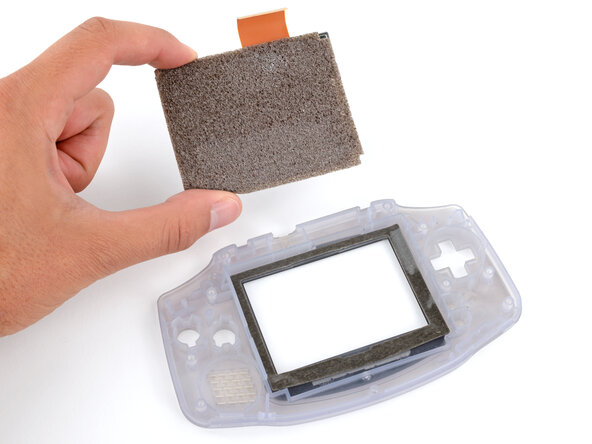
    17. Reshell Prereq, Remove the screen: step 17, image 1 of 1
      • Carefully lift the screen up and remove it.

      Ask FixBot

      Add Comment

Finish Line

Cancel: I did not complete this guide.

Spencer Day

Member since: 09/14/22

205,788 Reputation

1,267 Guides authored

0 Guide Comments

Add Comment

View Statistics:

Past 24 Hours: 0

Past 7 Days: 1

Past 30 Days: 9

All Time: 122