This translation was generated by a machine and has not been reviewed by a person yet. Speak this language? Review it.
Introduction
To repair the grinder, first open the device. Unscrew the grinder and lift it out. Then, you can open the grinder, clean it, or replace components (motor, sensor, grinding discs).
What you need
-
-
-
Remove the water tank.
-
Remove all the coffee beans.
-
Remove the brewing assembly.
-
Remove the drip tray and the coffee grounds drawer.
 Ask FixBot
-
-
-
Pry up with a plastic opening tool at the bottom edge of the chrome-plated cover to lift up the coffee dispensing spout. This cover is often very tight, so you have to pry hard and hope that the part does not break.
-
When the lower edge of the spout is released, you can pry on the side edge until the chrome cover comes off completely.
-
-
-
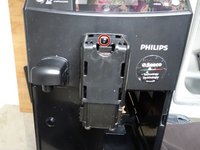
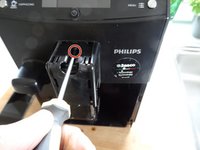
Remove the Torx T10 screw at the top edge of the coffee dispensing spout.
-
-
-
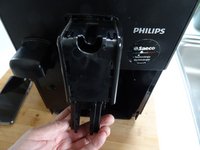
Lift off the black cover over the coffee dispensing spout. The sliding nozzles will come off at the same time.
-
-
-
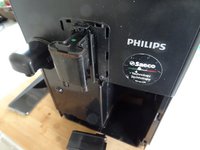
Remove both Torx T10 screws on the left and right at the bottom edge of the coffee dispensing spout.
-
Pull off the hot water dispensing spout.
-
-
-
-
Remove the Torx T20 screw on the finger guard of the grinder. Remove the finger guard.
-
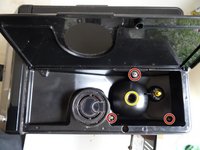
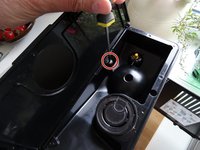
Remove three Torx T10 screws in the bean container.
-
-
-
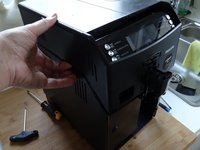
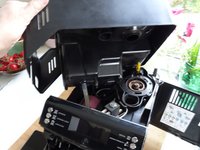
Grab the upper cover on the sides and lift it up.
-
Take off the silicone tube.
-
-
-
Remove the water level sensor cable from its brackets.
-
Carefully remove the plug from the water level sensor.
-
The cover is now free and can be removed.
-
-
-
-
-
Take a photo of the mark on the large gear wheel; it should be in the same position when you reassemble it.
-
Although the motor is powered by 230 V, diodes ensure that only positive half-waves are supplied, so that the motor only rotates in one direction. Make a note of how the connection cables are plugged in. Test later to see if it is rotating in the correct direction.
-
You can test the motor with approximately 25 V DC. It should turn easily and draw approximately 120 mA. If this is not the case, check the carbon brushes on the side. Only then should you consider replacing it.
-
Insert translation here
-
Any brackets—in this case, the black rubber sleeve—must be transferred to the new part.
-
The speed sensor can only be removed from the inside. To do this, you must disconnect its plug from the main circuit board and expose the cables.
-
-
-
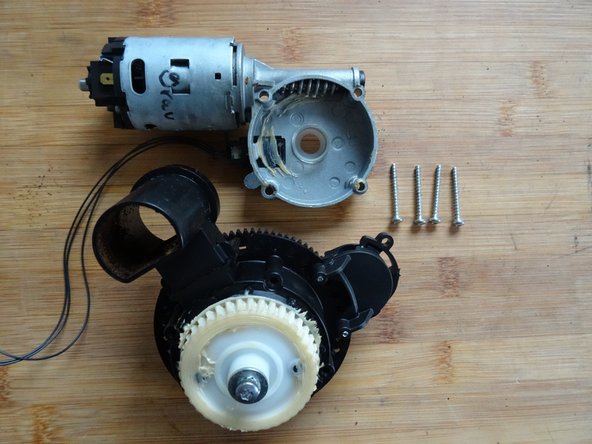
There are four Torx T10 screws on the underside of the grinding mechanism. Remove those.
-
The screw marked in yellow must not be removed when replacing the motor.
-
The white plastic sleeve around the screw marked in yellow must be transferred to the replacement part.
-
Lift off the motor.
-
-
-
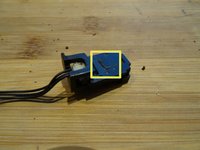
The machine's electronic use the sensor to measure the number of revolutions. The sensor must be transferred to the new motor.
-
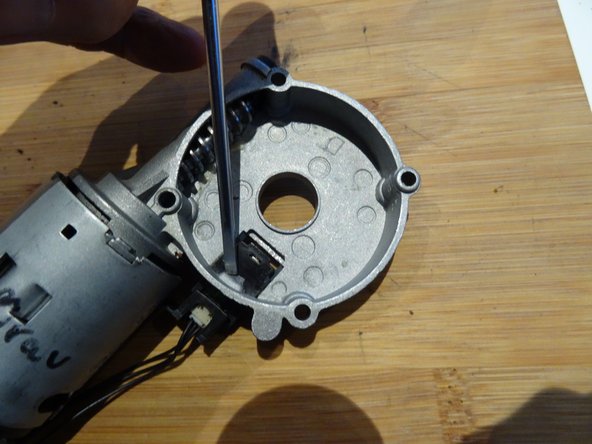
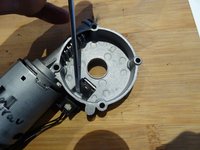
The sensor is secured on the inside with a locking tab. It can therefore only be removed from the inside.
-
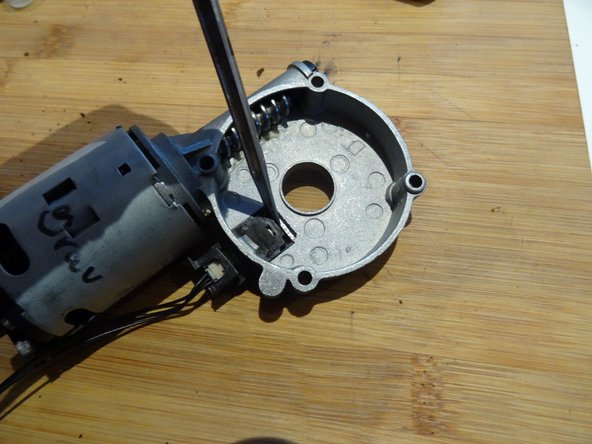
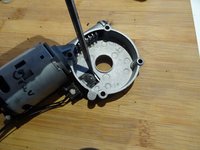
Press the locking tab firmly down with a flat screwdriver.
-
Slide the sensor out, using the flat screwdriver to help if needed.
-
Transfer the sensor to the new part.
-
-
-
Grease the worm gear on the new motor a little; the old grease may be sufficient, but new grease is better.
-
Check that the plastic bushing is seated properly in the center opening. Screw the motor tight.
-
-













Follow the steps in reverse order to reassemble your device.
Cancel: I did not complete this guide.
One other person completed this guide.

