
Repairing a Broken Coffee Mug Handle

What you need

  1. Repairing a Broken Coffee Mug Handle, Repairing a Broken Coffee Mug Handle: step 1, image 1 of 1
    • Wash your mug clean and rinse the broken edges. Handle carefully to prevent further damage.

    • Make sure you don't cut yourself on any sharp edges.

  2. Repairing a Broken Coffee Mug Handle: step 2, image 1 of 3 Repairing a Broken Coffee Mug Handle: step 2, image 2 of 3 Repairing a Broken Coffee Mug Handle: step 2, image 3 of 3
    • Collect the pieces of the handle and place them on a few paper towels.

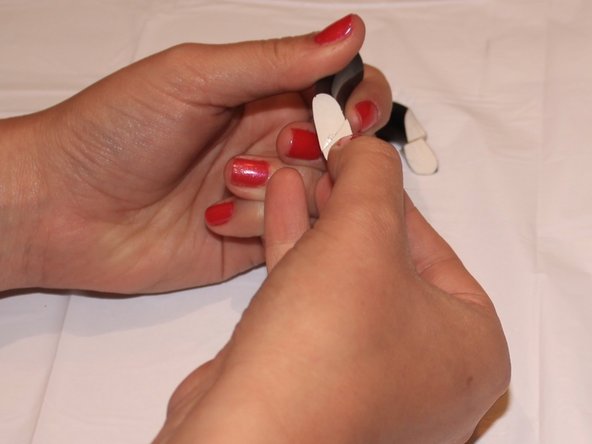
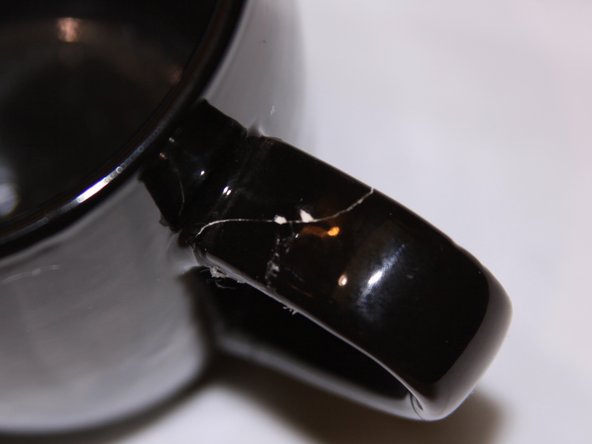
    • Piece them back together and make sure all of the parts are there.

  3. Repairing a Broken Coffee Mug Handle: step 3, image 1 of 2 Repairing a Broken Coffee Mug Handle: step 3, image 2 of 2
    • Take two of the broken pieces that fit together and glue them.

    • Cover the piece in a thin layer of glue (about one drop) and try to avoid getting glue on your hands, keep paper towels close by incase you do.

  4. Repairing a Broken Coffee Mug Handle: step 4, image 1 of 3 Repairing a Broken Coffee Mug Handle: step 4, image 2 of 3 Repairing a Broken Coffee Mug Handle: step 4, image 3 of 3
    • Continue glueing other pieces of the handle in place until all pieces are together.

    • Once the handle is glued together, wait for the glue to dry before moving on. It will take about 30 minutes to dry.

    • Be very delicate with the piece while it is drying. Before the glue sets the handle will be very fragile.

  5. Repairing a Broken Coffee Mug Handle: step 5, image 1 of 2 Repairing a Broken Coffee Mug Handle: step 5, image 2 of 2
    • After the handle has dried, test that the glued pieces are sturdy.

    • Do not purposely break it apart, but make sure that the pieces are secure.

    • If the handle happens to break anywhere, repeat step 4.

  6. Repairing a Broken Coffee Mug Handle: step 6, image 1 of 3 Repairing a Broken Coffee Mug Handle: step 6, image 2 of 3 Repairing a Broken Coffee Mug Handle: step 6, image 3 of 3
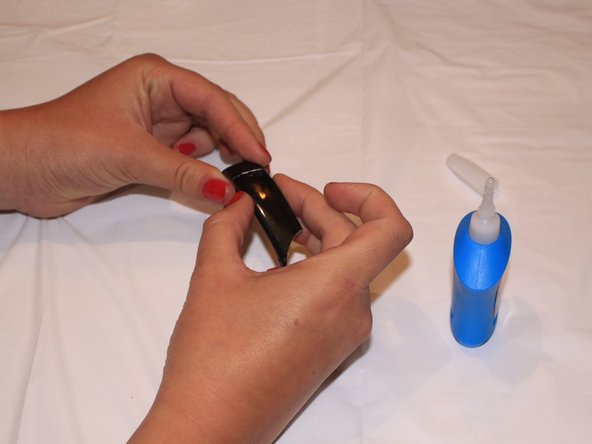
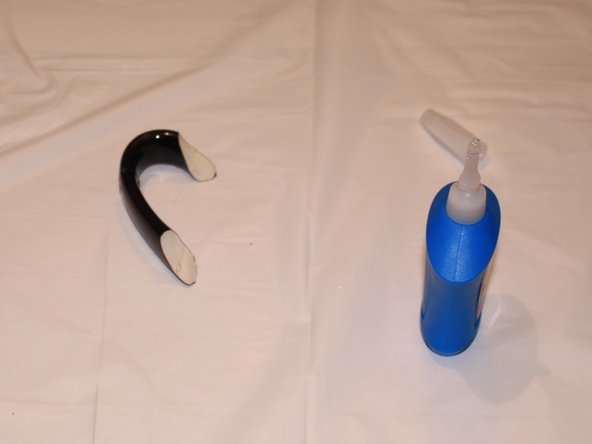
    • Once the handle is dried and secure. Begin placing glue on the cup where the handle should attach.

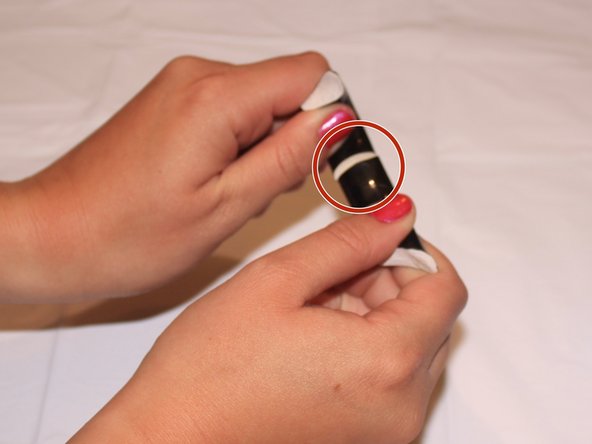
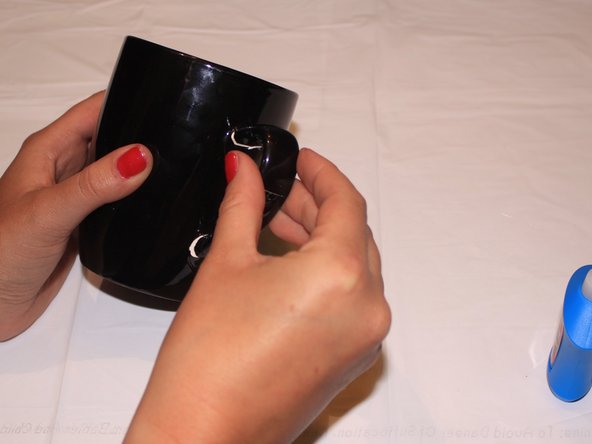
    • After gluing both places, gently press handle ends into place.

    • The handle should fit in almost perfectly when alined.

  7. Repairing a Broken Coffee Mug Handle: step 7, image 1 of 3 Repairing a Broken Coffee Mug Handle: step 7, image 2 of 3 Repairing a Broken Coffee Mug Handle: step 7, image 3 of 3
    • Now let the glue dry, and your mug is usable again.

    • Remember it will take about 30 minutes to dry.

    • I would not advise washing this mug in the dishwasher anymore because this makes it more likely to break again.

Kathryn Webb

Member since: 04/09/15

254 Reputation

1 Guide authored

Team

Cal Poly, Team 28-2, Green Spring 2015 Member of Cal Poly, Team 28-2, Green Spring 2015

CPSU-GREEN-S15S28G2

4 Members

2 Guides authored

View Statistics:

Past 24 Hours: 0

Past 7 Days: 17

Past 30 Days: 107

All Time: 37,038