Introduction
The idler arm is an essential part of the steering and suspension system on a truck. This guide shows how to replace the most common broken part on an idler arm. Check this guide to learn how to take one off.
What you need
-
-
First the Idler arm must be removed from the truck. Another guide has instructions to take the arm off.
-
-
-
-
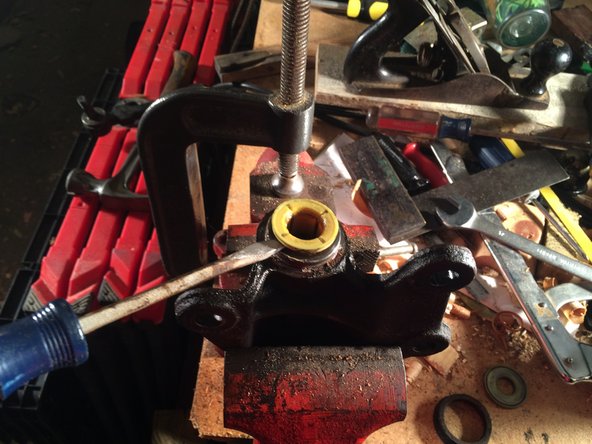
Using a 19 mm socket, take the nut off from inside the idler arm bracket.
-
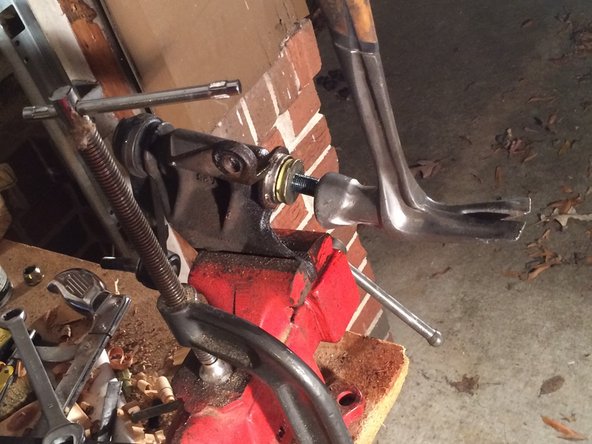
If the arm rotates in the bracket, then it can be taken out of the vice and placed on the ground.
-
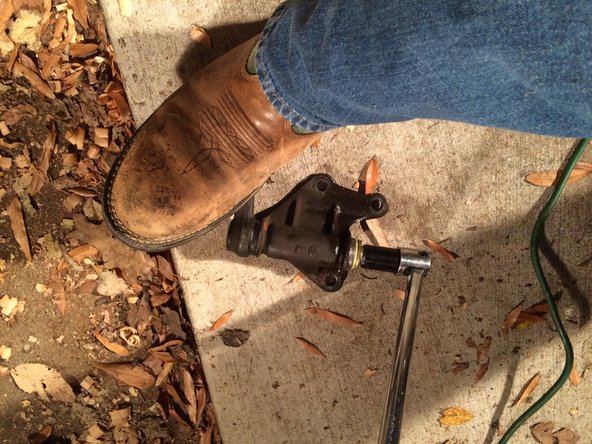
Once on the ground, your foot can be used to stop the arm from rotating and enable you to put torque on the nut.
-
Once the nut is off, the arm can be gently tapped out of the bracket.
-


To reassemble your device, follow these instructions in reverse order.
To reassemble your device, follow these instructions in reverse order.
Team

University of Memphis, Team 1-1, Kim Fall 2015 Member of University of Memphis, Team 1-1, Kim Fall 2015
UM-KIM-F15S1G1
4 Members
2 Guides authored