Free Shipping on Domestic Orders $75+

PowerLead Puto PLD003 Lens Replacement

What you need

  1. PowerLead Puto PLD003 Lens Replacement, Side Panel: step 1, image 1 of 1
    • Slide the battery eject button open to release the battery door.

    Ask FixBot

    Add Comment

  2. PowerLead Puto PLD003 Lens Replacement: step 2, image 1 of 1
    • With the battery door open, carefully remove all four 5 mm Phillips #1 screws.

    Ask FixBot

    Add Comment

  3. PowerLead Puto PLD003 Lens Replacement: step 3, image 1 of 1
    • Rotate the camera so that the underside is facing up.

    • Remove the four 5 mm Phillips #1 screws.

    Ask FixBot

    Add Comment

  4. PowerLead Puto PLD003 Lens Replacement: step 4, image 1 of 1
    • Place the camera on a flat surface, with its underside facing you.

    • Gently pull up on the side panel to remove it from the camera.

    Ask FixBot

    Add Comment

  5. PowerLead Puto PLD003 Lens Replacement, Lens: step 5, image 1 of 2 PowerLead Puto PLD003 Lens Replacement, Lens: step 5, image 2 of 2
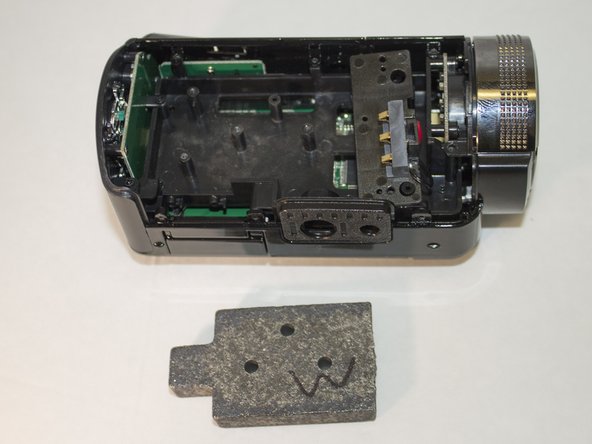
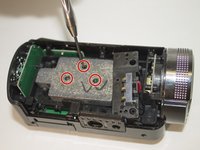
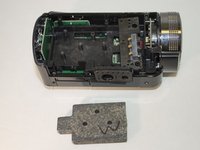
    • Remove the three 4 mm Phillips #1 screws holding the weight.

    • Remove the weight.

    Ask FixBot

    Add Comment

  6. PowerLead Puto PLD003 Lens Replacement: step 6, image 1 of 1
    • Remove the two 4 mm Phillips #1 screws holding the back panel in place.

    Ask FixBot

    Add Comment

  7. PowerLead Puto PLD003 Lens Replacement: step 7, image 1 of 1
    • Apply pressure to the back panel (away from the camera) to remove.

    Ask FixBot

    Add Comment

  8. PowerLead Puto PLD003 Lens Replacement: step 8, image 1 of 1
    • Set aside back panel for now.

    • Remove the final 4 mm Phillips #1 screw holding the screen in place. It is very small and hard to see.

    Ask FixBot

    Add Comment

  9. PowerLead Puto PLD003 Lens Replacement: step 9, image 1 of 1
    • Carefully apply pressure, away from the camera, to the screen to detach it from the body.

    • The white cable should still be connected to the body.

    • OPTIONAL: Remove the screen to make accessing the lens easier

    Ask FixBot

    Add Comment

  10. PowerLead Puto PLD003 Lens Replacement: step 10, image 1 of 1
    • Unscrew the two 4 mm Phillips #1 screws holding onto the lens casing

    • There are also two 4 mm Phillips #1 screws on the other side holding onto the lens casing, remove them as well.

    Ask FixBot

    Add Comment

  11. PowerLead Puto PLD003 Lens Replacement: step 11, image 1 of 1
    • Pull forward on the lens casing to remove it. The cord connecting the light to the motherboard should still be attached.

    Ask FixBot

    Add Comment

  12. PowerLead Puto PLD003 Lens Replacement: step 12, image 1 of 1
    • Unscrew the three 4 mm Phillips #1 screws holding the plastic lens holder.

    Ask FixBot

    Add Comment

  13. PowerLead Puto PLD003 Lens Replacement: step 13, image 1 of 1
    • Remove the plastic lens holder.

    Ask FixBot

    Add Comment

  14. PowerLead Puto PLD003 Lens Replacement: step 14, image 1 of 1
    • Push the lens out of the plastic casing from the back.

    Ask FixBot

    Add Comment

Conclusion

To reassemble your device, follow these instructions in reverse order.

Cancel: I did not complete this guide.

0 Guide Comments

Add Comment

View Statistics:

Past 24 Hours: 0

Past 7 Days: 16

Past 30 Days: 44

All Time: 409